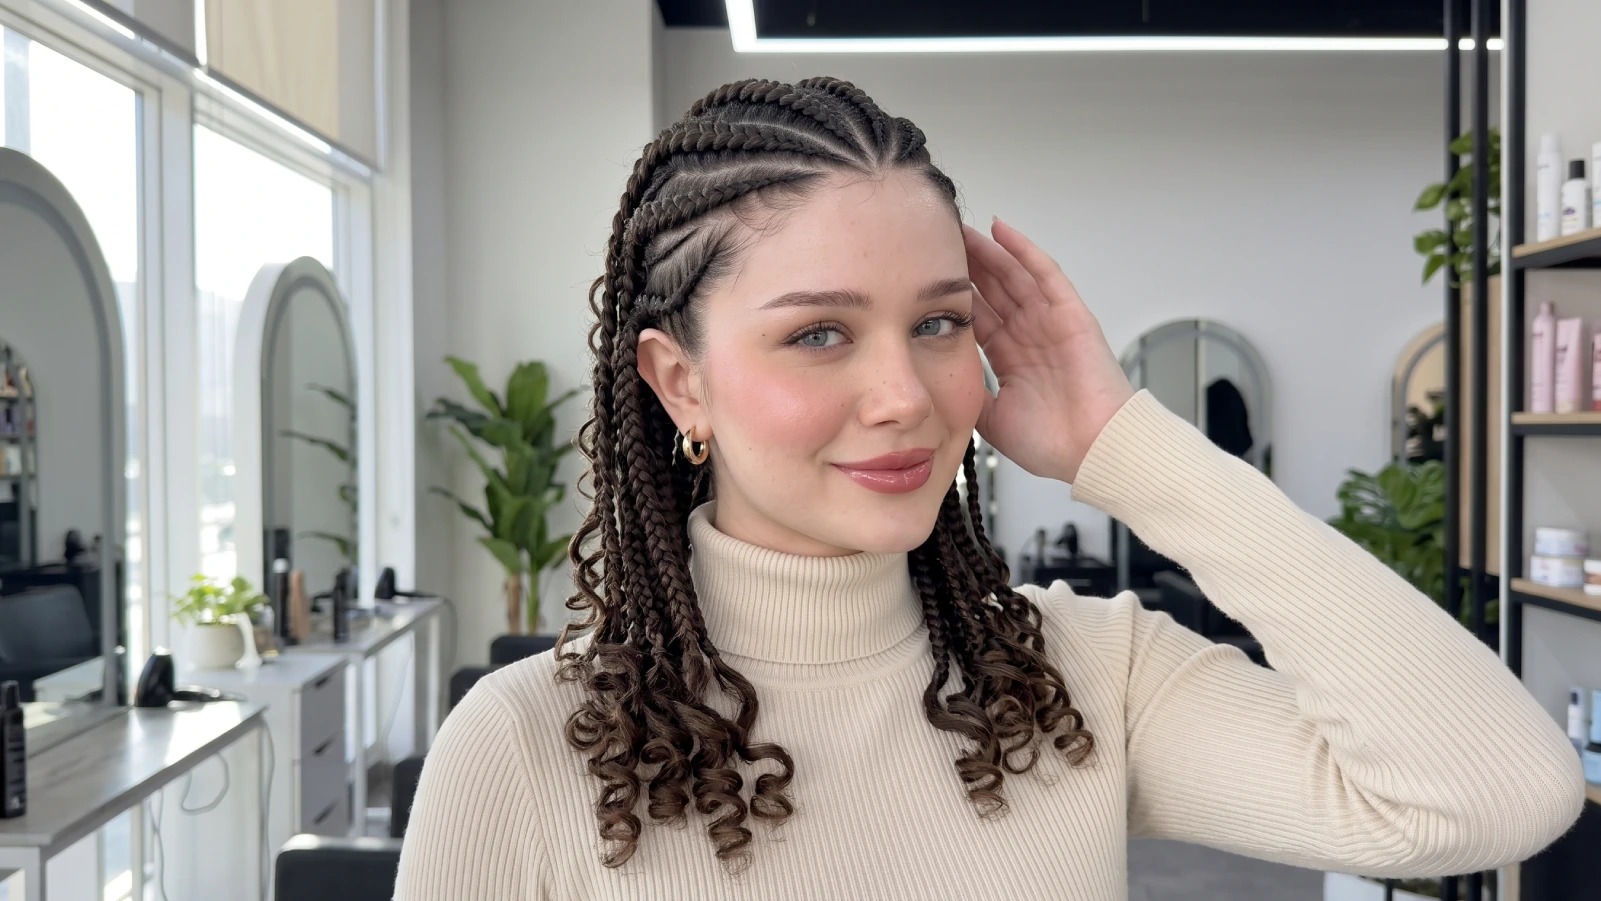
Goddess braids are large, raised cornrows braided with added hair so they sit on top of the scalp instead of sinking into it. They’re usually worn in fewer than ten thick braids that curve around the head in a pattern, which is where the halo-like look comes from.
That’s the classic definition. These days the term also gets used for chunky braids finished with loose curly ends, which is why so many search results contradict each other.
This guide sorts out what actually counts as goddess braids, how they differ from Ghana braids and goddess locs, what a realistic install and wear window looks like, and how to keep the style from costing you your hairline. If you’re building a rotation of low-effort looks, they slot in beside other easy hairstyles for women that carry you through a full week.
Style Snapshot
- Goddess braids are thick, inverted cornrows braided with extension hair, typically under ten braids total.
- Expect two to five hours in the chair depending on the parting pattern and how many braids you want.
- Four to six weeks is a sensible wear window, and the American Academy of Dermatology advises against keeping braids in longer than two to three months.
- If any part of the install hurts or stings, it’s too tight. Ask for it to be redone before you leave.
What’s the difference between goddess braids, Ghana braids, and goddess locs?
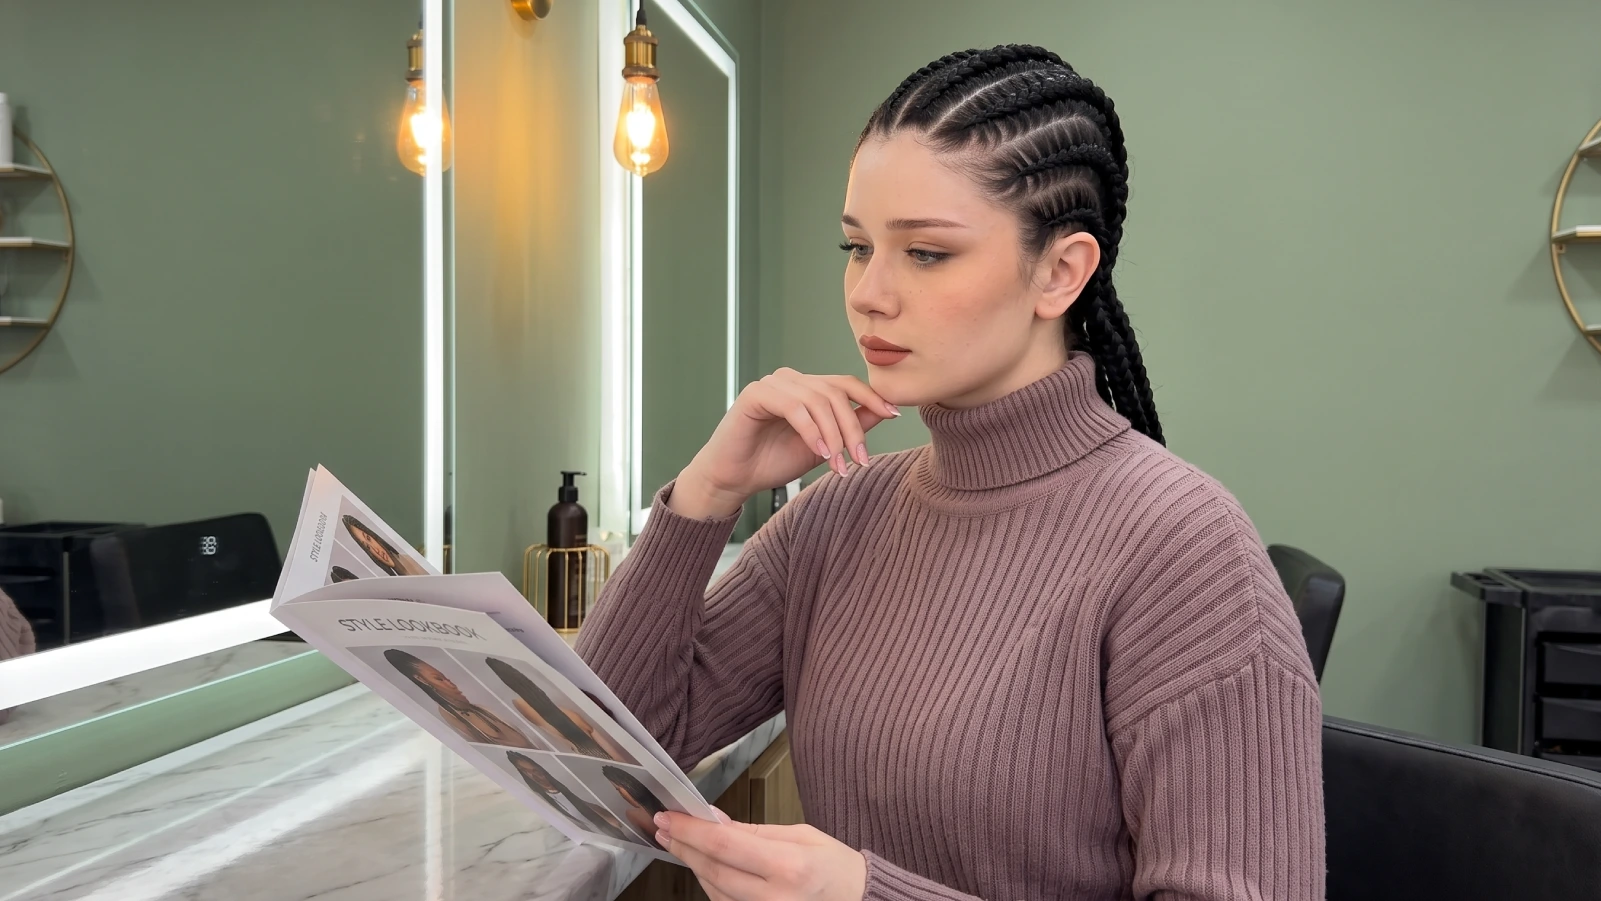
The short answer: goddess braids are the thickest, Ghana braids are the smaller feed-in cousin, and anything with “locs” in the name isn’t a cornrow at all. The names overlap in everyday use, but stylists price and install them differently.
Knowing which one you want before you book saves you the awkward mid-appointment conversation. Bring a photo either way.
The confusion isn’t new. “Goddess braids” has become a catchall for large cornrow styles rather than one fixed look, which is why two salons can quote you different prices for what sounds like the same thing.

How do you take care of goddess braids so they last?
Care comes down to three things: a clean scalp, moisture at the roots, and protection at night. Do those consistently and six weeks is realistic instead of optimistic.
Most of the frizz people blame on “bad braids” is really week-three neglect. A ten-minute routine twice a week fixes it.
- Dilute a clarifying or braid-safe shampoo in a squeeze bottle and apply it directly along the parts, not the length.
- Rinse thoroughly, press with a microfiber towel, and let the braids air-dry completely before wrapping.
- Twice weekly, work a lightweight oil or scalp serum along each part to stop flaking.
- Sleep in a satin scarf or bonnet, and re-tie any braid that’s loosened at the perimeter.
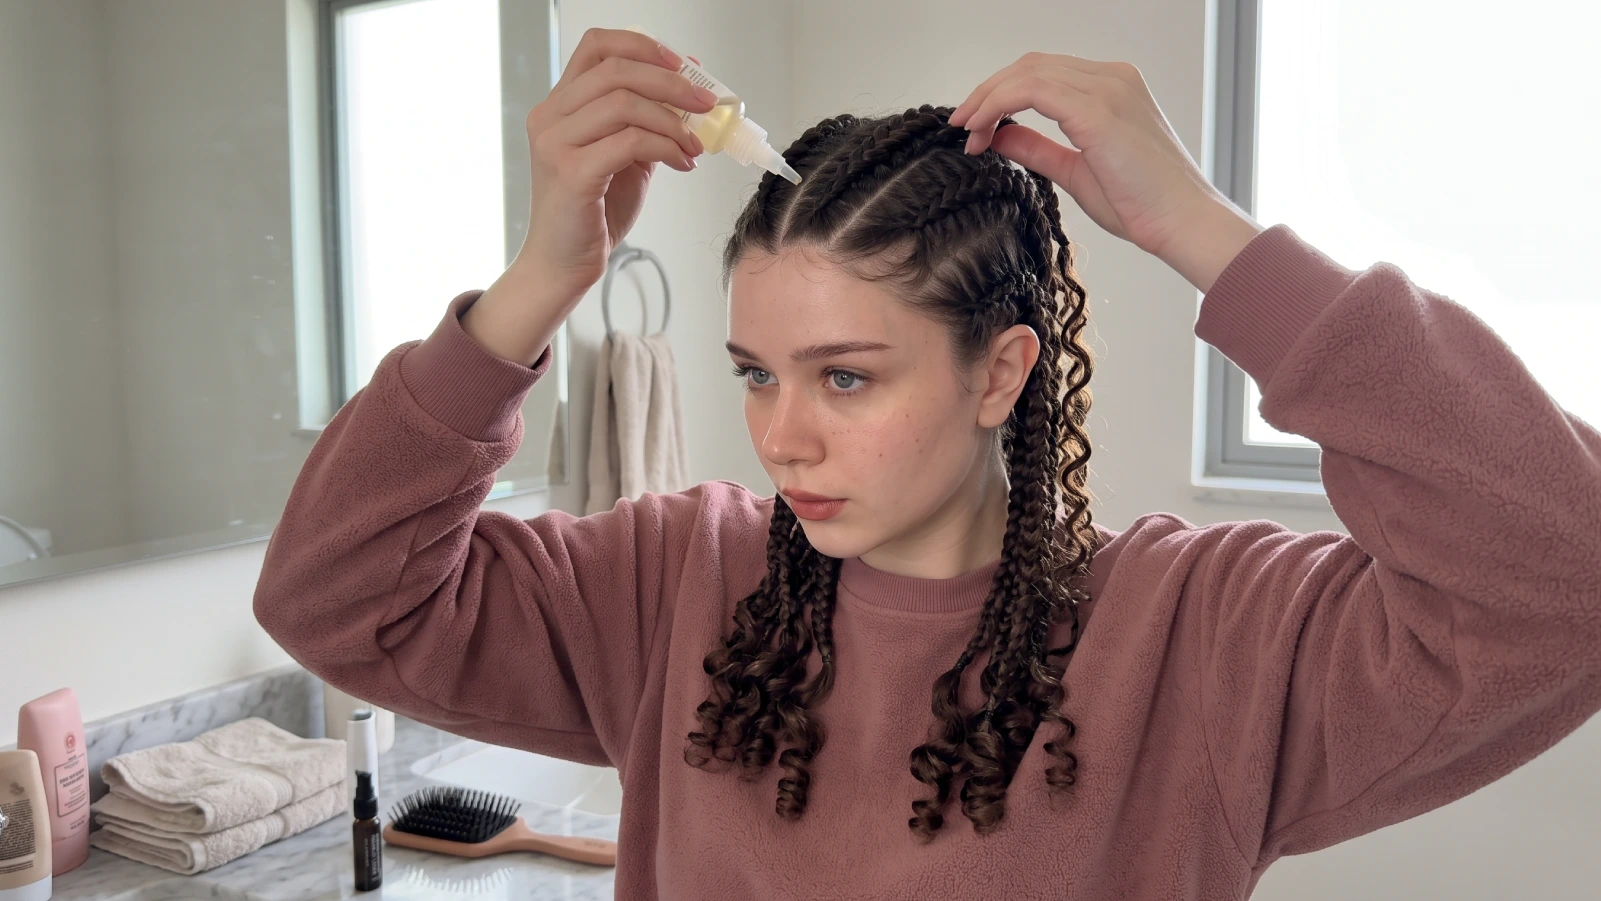
Skip heavy butters and thick gels. They build up between the braid rows and turn into the white residue that makes a fresh style look three weeks older than it is.
Week one is about letting the tension settle, not adding product. Week three onward is when the routine matters, since new growth starts loosening the base and the parts get harder to reach cleanly.
A spray bottle with diluted leave-in and water is the most useful tool you can keep on hand. Mist the length every few days rather than saturating the braids, which takes far longer to dry and invites mildew at the roots
Are goddess braids actually protective, or do they damage your hairline?
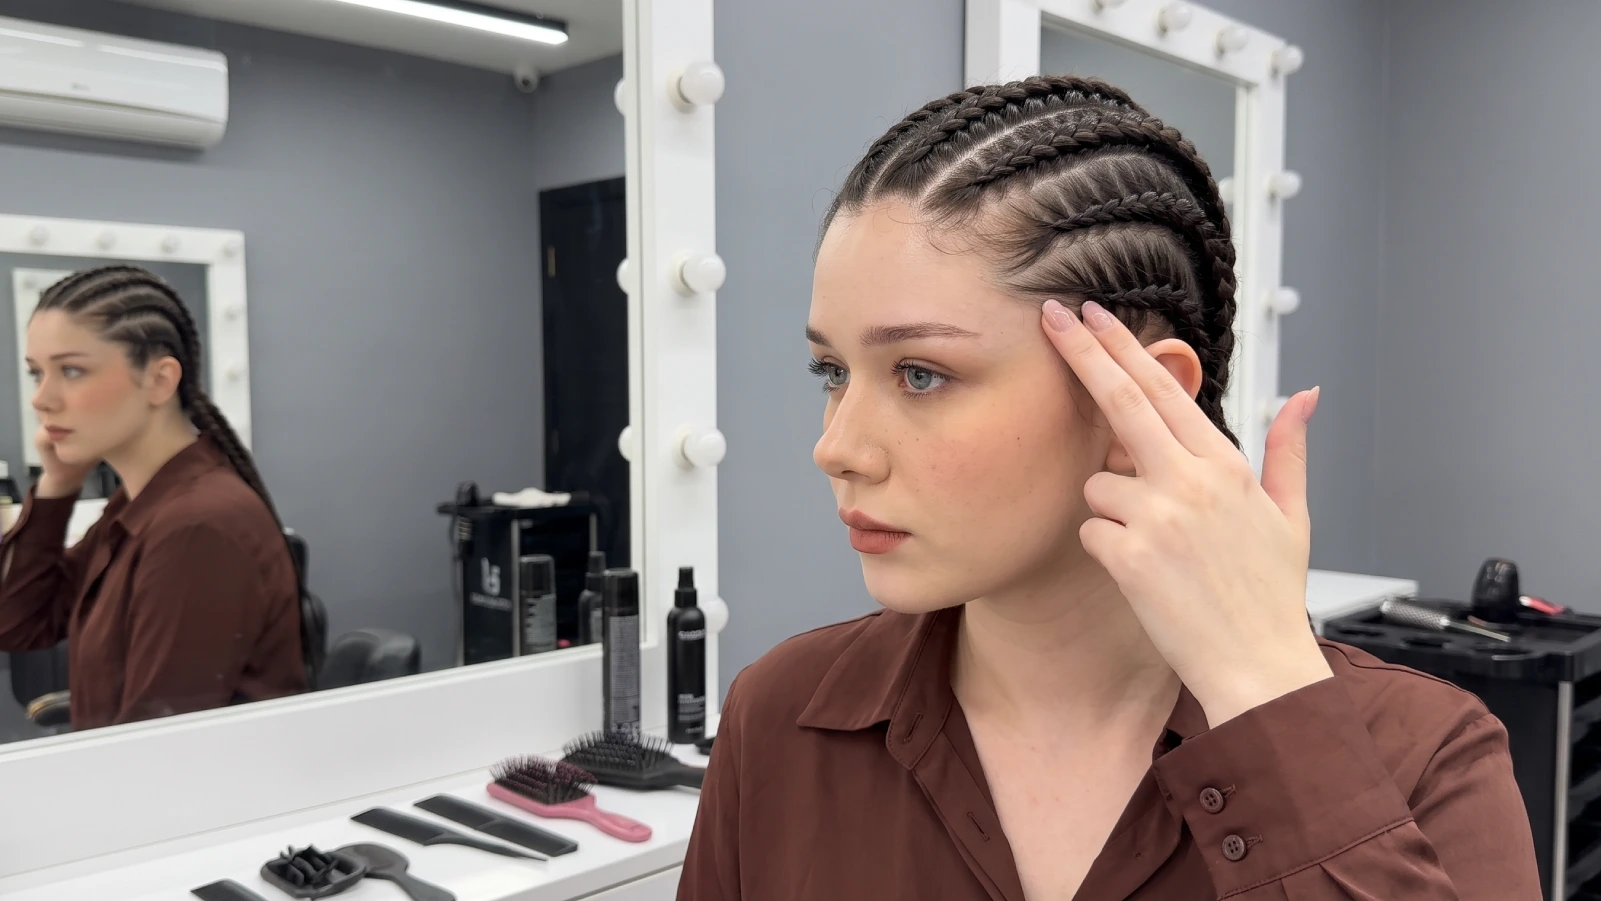
They can be genuinely protective, but only when the tension is right. Weight plus tightness is what does the damage, and goddess braids carry more extension hair than most cornrow styles.
The American Academy of Dermatology advises loosening braids around the hairline and says that if a hairstyle feels painful, it’s too tight. That’s the whole test, and it’s worth applying before you leave the salon rather than three days later.
If it hurts on day one, it isn’t going to “settle.” Loosen it then, not after your edges thin.
Watch for these warning signs during and after the install:
- Tenting, where the scalp visibly lifts at the base of a braid
- Small bumps or a stinging feeling along the parts
- Broken, wispy hairs forming a fringe at the front hairline
- Pain that keeps you awake the first night
If you’re prone to tension at the temples, ask for the front rows to start slightly behind the hairline and for less extension hair in the first two braids. The same tension logic applies to other pulled-back looks, including boxer braid styles worn on repeat.
What variations should you ask for?
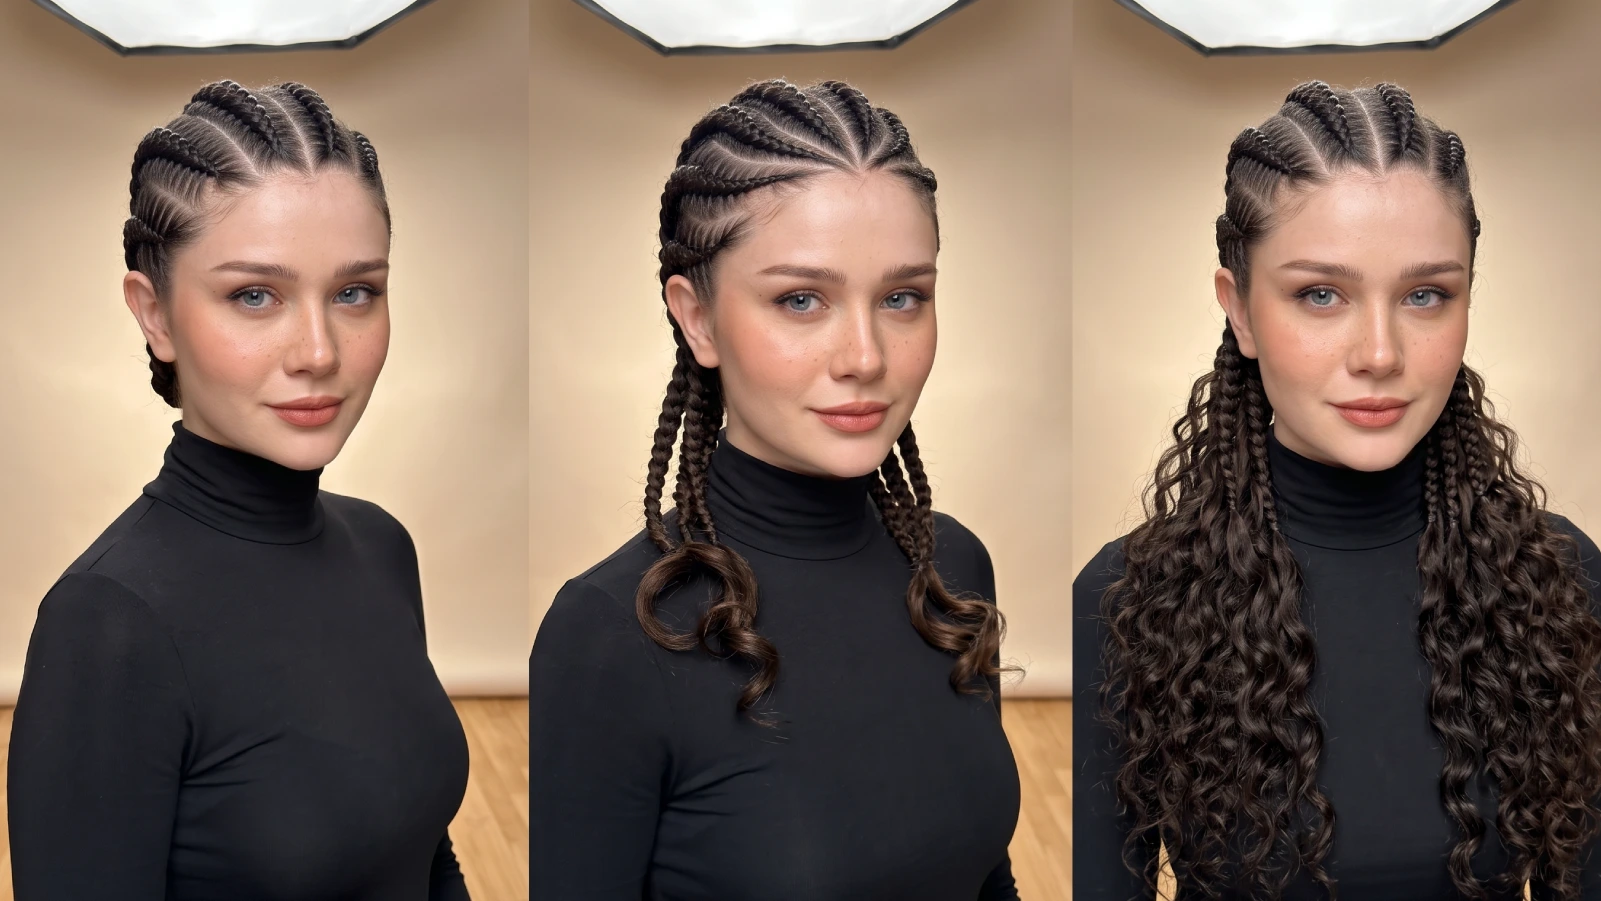
Pick your variation by two decisions: how the ends finish, and which direction the parts travel. Everything else is detail.
Straight-back rows read clean and professional. Curved or swirled parts read editorial, and cost more because the parting takes longer.
- Straight-back goddess braids: four to six thick rows running front to nape, the fastest install.
- Curved or halo braids: rows that arc around the crown, best for events.
- Goddess braids with curly ends: braided to the nape, then left loose in water-wave or deep-wave hair.
- Half-up goddess braids: front rows braided, back left out or curled, a good in-between if you don’t want a full install.
- Braided into a bun or ponytail: rows gathered high, which adds tension, so keep it occasional.
For a softer, rounder texture that doesn’t sit flat to the scalp, rope braiding gives you a similar thickness with far less commitment.
Frequently Asked Questions
Two to five hours for most people. Straight-back rows on shorter hair land at the low end, while curved parting patterns, added stitch detail, or very long extension hair push you toward five.
Four to six weeks is the sweet spot. The AAD recommends not wearing braids longer than two to three months, and past six weeks new growth loosens the base and the braids start pulling unevenly.
Yes. You need roughly two to three inches so the braider has something to anchor to. Fine hair should go with fewer, lighter braids and less extension hair to keep weight off the roots.
Not directly. They protect ends from daily manipulation and heat, which lets existing growth stay put. The retention is the benefit, not extra growth speed.
The Takeaway
- Goddess braids are thick, raised cornrows built with added hair, usually under ten braids.
- Budget two to five hours for the install and plan on four to six weeks of wear.
- Wash at the parts, oil the scalp twice a week, and always sleep in satin.
- Pain during the install is a stop signal, not something that settles.
If you like the volume but want something you can do yourself in twenty minutes, bubble braid styles give you a similar statement look with no salon appointment.