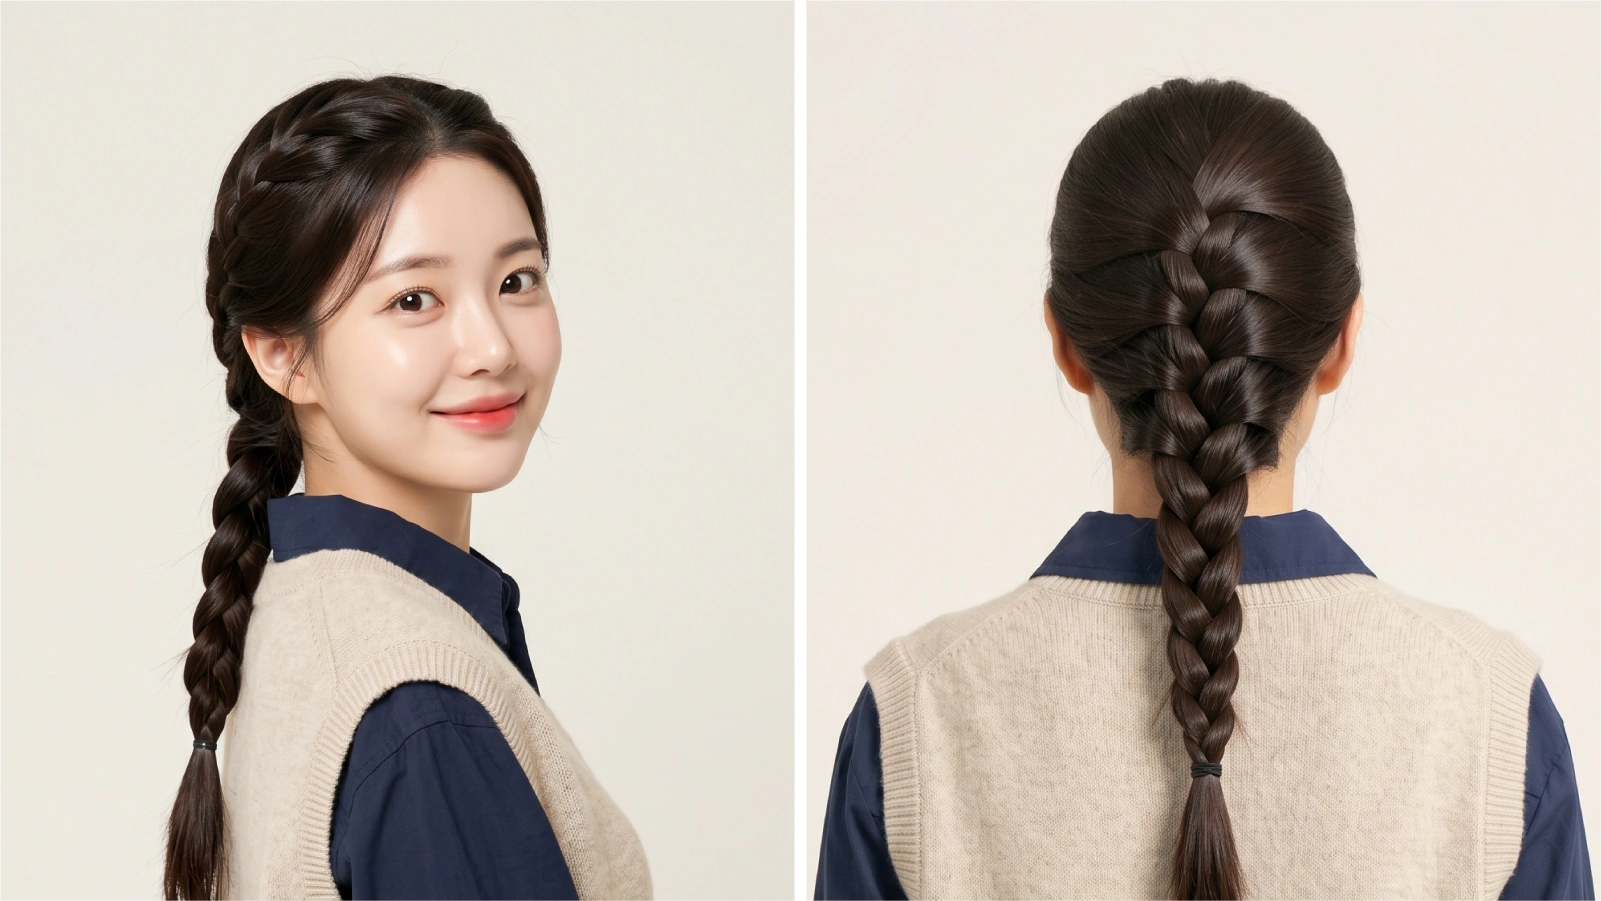
Bubble braids aren’t braids at all. They’re ponytails segmented by a row of elastics, with the hair between each band gently pulled outward to form rounded “bubbles” down the length. That’s the whole trick, which is why the style takes about five minutes and needs zero braiding skill.
The look is a Y2K holdover that keeps resurfacing every spring and summer around proms, weddings, and festivals. It also happens to be one of the few easy everyday hairstyles that works on straight, wavy, curly, and coily hair without changing the technique.
Below you’ll get the step-by-step method, the elastic and spacing choices that actually decide whether your bubbles hold or sag, and a removal routine that won’t cost you a handful of broken strands.
Style Snapshot
- Bubble braids are a ponytail divided by evenly spaced elastics, not a woven braid, so beginners can nail them on the first try.
- Space bands about one to two inches apart on long hair and closer on short or fine hair for fuller-looking bubbles.
- Pull each bubble open starting from the bottom elastic and working up, which stops the top sections from collapsing.
- Cut elastics out with a seam ripper instead of yanking them, and skip daily wear to protect your hairline.
How do you do bubble braids step by step?
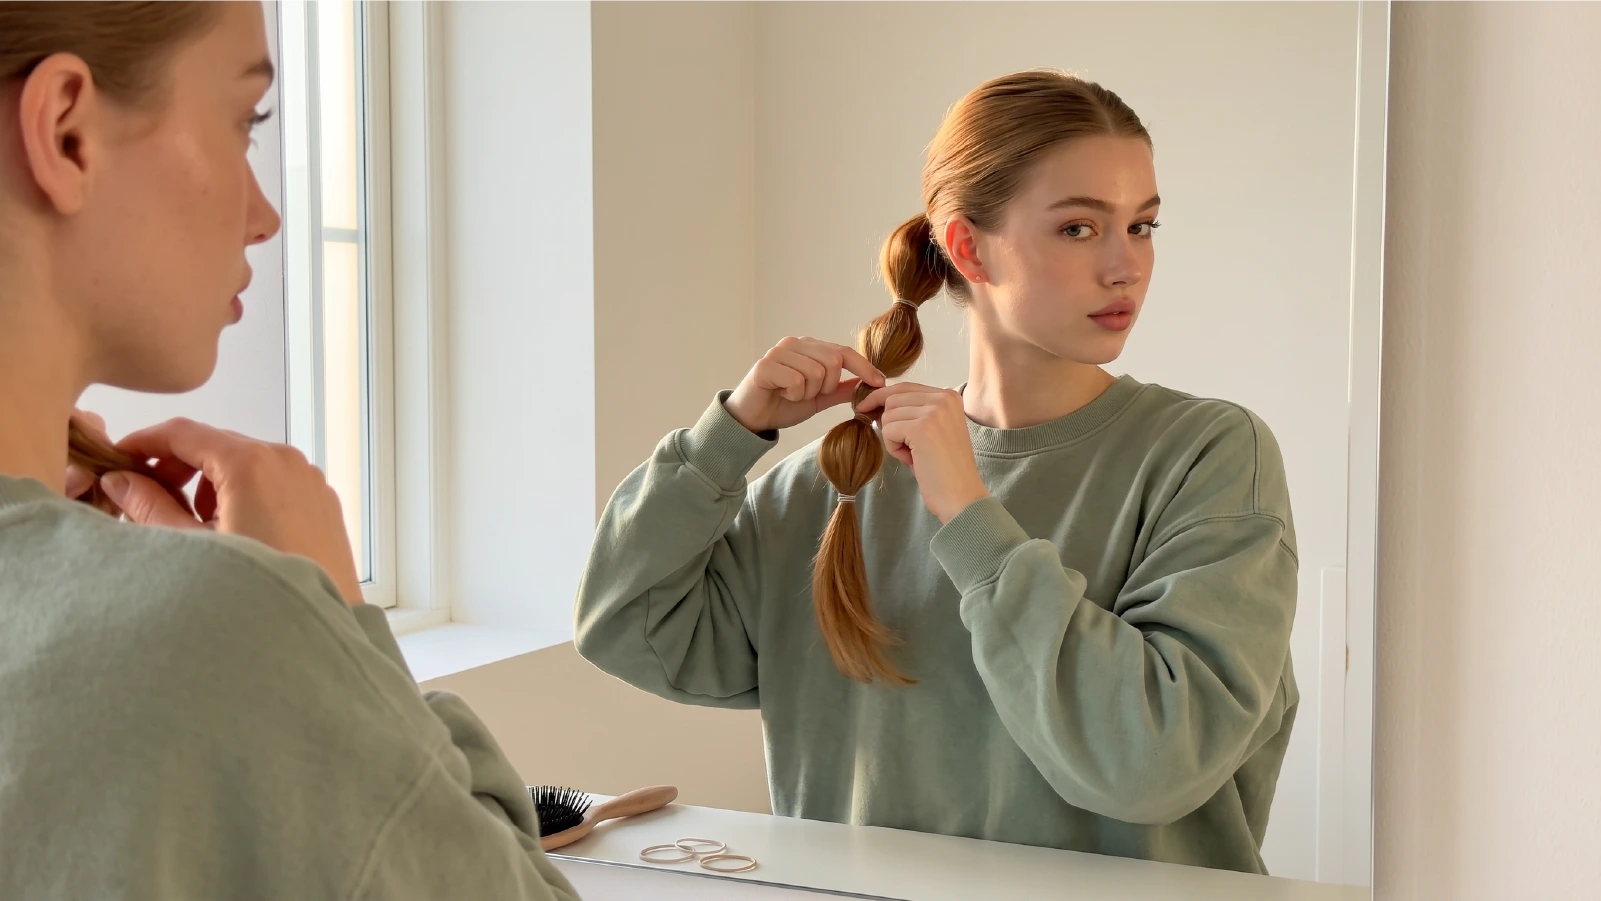
Start with dry, detangled hair, gather it into a ponytail, then add elastics down the length and puff out each section. Day-old hair works better than freshly washed hair because it has more grip for the bands.
You’ll need a brush, a handful of small elastics (clear ones disappear, colored ones become the accessory), and a flexible-hold hairspray.
- Brush hair smooth and secure a ponytail wherever you want it: high, low, or off to one side.
- Tie your second elastic one to two inches below the base.
- Add the rest of the bands down the length, keeping the spacing consistent.
- Starting at the bottom elastic and moving upward, use your thumbs and index fingers to pull each section outward until it rounds out.
- Mist with hairspray, then smooth flyaways with a drop of serum on your palms.
Working bottom to top matters more than most tutorials admit. Each bubble you open pushes weight downward, and the elastic underneath anchors it. Do it in the other direction and your top bubbles flatten before you finish.
Bubbles don’t have to match. Starting large at the base and tapering smaller toward the ends reads as intentional and hides uneven lengths.
What’s the best bubble braid for your hair type and length?
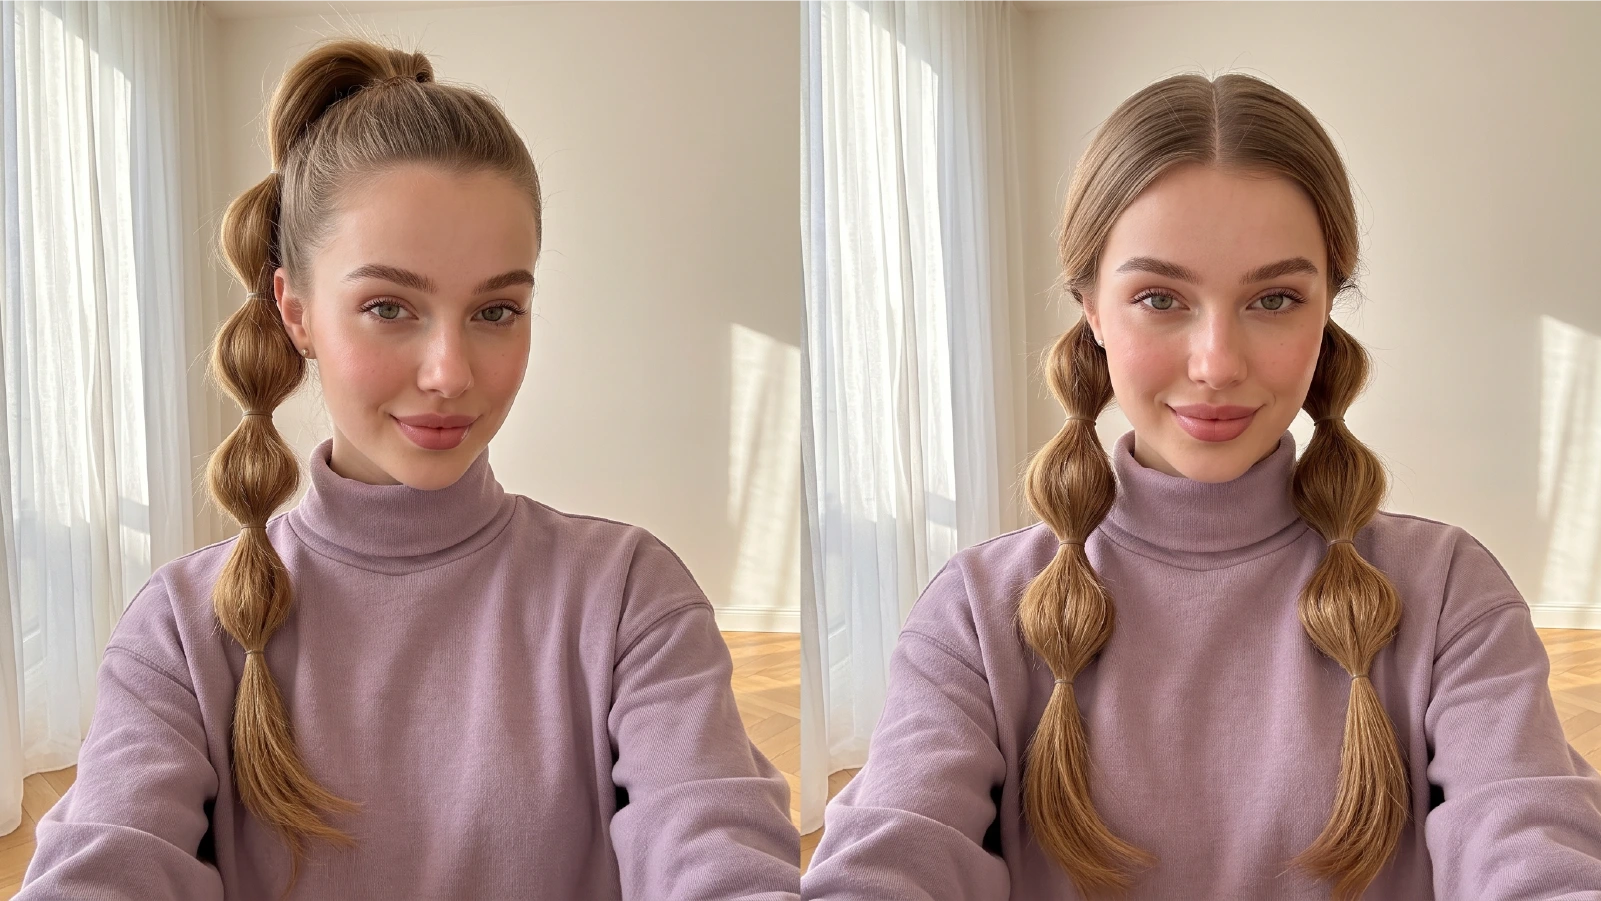
The technique doesn’t change, but elastic size and spacing do. Fine hair needs smaller bands placed closer together, and thick or curly hair can carry wider gaps because the texture fills the space on its own.
Short hair isn’t a dealbreaker. Part down the middle, take a one-inch section at each front hairline, and run three tiny bands down it. You get the detail around your face without needing length to hide it.
Double pigtails are the most secure option for heavy hair because they split the weight across two anchor points. For the single-tail version, the bubble ponytail method covers spacing and placement in more detail.
If you want the same face-framing effect with actual weaving, a Dutch braid covers similar ground.
How do you make bubble braids last without wrecking your hair?

Expect a few hours to a full day on most hair types, and up to two or three days if you protect the style overnight. Sleep with the bubbles gathered into a loose bun and wrapped in silk or satin so friction doesn’t fuzz them out.
Keep your hands off during the day. Every touch loosens the bubbles and pulls fine strands out of the bands.
The bigger issue is tension. A row of tight elastics concentrates pull along the hairline, and the American Academy of Dermatology recommends changing up your hairstyle regularly rather than wearing the same pulled-back style day after day.
Practical version: if your scalp aches, it’s too tight. Rotate bubble braids with looser styles rather than defaulting to them every morning.
Removal is where most breakage happens:
- Snip, don’t pull. Slide a seam ripper or small blunt-nose scissors under the elastic and cut with the blade angled away from your hair. Work slowly, and check what’s under the band before you cut.
- Start at the ends and move up, so you aren’t dragging bands through the full length.
- Detangle with slip. A conditioning spray or a few drops of oil before combing reduces snapping.
- Bank the bend. The waves left behind make a great next-day base, or a starting texture for a fishtail braid.
Frequently Asked Questions
Not inherently, but multiple tight elastics create repeated tension at the hairline. Worn occasionally and removed gently, they’re low risk. Worn daily and pulled out by hand, they can cause breakage and hairline thinning over time.
Usually four to eight for a standard ponytail. Long hair with two-inch spacing lands around five or six. Fine or short hair needs more bands placed closer together to make each bubble look full.
Yes, and curly and coily textures often hold the shape better because the volume is already there. Work on dry hair with a light styling cream, and you’ll need less pulling to round out each section.
Two common causes: you fluffed from the top down instead of bottom up, or your elastics are too loose to hold tension. Slippery, freshly washed hair also fights the style, so add texture spray first.
The Takeaway
- Bubble braids are a segmented ponytail, so anyone who can tie an elastic can do them.
- Match elastic size and spacing to your hair type rather than copying a tutorial’s numbers.
- Always open the bubbles from the bottom elastic upward to stop sagging.
- Cut the bands out and keep the style occasional, not daily, to protect your hairline.
If you liked how fast this one comes together, the same five-minute logic applies to a classic French braid once you’re ready to try actual weaving.