A Dutch braid is a three-strand braid where you cross each section under the middle instead of over it, so the plait sits raised on top of your hair. That underhand move gives it a bold, 3D look a flat braid can’t match. It’s basically an inside-out French braid.
This guide covers the exact steps to Dutch braid your own hair, how it differs from a French braid, and how long the style holds. You’ll also get a few ways to wear it beyond a single braid.
It works best on medium to long hair and slots neatly into your rotation of simple everyday hairstyles once your fingers learn the under-cross. Beginners usually find it clicks fast with a mirror and a little practice.
Style Snapshot
- Dutch braids use an underhand cross (each section goes under the middle), which is what makes them pop off the scalp.
- Master the basic three-strand braid first, then reverse the direction to get the Dutch version.
- The style holds from a couple of days to over a week, depending on tightness, hair type, and how you sleep.
- Keep it loose enough to feel comfortable. If it tugs or hurts, it’s too tight for your scalp.
How do you Dutch braid your own hair?

Start at your crown and split a top section into three equal strands. Cross each outer strand under the middle one, not over, and feed in a little hair from the side before each cross. That underhand motion is the entire difference.
- Brush hair smooth and mist with a little texturizing or smoothing spray so strands grip.
- At the crown, divide a section into three equal strands: left, middle, right.
- Cross the left strand under the middle, then the right strand under the middle.
- Before each cross, gather a small piece of loose hair and add it to the outer strand.
- Keep crossing under and feeding in hair until you reach your nape.
- Finish as a regular three-strand braid and secure with a clear elastic.
- Gently tug the edges of each loop to “pancake” the braid for more width.
Where you start sets the whole look. A center part gives symmetry, while starting off to one side creates a diagonal, face-framing braid. Decide before your fingers are full of hair.
Working on second-day hair actually helps here, since a little natural grip keeps sections from slipping. If you’re braiding your own hair, go by feel and only check a back mirror once you reach the nape. Left-handed or right, the motion is the same; your dominant hand just leads.
For an even braid, keep the pieces you add roughly the same size each time. If one side puffs out more, you probably fed it more hair. Slow down, since consistency matters more than speed when you’re learning.
Dutch braid vs. French braid: what’s the difference?
The only real difference is direction. French braids cross over the middle for a flat, sleek finish, while Dutch braids cross under for a raised, textured one.

If you already know the classic over-cross braid, you’re most of the way there. You’re just flipping the motion. Many people find the Dutch version easier to keep tight, because the strands sit on top where you can actually see them.
Not sure which to pick? Reach for a French braid when you want sleek and understated, and a Dutch braid when you want volume and edge. For the gym or a busy day, the Dutch braid’s grip on the scalp tends to survive movement better.
How long do Dutch braids last, and are they bad for your hair?

A Dutch braid usually holds from about two days to over a week, and it’s gentle on hair as long as you don’t braid it too tight. That range is wide because so much comes down to your hair and daily habits, not the braid itself.
Longevity depends on your hair type, how tight you braid, and how you sleep. Finer hair tends to loosen faster, while thick or textured hair can hold for many days. Sleeping on a satin pillowcase or loosely wrapping the braid buys you extra time.
Braids themselves aren’t the problem; tension is. The American Academy of Dermatology explains that regularly wearing tight, pulling hairstyles can cause traction alopecia, a type of hair loss most visible along the hairline.
To stretch a braid to day three or four, refresh the top with dry shampoo and re-tuck any loose pieces instead of redoing the whole thing. A silk scarf overnight keeps frizz down too.
Styles like this are also why braids beat heat: no hot tools, less breakage, and soft second-day waves when you take the braid out.
If a braid stings or aches, it’s too tight. Comfort is the simplest sign your scalp is happy.
A few easy habits keep the style low-risk:
- Don’t braid right at the hairline if you can help it. Start a little further back.
- Give your scalp tension-free days between braided styles.
- Take the braid down gently, working from the bottom up so you don’t snap strands.
- Skip Dutch braiding on soaking-wet hair, since wet strands stretch and break more easily.
Ways to wear a Dutch braid
Once the single braid feels natural, the same under-cross opens up a bunch of variations. The braid is a building block, not just a finished look. Each version below uses the exact technique you just learned.

- Double Dutch braids: two parallel braids, also called boxer braids, that stay put through workouts and sport.
- Dutch crown braid: wrap a braid around your head for a soft, romantic crown braid effect.
- Half-up Dutch: braid only the top section and leave the lengths loose or curled.
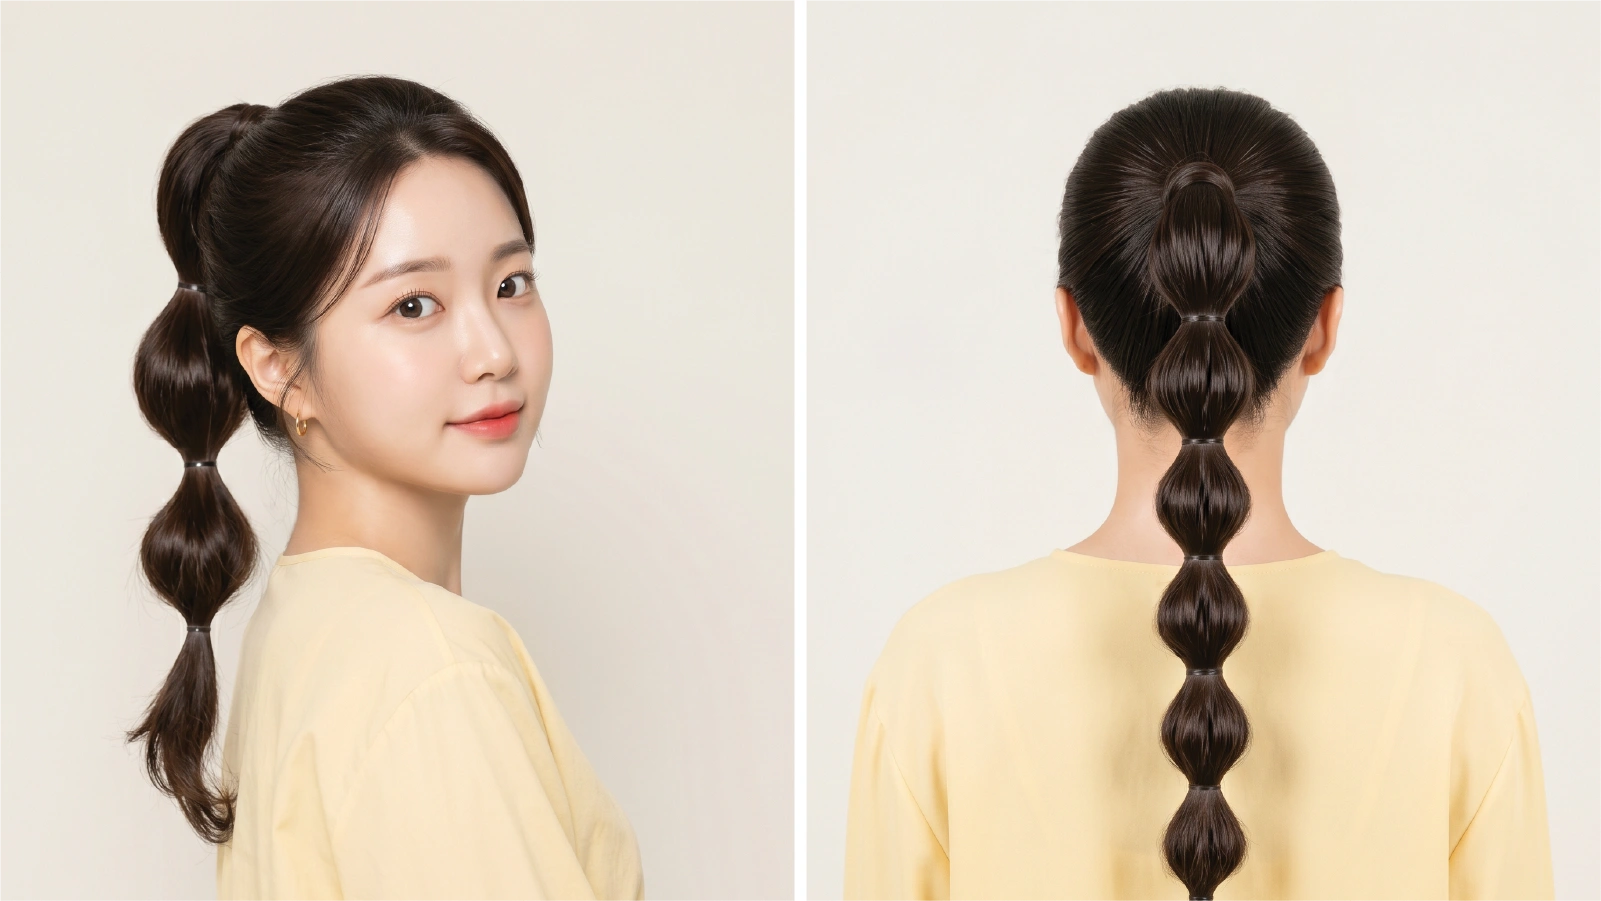
- Bubble finish: pull and puff each loop after braiding for a look close to playful bubble braids.
- Side Dutch braid: start above one ear and angle the braid across for an off-center finish.
For a polished version, smooth the crown with a boar-bristle brush before you start, then set the finished braid with a light mist of hairspray. For an undone vibe, skip the spray and pancake the loops more aggressively.
Mix and match once you’re comfortable. A Dutch braid plays well with buns, ponytails, and space buns, so it makes an easy base for bigger styles. Think of these as starting points, not a limit, since the under-cross works anywhere you’d use a regular braid.
Frequently Asked Questions
Yes. “Inside-out braid” and “inverted French braid” are just other names for a Dutch braid. All describe the same underhand technique, where sections cross under the middle and leave the plait raised on top.
Dry or barely damp hair works best. Wet strands stretch and snap more easily, and the braid tends to slip. A little texturizing spray on dry hair gives your fingers grip and helps the style hold longer.
Usually the sections aren’t even, or one side is pulled tighter than the other. Add the same amount of hair before each cross, keep steady tension, and smooth flyaways with a bit of gel or spray.
Yes, though very short or heavily layered hair is trickier. Chin-length and longer usually holds. Keep short pieces in with a little gel, use small elastics, and expect a shorter braid that may need a few pins.
The Takeaway
- Dutch braids come down to one move: cross each section under the middle, not over.
- Nail the plain three-strand braid first, then reverse it and add hair as you go.
- Keep the braid comfortable, not tight, to protect your hairline over time.
- Expect a few days to over a week of wear, depending on hair type and sleep.
Once the single braid feels easy, try splitting it into two and running them side by side, or move on to a softer fishtail braid when you want loose, date-night texture.