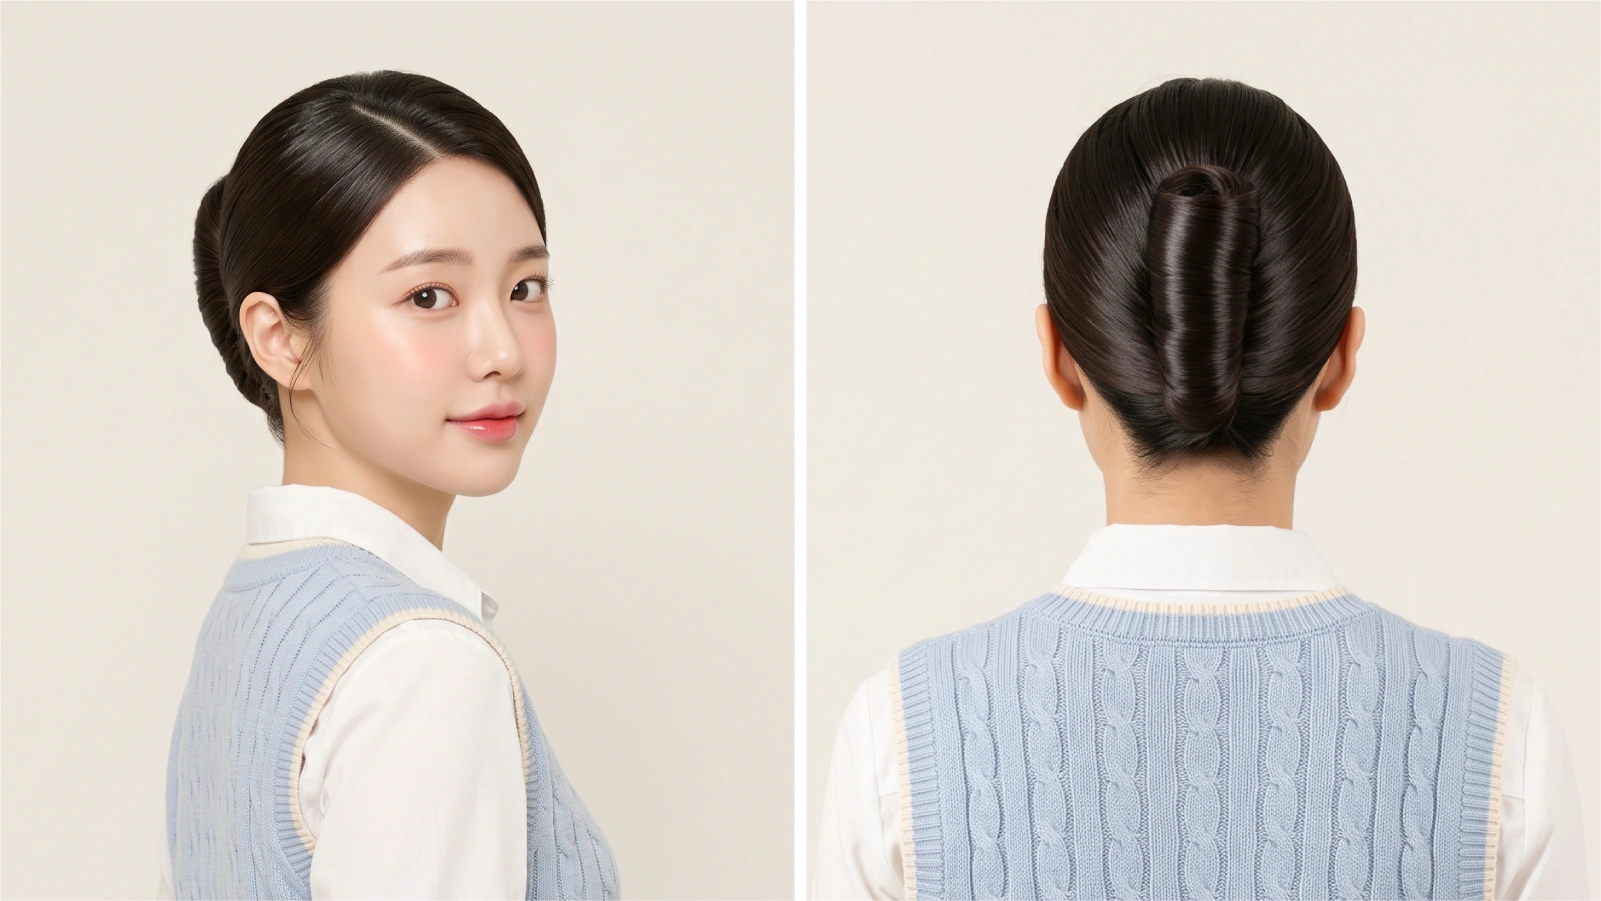
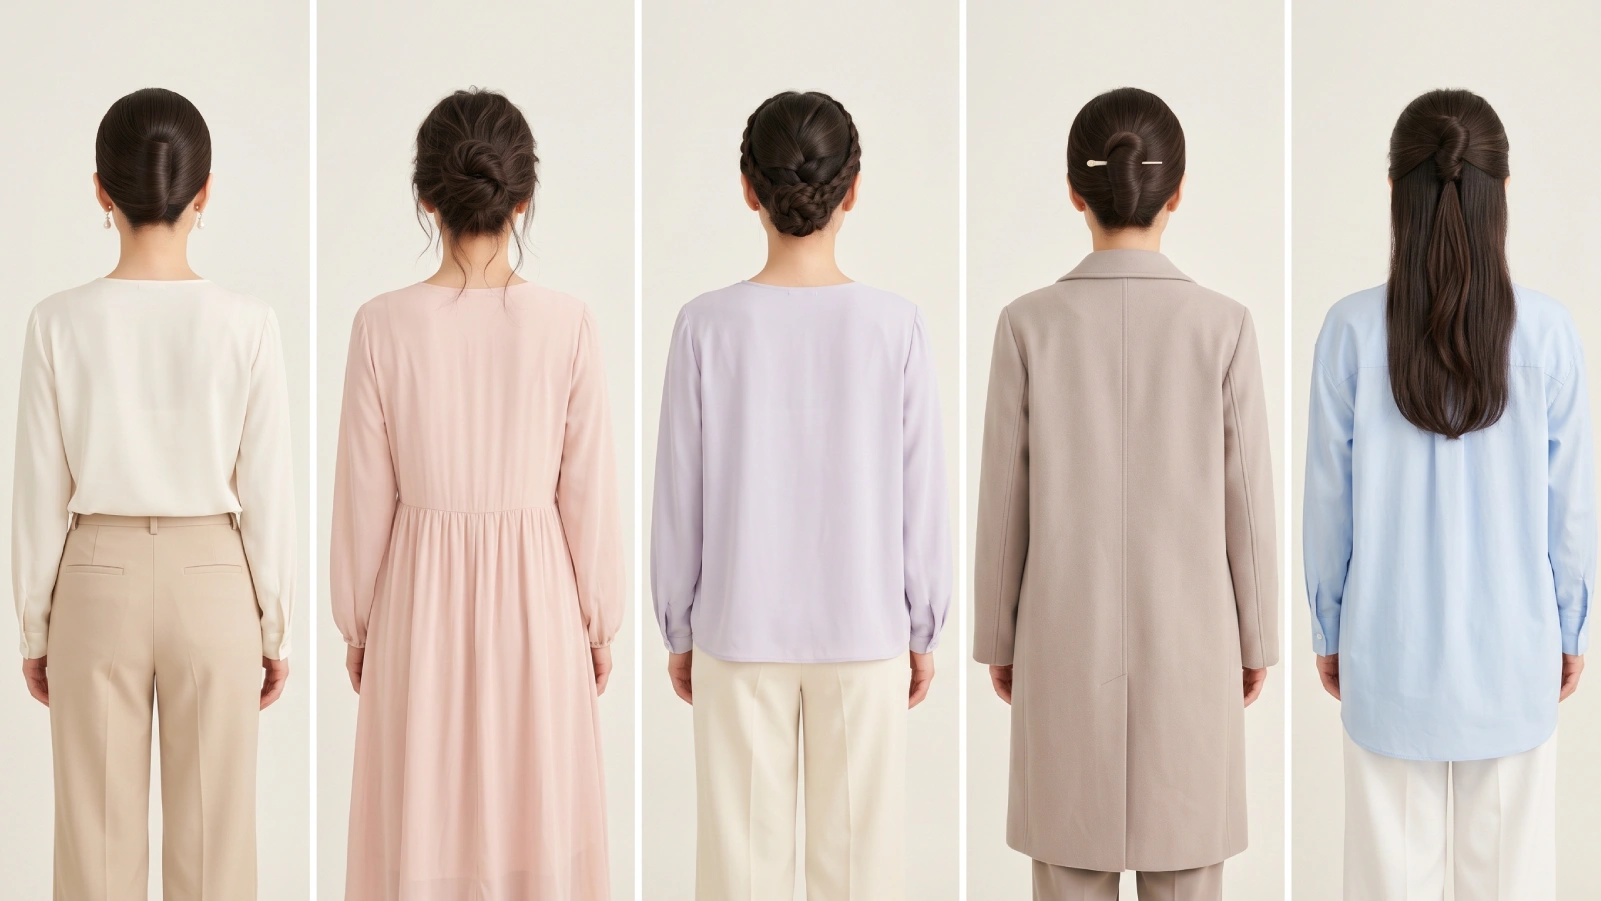
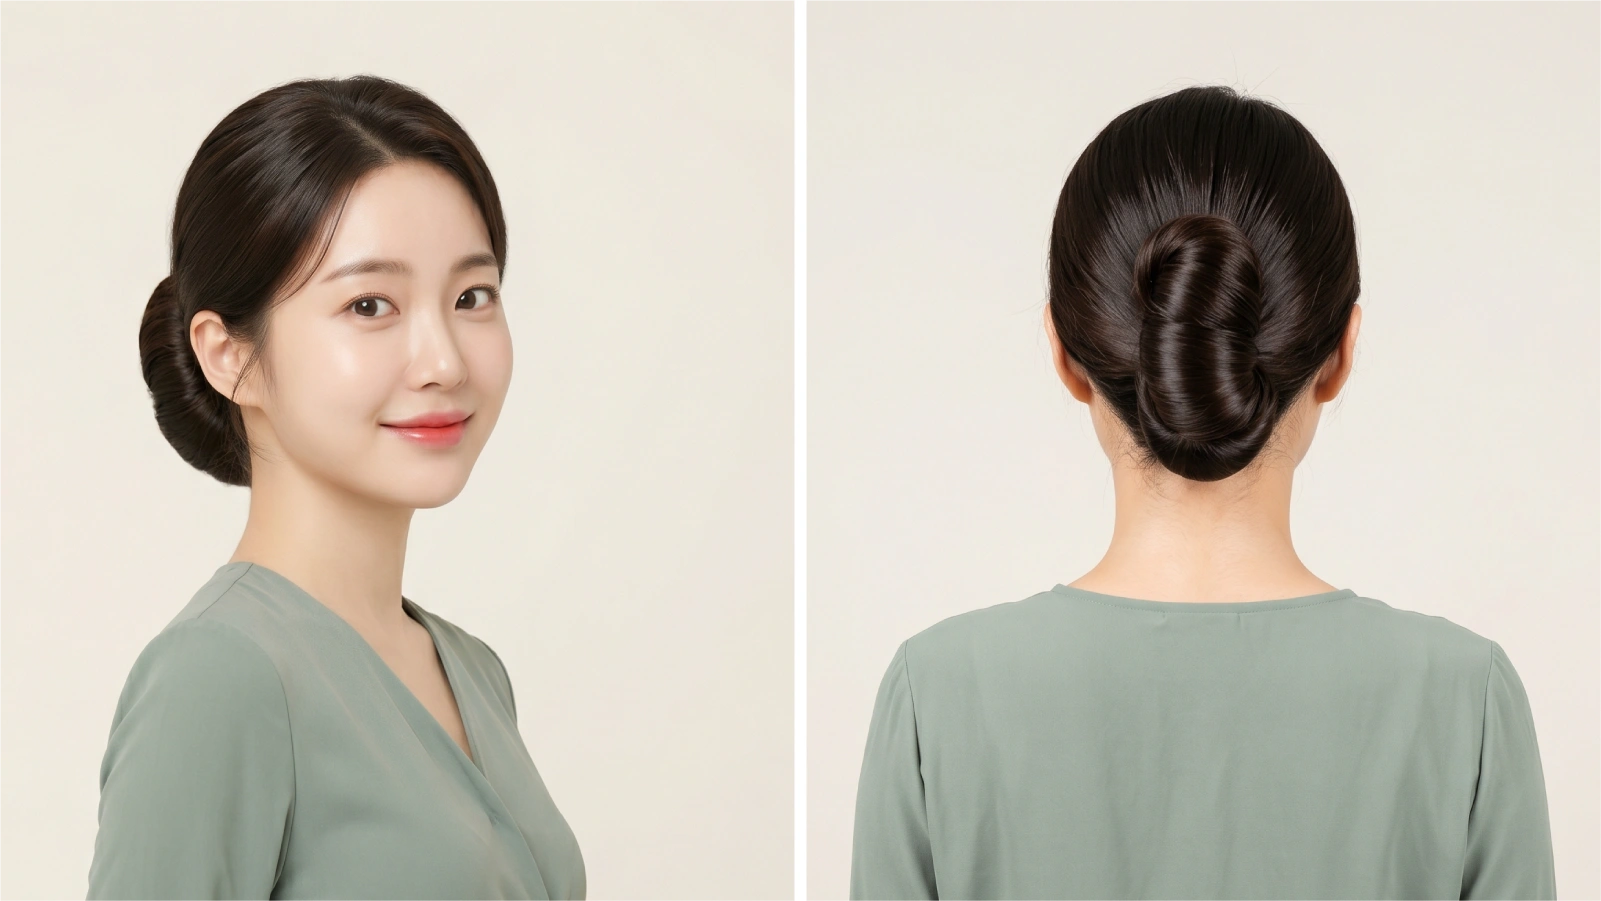
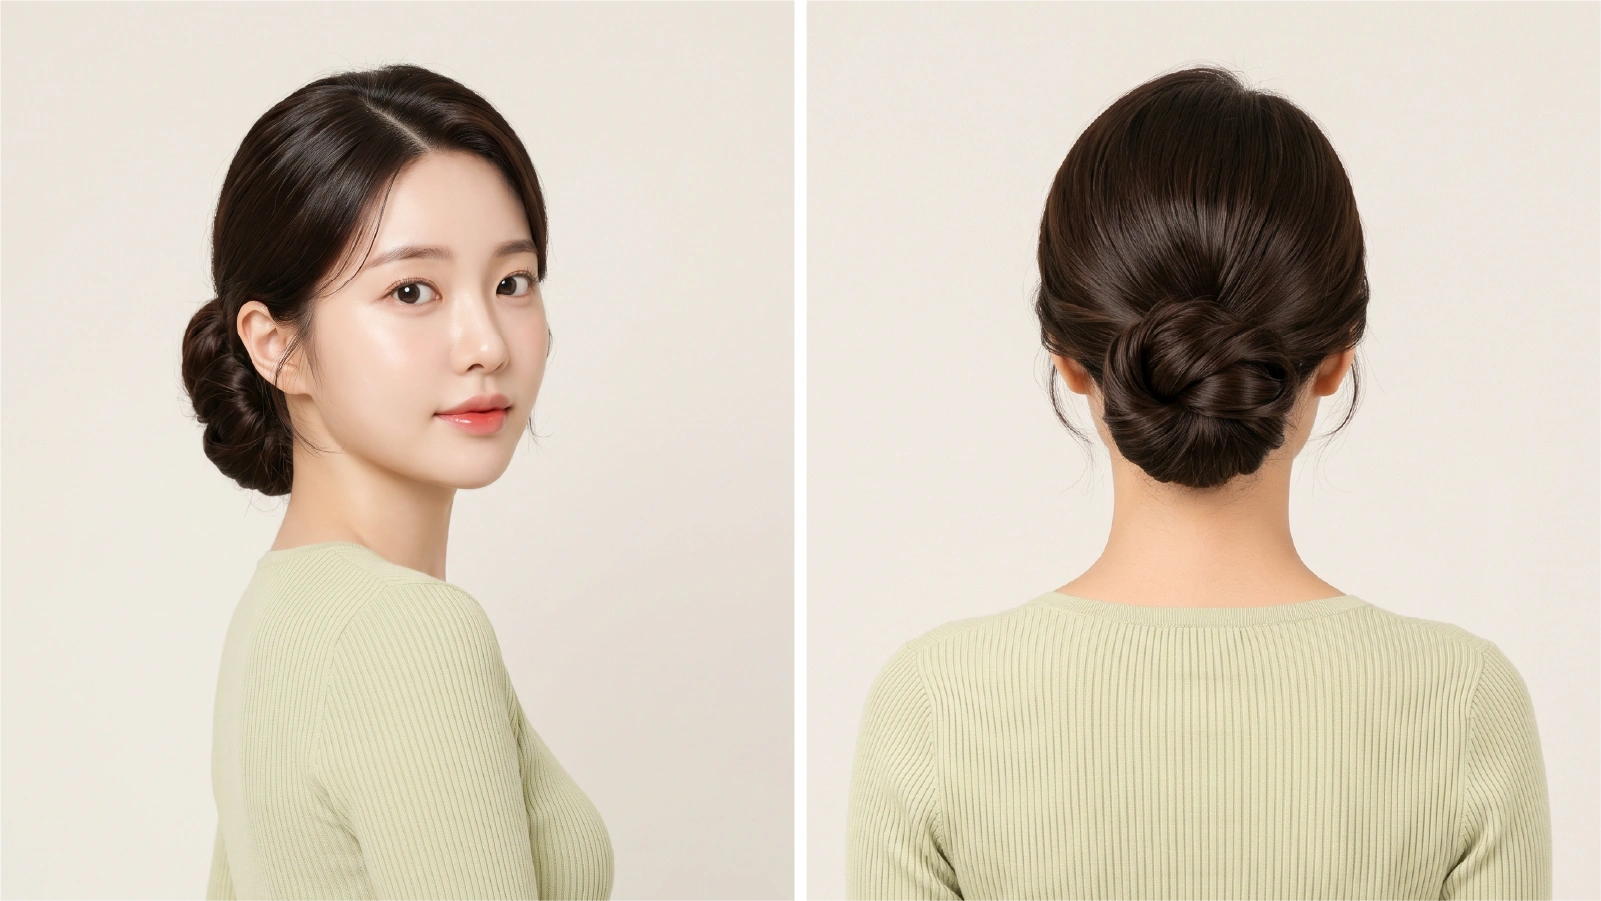
A french twist bun is a vertical updo where the hair is swept to one side, twisted upward against the back of the head, and tucked into itself to form a sleek, self-contained roll.
It sits flush against the skull — no ponytail base, no elastic required — making it one of the most polished updos you can do in under ten minutes.
Dating back to the 18th century and surging in mainstream popularity during the 1950s and 1960s through icons like Audrey Hepburn and Grace Kelly, the style has never truly left.
Right now, it’s riding a full-blown revival thanks to the quiet luxury and old-money aesthetic trends dominating Pinterest and TikTok in 2025–2026.
If you’ve been exploring everyday hairstyles for women, the french twist bun is one of the most versatile updos worth adding to your rotation.”
Style Snapshot
- A french twist bun takes 5–10 minutes once you’ve practiced twice and works on medium to long hair (4+ inches at the nape).
- The style dates to the 18th century and reached peak cultural visibility in the 1940s–1960s via Grace Kelly and Audrey Hepburn.
- Second-day hair holds the style better than freshly washed hair — natural oils add grip that clean hair lacks.
- Avoid regular bobby pins in thick hair; U-shaped pins (hair forks) or a French pin provide stronger, longer-lasting hold.
What Exactly Is a French Twist Bun — and How Does It Differ from a French Roll?
The terms french twist, french roll, and french bun are often used interchangeably, but they’re not identical. Here’s the distinction:
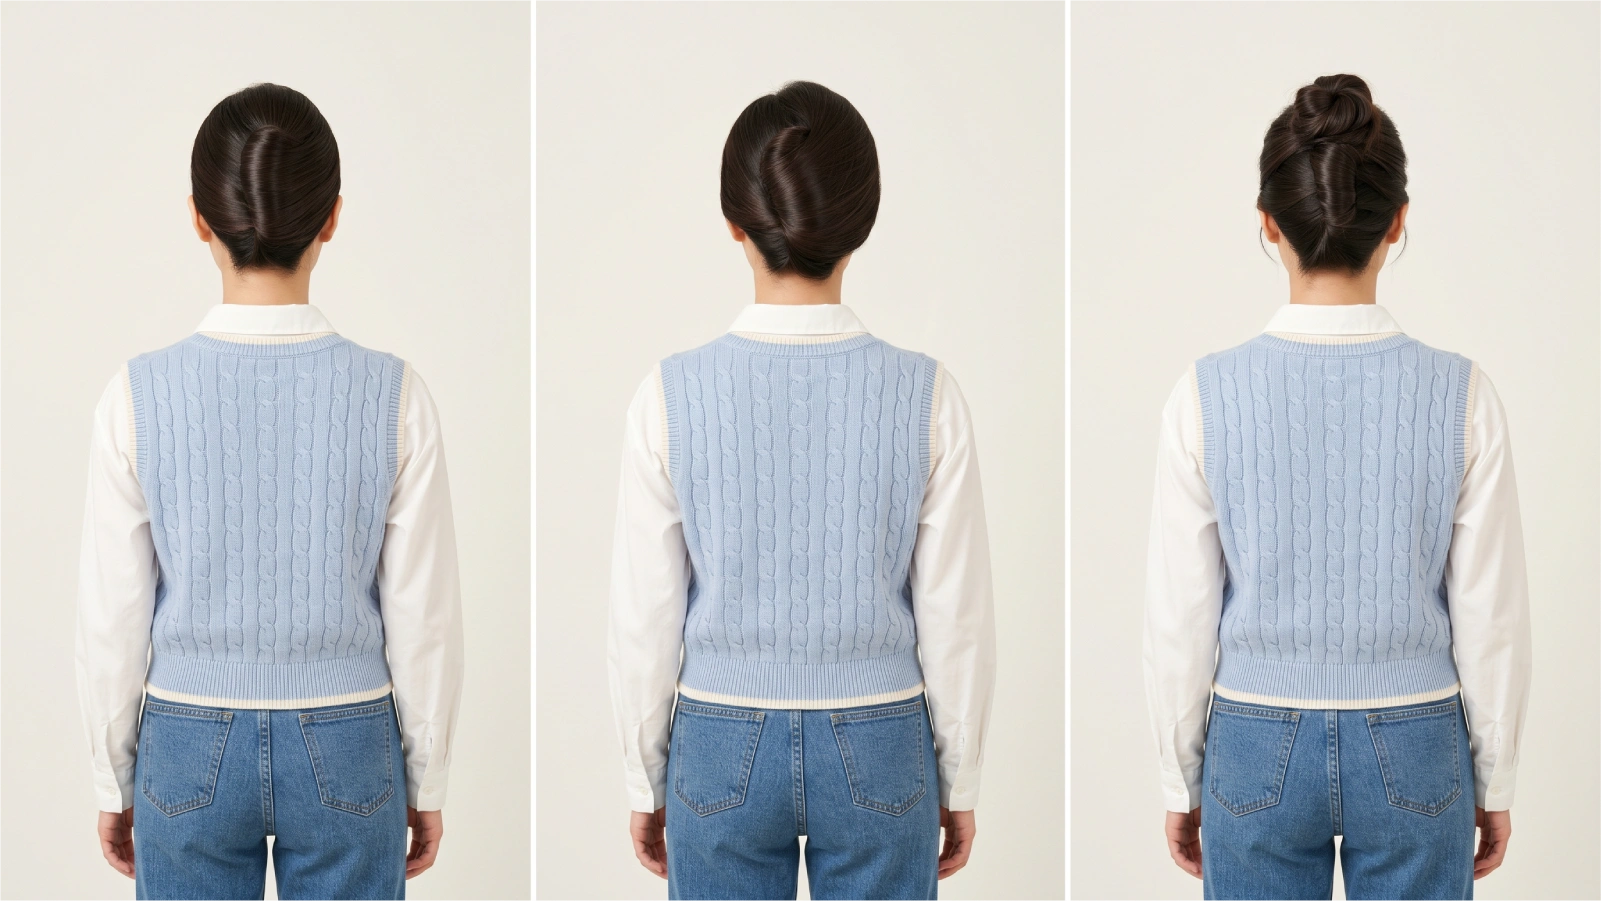
- French twist: Hair is gathered, swept to one side, twisted vertically upward, and tucked into a self-securing roll along the center-back of the head. The roll is sleek and sits close to the skull.
- French roll: A variation where the hair is twisted sideways rather than straight up, producing a wider, more voluminous cone shape. More dramatic, more formal.
- French bun: A hybrid — the hair is twisted into the classic vertical roll, but the ends are left out and coiled into a small bun at the crown rather than fully tucked in. More casual, more forgiving on long hair.
The french twist bun is the everyday-wearable middle ground: polished enough for a job interview, relaxed enough for brunch.
That position in the style spectrum — dressier than a messy bun, less rigid than a ballet-style French roll — makes it the most practical of the three for everyday wear.
Quick Style Comparison Table
Of these four, the classic chignon bun shares the most technique overlap with the french twist — both rely on pinning over elastics, just at different heights on the head.
How Do You Do a French Twist Bun Step by Step?
The most important thing to know: don’t start on freshly washed hair. Clean hair is too slippery to grip properly. Day-two hair — or hair that’s had a light pass of texturizing spray — holds the twist securely without constant re-pinning.
What you need:
- 6–10 bobby pins (medium and large sizes)
- 2–3 U-shaped pins or a French pin for thick hair
- Fine-tooth comb for teasing
- Firm-hold hairspray
Step-by-step:
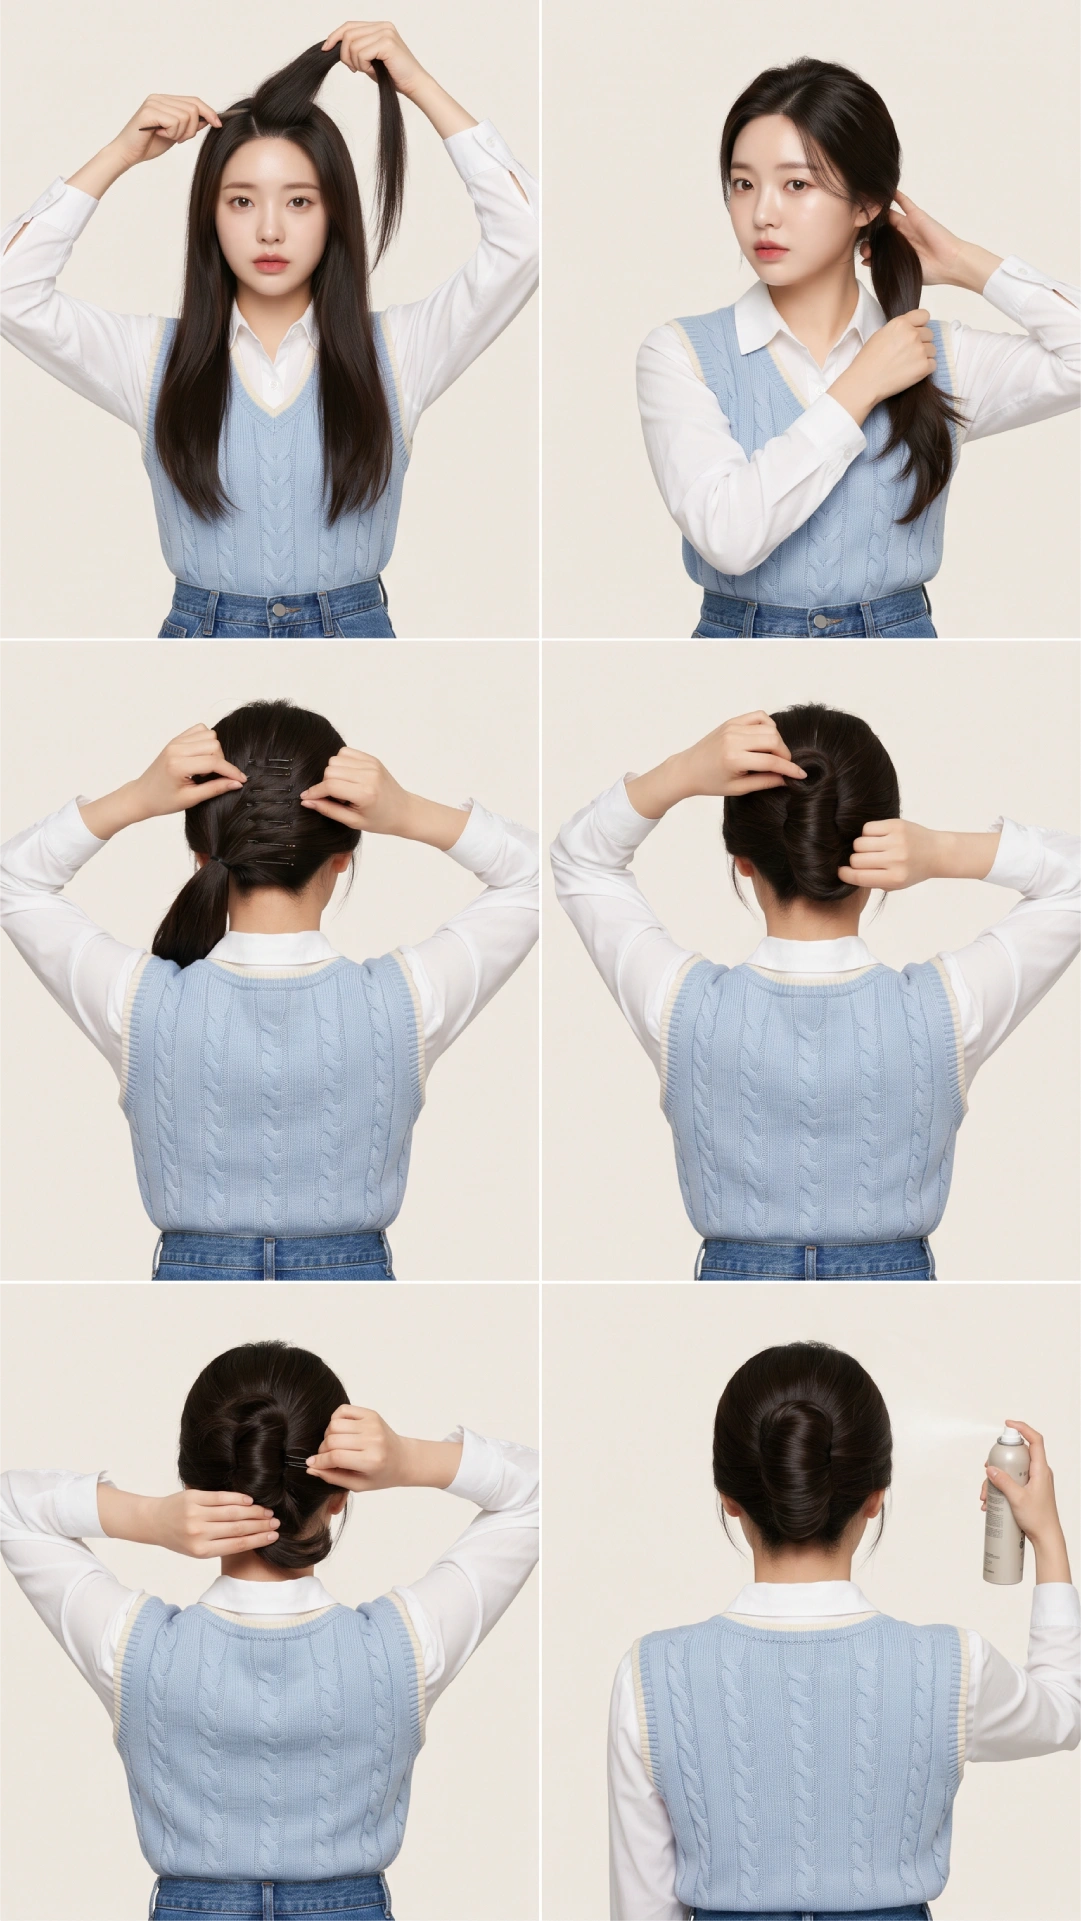
- Section the crown. Use a fine-tooth comb to separate a 1-inch section from hairline to crown — this creates your volume panel. Tease lightly and smooth back down.
- Gather and sweep. Pull all remaining hair into a low, off-center ponytail (left or right side — personal preference). Hold firmly with one hand.
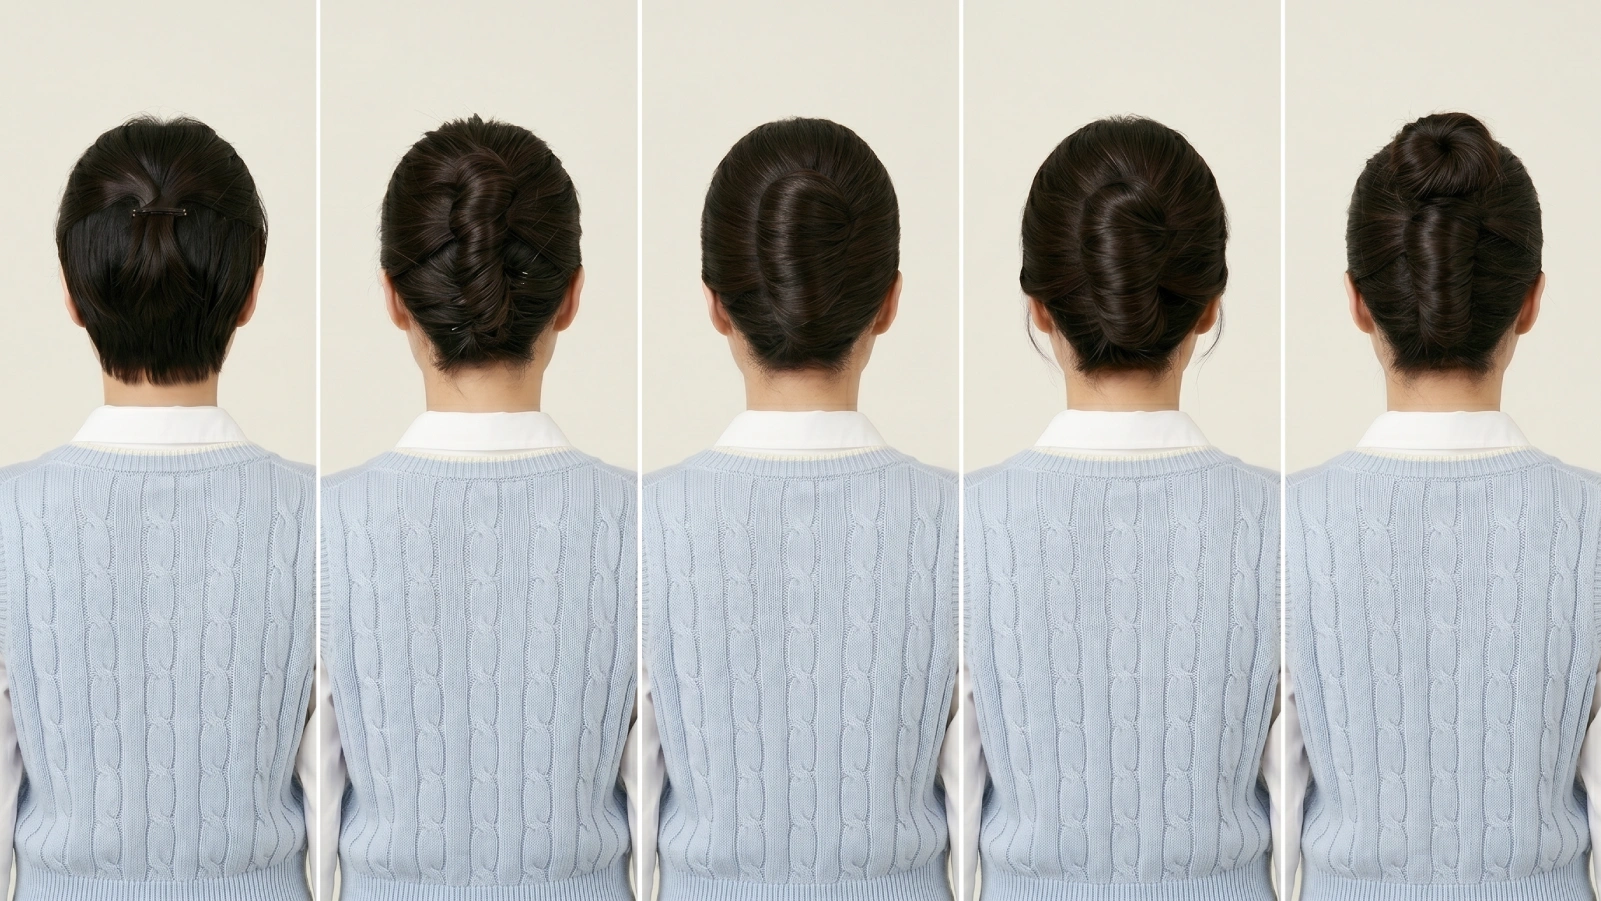
- Pin the spine. With your free hand, place a vertical row of bobby pins along the center-back of your head, spaced about an inch apart. This is the anchor for your twist.
- Twist upward. Release the gathered hair, then roll it upward and inward toward the row of pins. Think of folding a tube of toothpaste — you’re rolling the hair into itself.
- Tuck the ends. Once the twist reaches the crown, tuck any remaining ends underneath or into the roll. Use U-pins along the fold edge to lock it flat.
- Set and finish. Spray lightly, smooth any stray hairs with a clean toothbrush dipped in gel, and pull 1–2 face-framing strands loose for a softer finish.
The spine of bobby pins placed before you twist is the foundation step — without it, the style unravels by noon.
Does a French Twist Bun Work for Every Hair Type and Length?
The technique shifts depending on your hair type and length — here’s what actually changes for each.
Hair Length Requirements
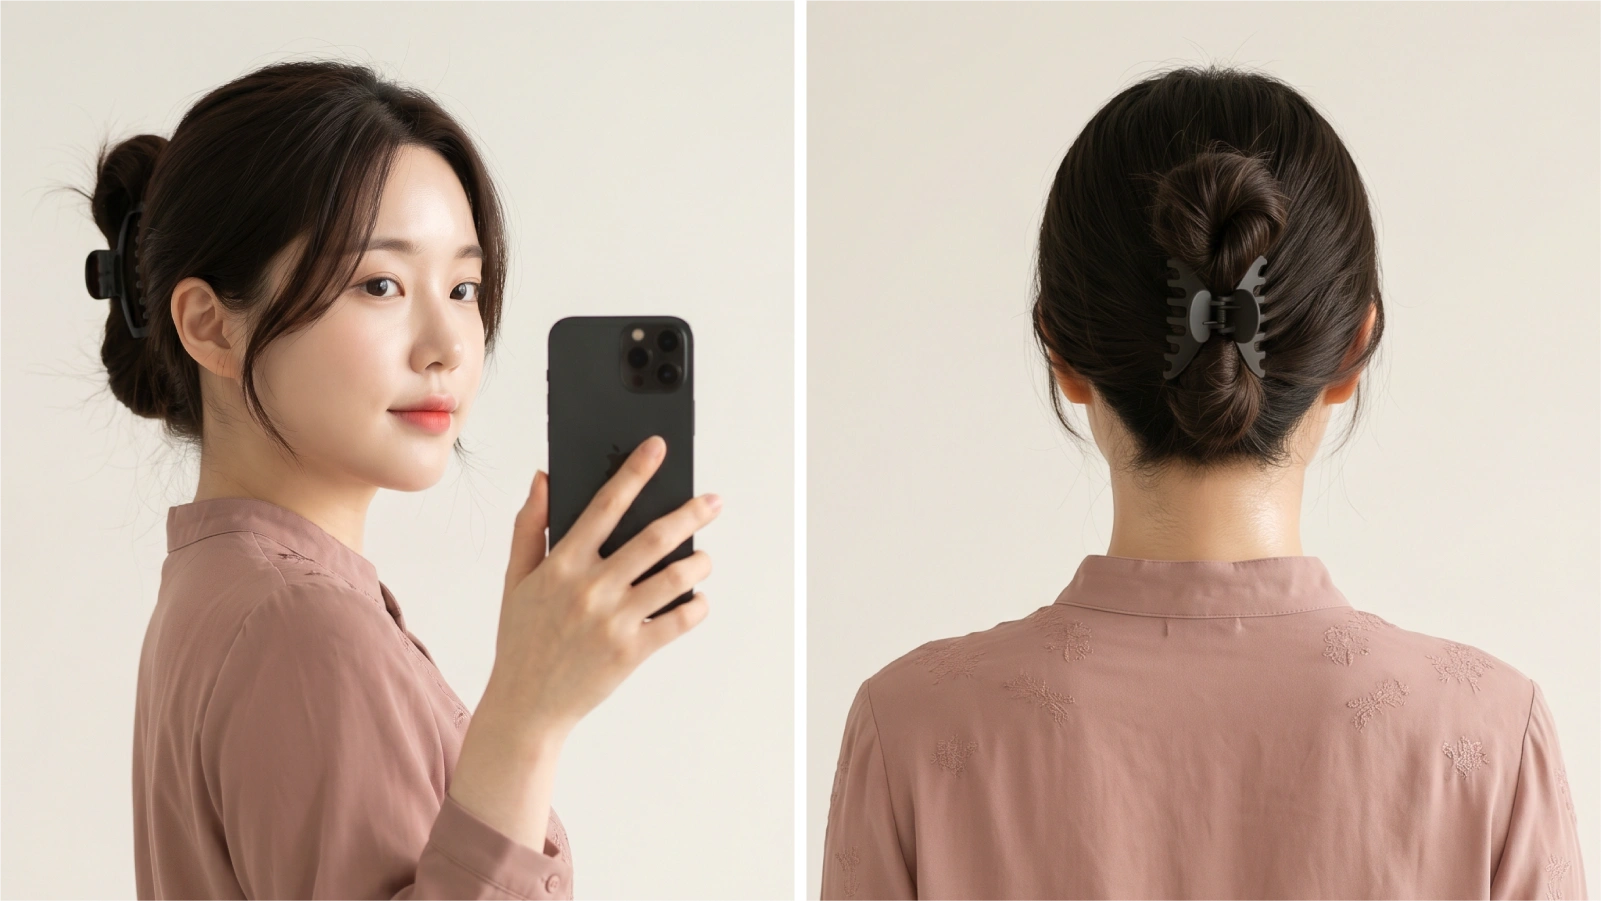
For hair past mid-back that’s too long to tuck fully, securing the excess at the crown with a claw clip bun is cleaner and faster than forcing the tuck — and it becomes a deliberate design element rather than a workaround.”
Hair Texture Tips
- Straight hair: Style works easily but may slip. Use texturizing spray or dry shampoo at roots before starting.
- Wavy hair: Natural texture adds grip — this is arguably the easiest hair type for a french twist bun. Embrace slight undulation in the roll.
- Curly / coily hair: Apply leave-in conditioner or a light styling cream first to reduce shrinkage variance. Stretch the hair gently before gathering. A wider French pin handles volume better than narrow bobby pins.
- Fine hair: Build body with mousse on damp hair before drying. A teased crown section is non-negotiable — without it, the roll looks deflated.
- Thick hair: Standard bobby pins won’t cut it. Use a French pin or cross multiple U-pins across the roll edge for hold that actually lasts.
Why Does My French Twist Bun Keep Falling Apart?
Bun collapse almost always comes down to the same fixable mistakes — here’s exactly what causes each one:
That row of hidden pins is the structural element that holds everything together — it needs to be placed before you start twisting, not after. Using pins with smooth, polished tips also reduces hair breakage at repeated contact points over time.
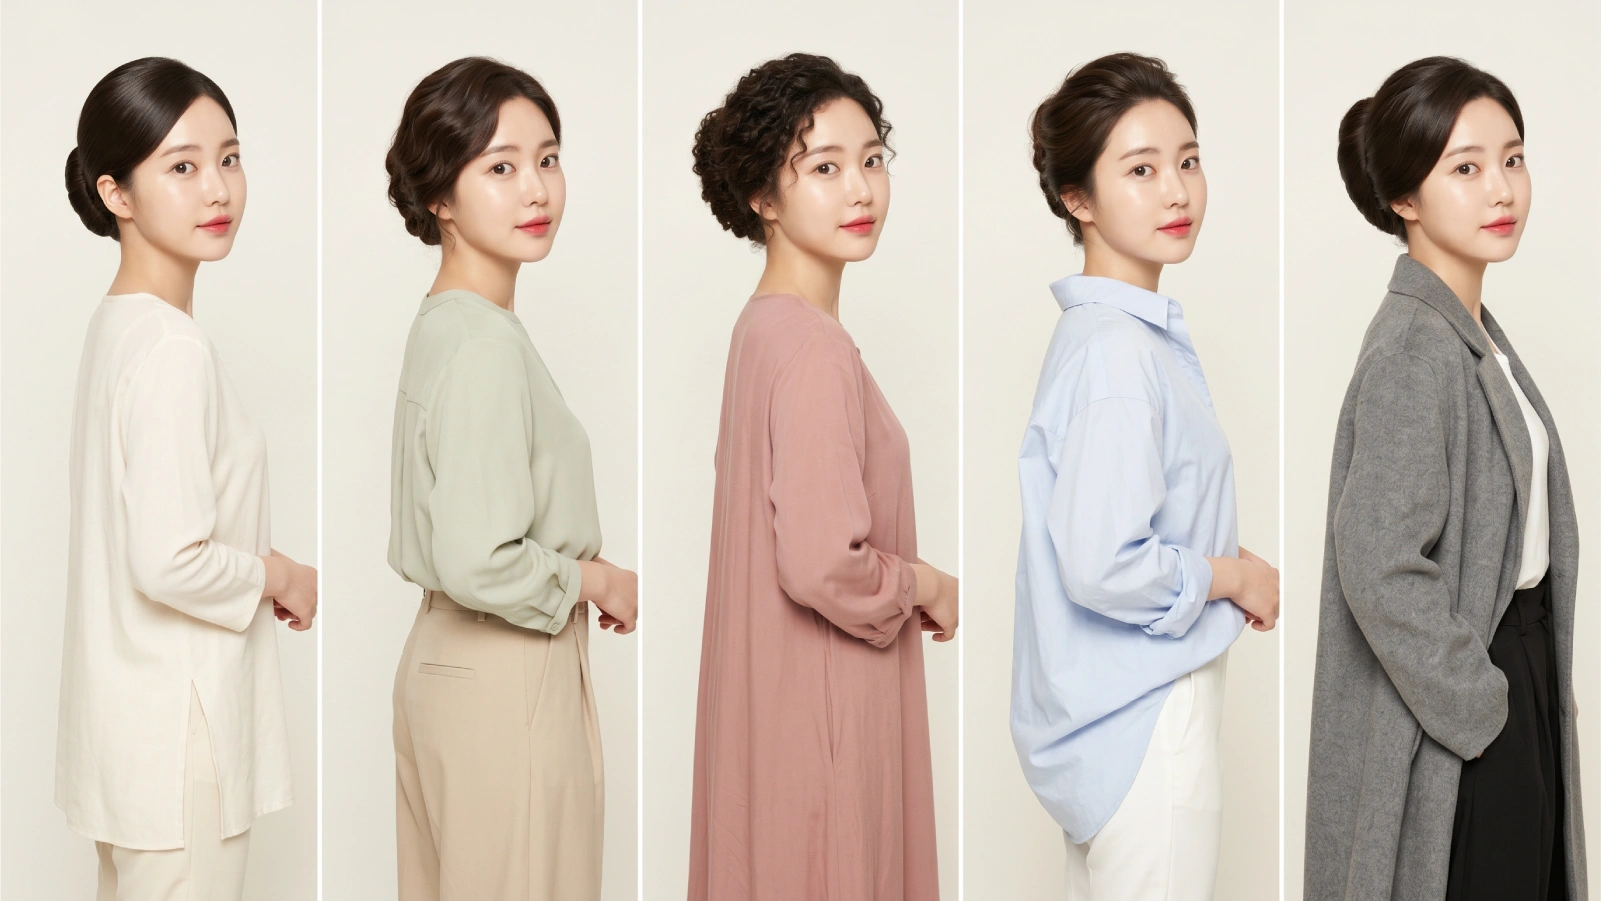
Styling Variations: From Casual to Bridal
The french twist bun adapts easily across dress codes. A few specific variations worth knowing:
- Sleek and polished — Use a boar-bristle brush to eliminate all surface texture before twisting. Ideal for job interviews, formal dinners, or any “quiet luxury” moment. Pair with pearl drop earrings.
- Messy / undone — Skip the teasing step, intentionally pull 3–4 face-framing pieces loose, and don’t smooth flyaways. This is the version trending on TikTok and favored by stylists for bridal “effortless chic” looks.
- Braided accent — Create one or two thin braids at the front hairline before gathering. Twist them into the roll for visible texture in the final style. Works beautifully with accessories.
- Accessorized — A single decorative French pin through the center of the roll replaces 80% of your bobby pins and adds instant visual polish.
- Half-up French twist — Section off the top two-thirds of hair, twist upward, and leave the rest down — a softer variation that sits naturally within the half up half down family of looks, and suits shorter hair or more casual occasions perfectly.
Frequently Asked Questions
A French twist is a fully tucked, vertical roll where no ends are visible — the hair self-seals into the style. A French bun leaves some hair out at the top, coiling loose ends into a small bun at the crown. The bun variation is more forgiving for very long hair that won’t tuck cleanly.
Not a full version — you need at least 3–4 inches of hair at the nape to create any meaningful roll. For shorter hair, a half-up French twist secured with a French pin or decorative barrette gives a similar aesthetic without requiring full-length coverage.
Your first attempt will take 10–15 minutes. After 3–4 practice sessions, most people get it down to 5–8 minutes. The steps that slow beginners down most are the pin spine placement and getting the tuck neat — both become automatic quickly.
Less than most updos, since it doesn’t require a tight elastic at the base. The main damage risk is over-pinning or using low-quality bobby pins with rough tips that snag strands. Use good-quality pins and avoid placing them in the same location every day to prevent breakage along repeated stress points.
A French pin (a single large U-shaped pin, often with an embellished top) is the most elegant and functional option — it replaces multiple bobby pins and adds a deliberate design element. For a more understated look, clear or tone-matching U-pins keep the focus on the silhouette itself.
The vertical line of the twist flatters oval and round face shapes by creating visual length. For square or heart-shaped faces, pull out soft face-framing pieces to balance angular features.
Final Thoughts
The french twist bun earns its longevity because it solves a real problem: looking genuinely put-together without spending the morning on your hair. Nail the pin-spine foundation, start on second-day hair, and the style holds itself for a full workday or event.
Key takeaways:
- Use day-two hair and texturizing spray for grip — clean hair works against you
- Build a vertical bobby-pin spine along the center-back before twisting — this is the make-or-break step
- U-shaped pins or a French pin outperform standard bobby pins for hold, especially on thick or long hair
- Adjust the finish (sleek vs. undone) to match the occasion — the same base technique covers everything from the boardroom to the wedding reception
- Hair length from shoulder-length to mid-back is the sweet spot; shorter and longer hair just needs a variation tweak.
