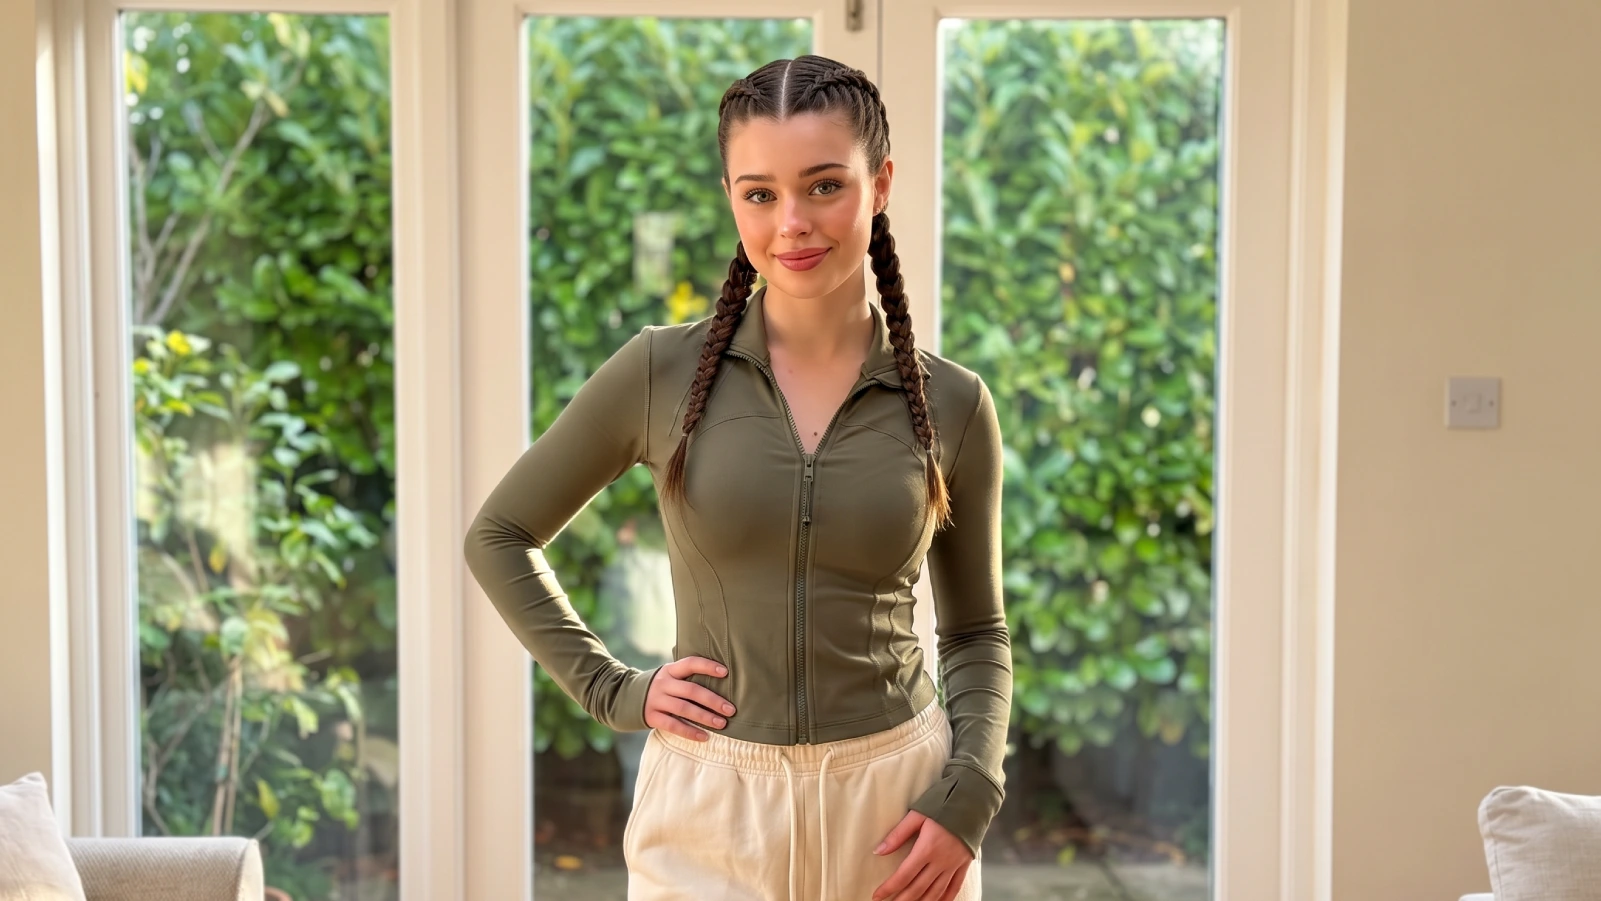
Boxer braids are two Dutch braids worked flat against the scalp from a center part, running from the hairline down to the nape. They’re the same technique as cornrows, a heritage Black hairstyle, rebranded in the last decade after female fighters and celebrities made the look mainstream.
They earned the gym reputation for a reason: nothing touches your face, and a good set holds for two or three days. But most tutorials stop at the braiding and leave you guessing about the parts that actually go wrong, like braids that slide loose by lunch or a scalp that stings by dinner.
This guide covers the technique, the fixes for fine and short hair, and how tight is genuinely too tight. If you’re building a rotation of easy hairstyles for women, this one belongs in it.
Style Snapshot
- Boxer braids are Dutch braids, meaning you cross strands under the middle instead of over, which makes the braid sit on top of the hair.
- Braid on second-day hair or add texture spray first: clean, slippery hair is the single biggest reason boxer braids loosen.
- Pancake the braids by tugging the outer loops from the bottom up to make them look fuller and more grown-up.
- If your scalp stings or throbs, the braid is too tight and needs to come out, not settle in.
Are boxer braids the same as cornrows?
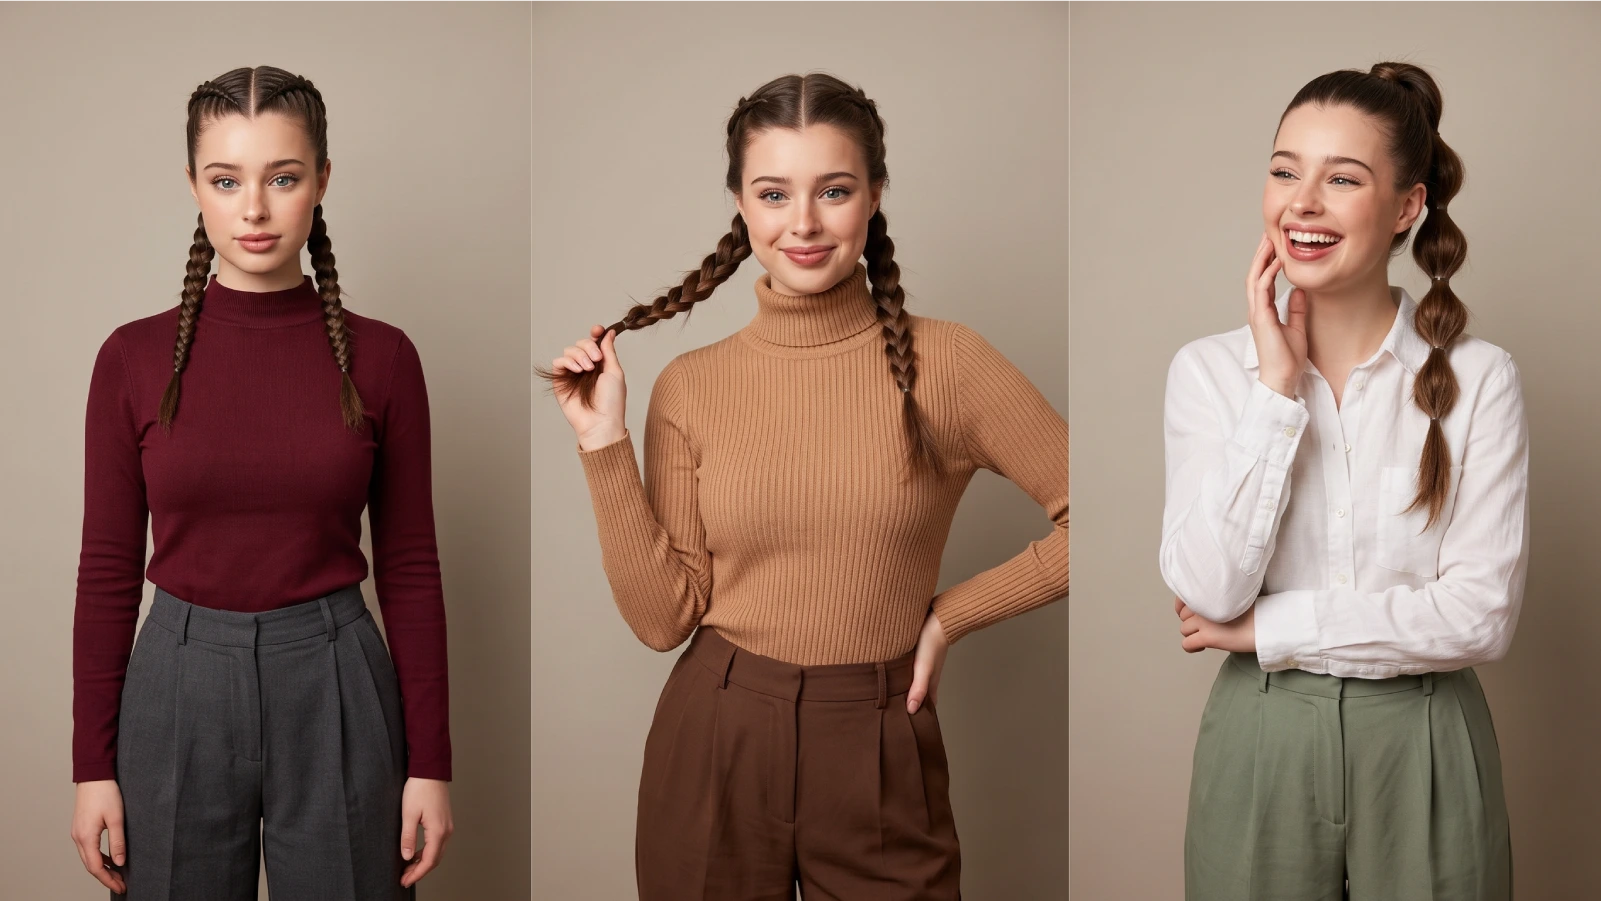
Functionally, yes. Both are braided flat to the scalp with hair fed in as you go, and boxer braids are simply a two-braid version that got a new name. Calling them cornrows is the accurate credit.
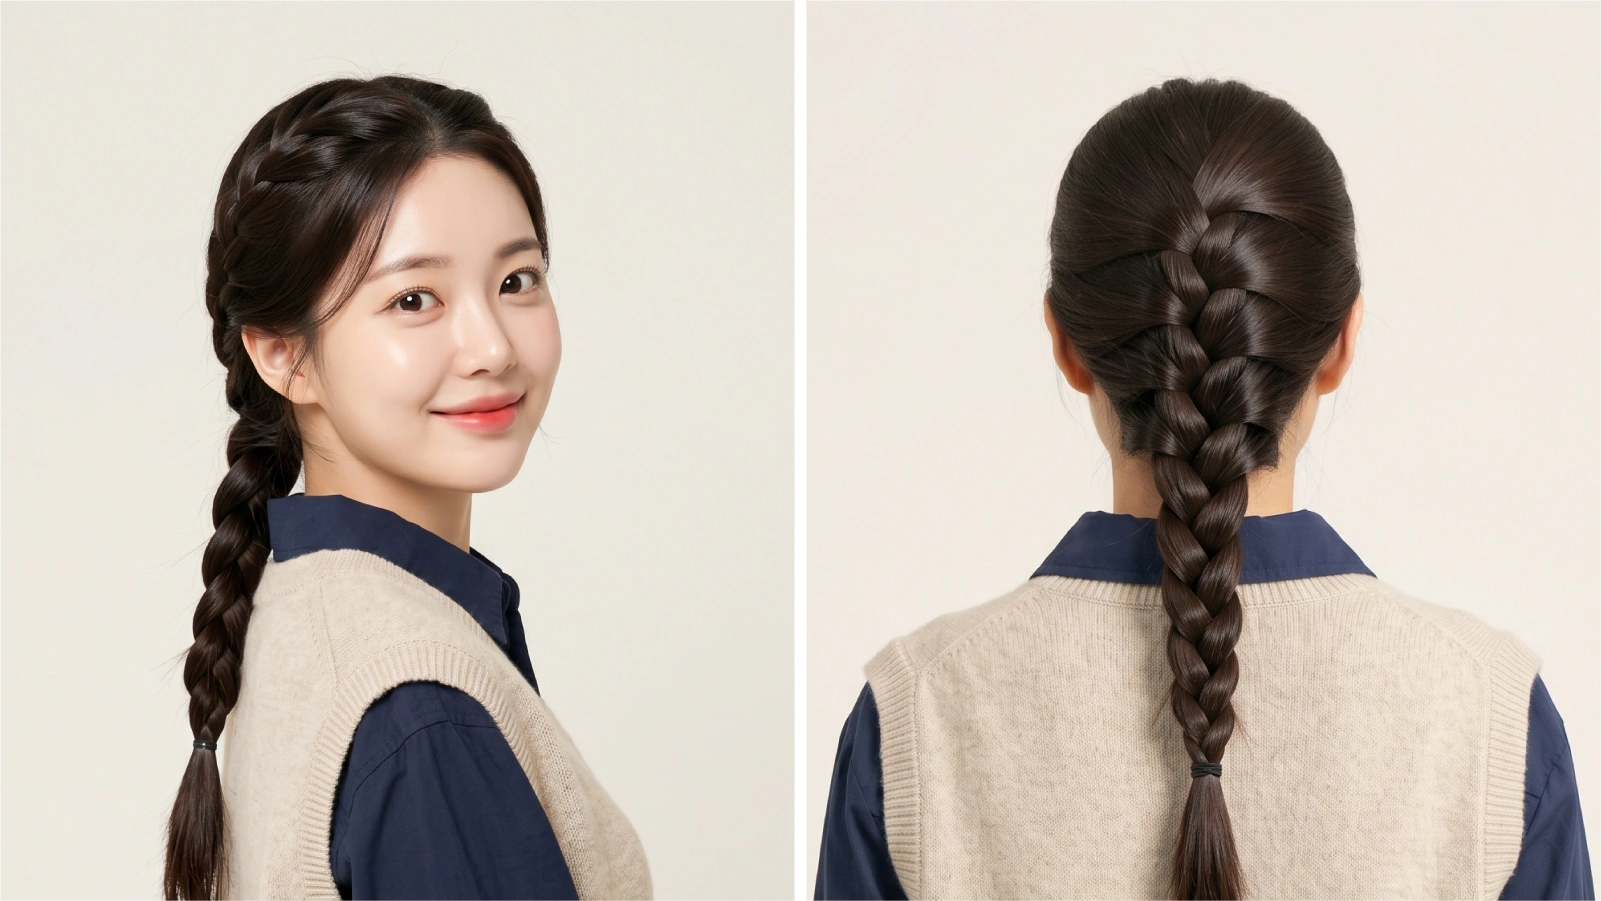
The one technical distinction worth knowing: a Dutch braid crosses strands underneath the middle section, so the braid pops up in a raised ridge. A French braid crosses over the top and sinks into the hair. Boxer braids are always the Dutch, raised version.
If braiding isn’t your strength yet, the bubble braid style gets you a similar sporty line with nothing but hair ties.
How do you do boxer braids at home?
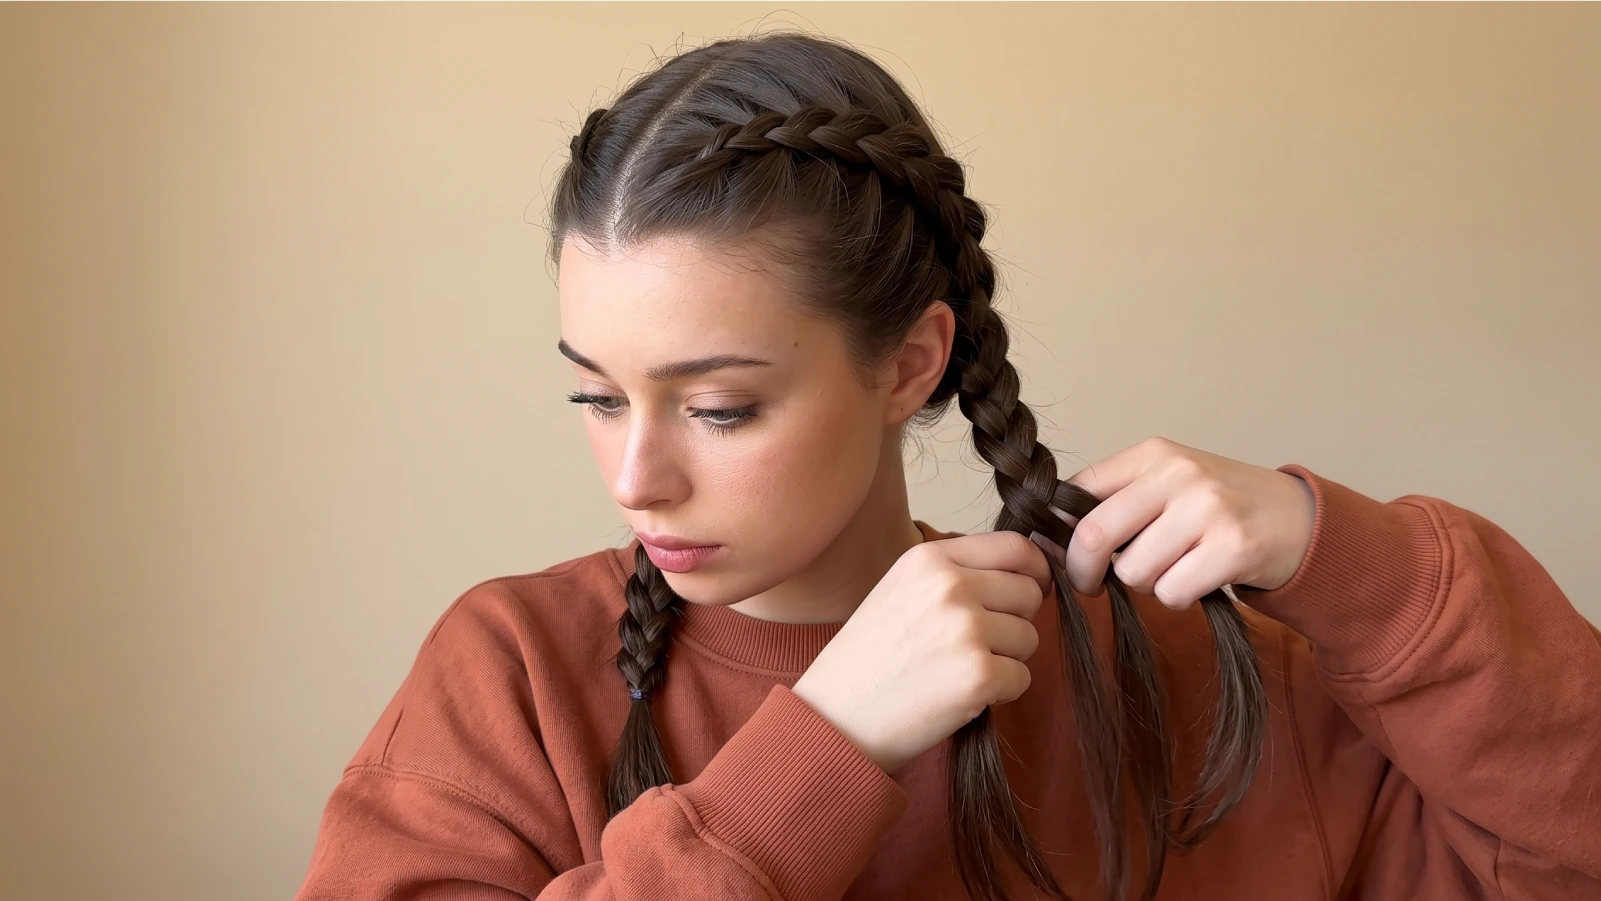
Part your hair straight down the middle, then Dutch braid each half from the front hairline back to the nape, adding hair as you go. The whole thing takes about ten minutes once your hands know the motion.
Work on dry hair with some grip to it. Second-day hair is ideal, and if yours is freshly washed, a light mist of texture spray or dry shampoo gives your fingers something to hold.
- Part it clean. Run a rat-tail comb from your forehead to your nape. A crooked part is what makes boxer braids look homemade, so take the extra twenty seconds.
- Tie off one side. Clip or band the half you’re not working on so stray pieces don’t get pulled in.
- Start at the hairline. Take a small section near your front hairline and split it into three even strands.
- Cross under, not over. Move the right strand under the middle, then the left strand under the middle. Repeat.
- Feed in as you go. Each time you cross a side strand, sweep a thin new section of loose hair into it from that side of your head.
- Angle toward the back. Keep the braid aimed at the back of your head, not down toward the floor, so it stays flat against the scalp.
- Finish and secure. Once you run out of hair to add, braid the tail normally and tie it off with a small clear elastic. Repeat on the other side.
Once both are done, pancake them: pinch the outer edges of each braid and tug gently, starting at the tail and working up to the crown. Looser, wider braids read as adult, while very tight thin ones can look juvenile.
How do you keep boxer braids from slipping on fine or short hair?
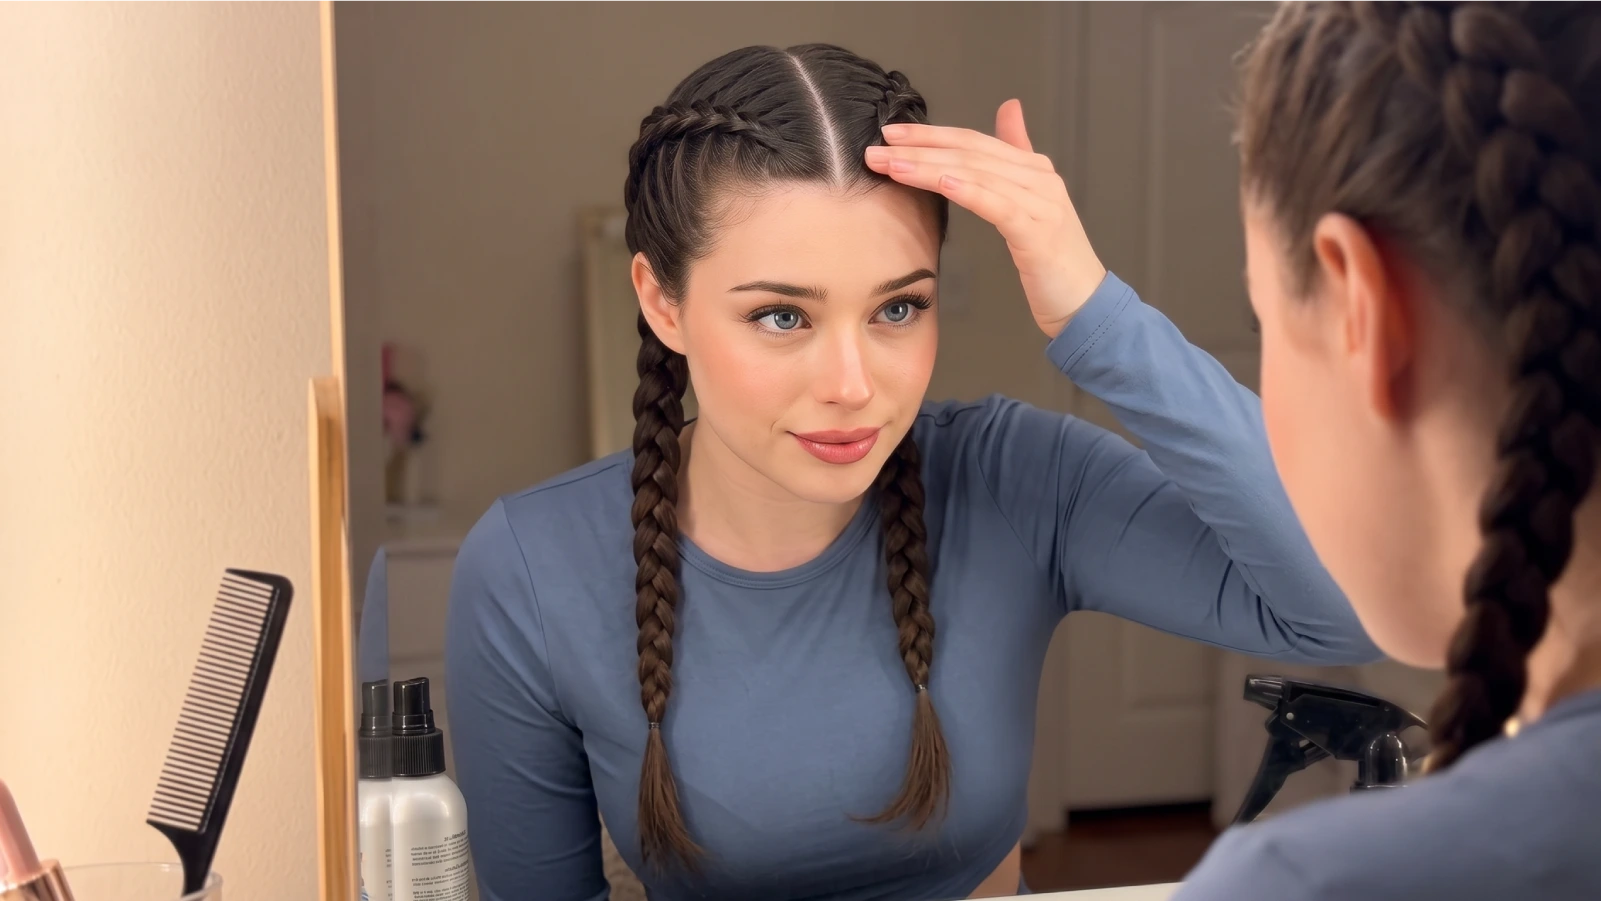
Slippage is almost always a grip problem, not a technique problem. Fine, freshly washed, or silicone-coated hair gives your fingers nothing to hold, so the braid loosens the moment you let go.
Fix the texture before you touch the comb, then secure the ends properly. These are the changes that make the biggest difference:
- Skip wash day. Braid on day-two hair, or fake it with dry shampoo worked in and left to sit for thirty seconds.
- Add grit, not shine. A volumizing powder spray or texture spray at the roots gives your strands friction. Conditioner-heavy leave-ins do the opposite.
- Use a little pomade at the front. A pea-sized amount smoothed over the hairline keeps flyaways down and stops the first few stitches from sliding.
- Go smaller at the start. Beginning with a smaller front section makes the first crossings tighter and stops the braid from gaping at the part.
- Clear elastics only. Thick fabric ties bulk out the tails and drag the braid down.
Short hair can absolutely take this style. Braid to the nape, then loop the tail into a small bun with the elastic instead of leaving a stubby end, and pin any loose side pieces flat with bobby pins hidden under the braid stitches.
To sleep in them, tie a satin scarf over your head or use a satin pillowcase. Cotton pulls at the braid edges overnight and is what leaves you frizzy by morning.
For a softer, less structured version of the same two-braid shape, try a rope braid instead.
How tight is too tight?
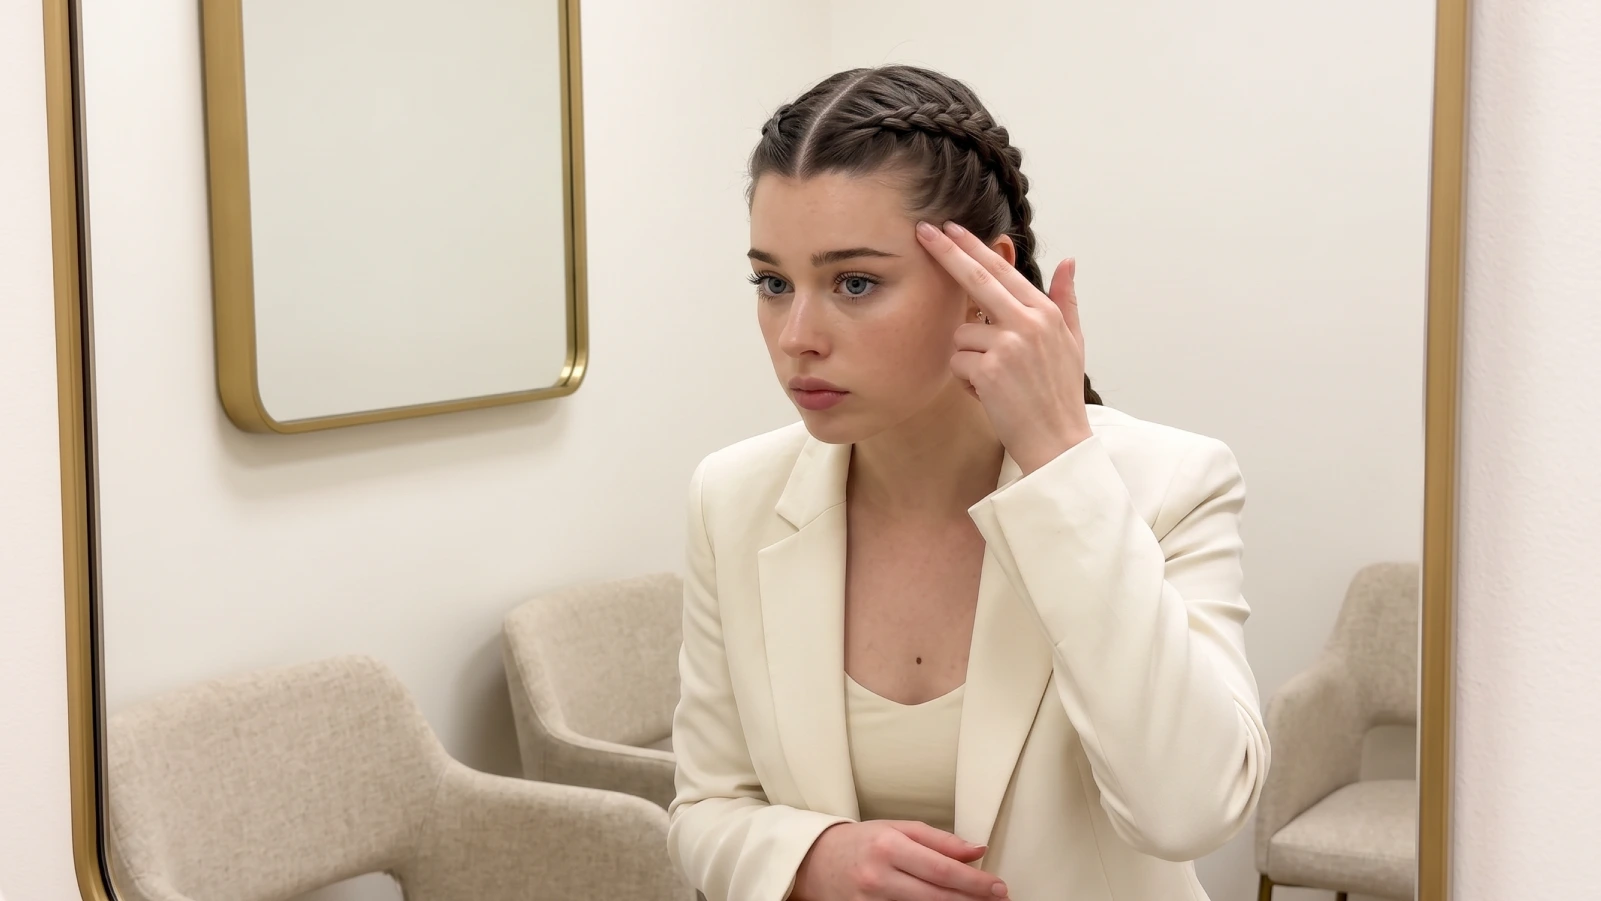
Any style braided against the scalp pulls on the follicle, and repeated pulling can cause traction alopecia, a form of hair loss that starts at the hairline. The American Academy of Dermatology’s guidance is refreshingly simple on this point.
If your hairstyle feels painful, the style is too tight.
The AAD advises loosening braids, especially around the hairline, and avoiding wearing tightly pulled styles often. Per JAMA Dermatology (2023), traction alopecia does not scar early on and is reversible, but long-term traction can be associated with permanent scarring hair loss.
Practical version: boxer braids are fine as a rotation style, not a permanent one. Take them down after two or three days, give your hairline a break, and if you feel tenderness or stinging, redo them looser rather than waiting it out. Chunkier braids with slight slack at the front look better anyway.
Larger, looser scalp styles like goddess braids are a good rotation partner when you want the same braided look with less tension on your edges.
Frequently Asked Questions
Not on their own. Damage comes from tension and duration, so braids that pull at the scalp or stay in for days on end are the risk. Loose braids worn occasionally, then taken down gently, are low risk.
Two to three days on most hair types with a satin scarf at night. Fine hair usually gets one to two days. Refreshing the front stitches and re-pancaking buys you an extra day.
Yes, down to about chin length. Braid to the nape, then loop the tail into a mini bun with a clear elastic. Texture spray and pomade matter more the shorter your hair is.
Uneven feeding is the usual cause. Add roughly the same amount of new hair on each pass and keep the sections thin, then pancake at the end to blend any irregular stitches.
The Takeaway
- Boxer braids are Dutch-braided cornrows: cross under, feed in, angle toward the back of the head.
- Grip beats skill. Braid on second-day hair with texture spray and finish with clear elastics.
- Pancake the braids for a fuller, more grown-up shape, and wrap them in satin overnight.
- Keep them loose at the hairline and take them out after a couple of days.
Once you’ve got the under-crossing motion down, almost every other scalp braid becomes easy, so a single feed-in braid down the back is a natural next one to try.