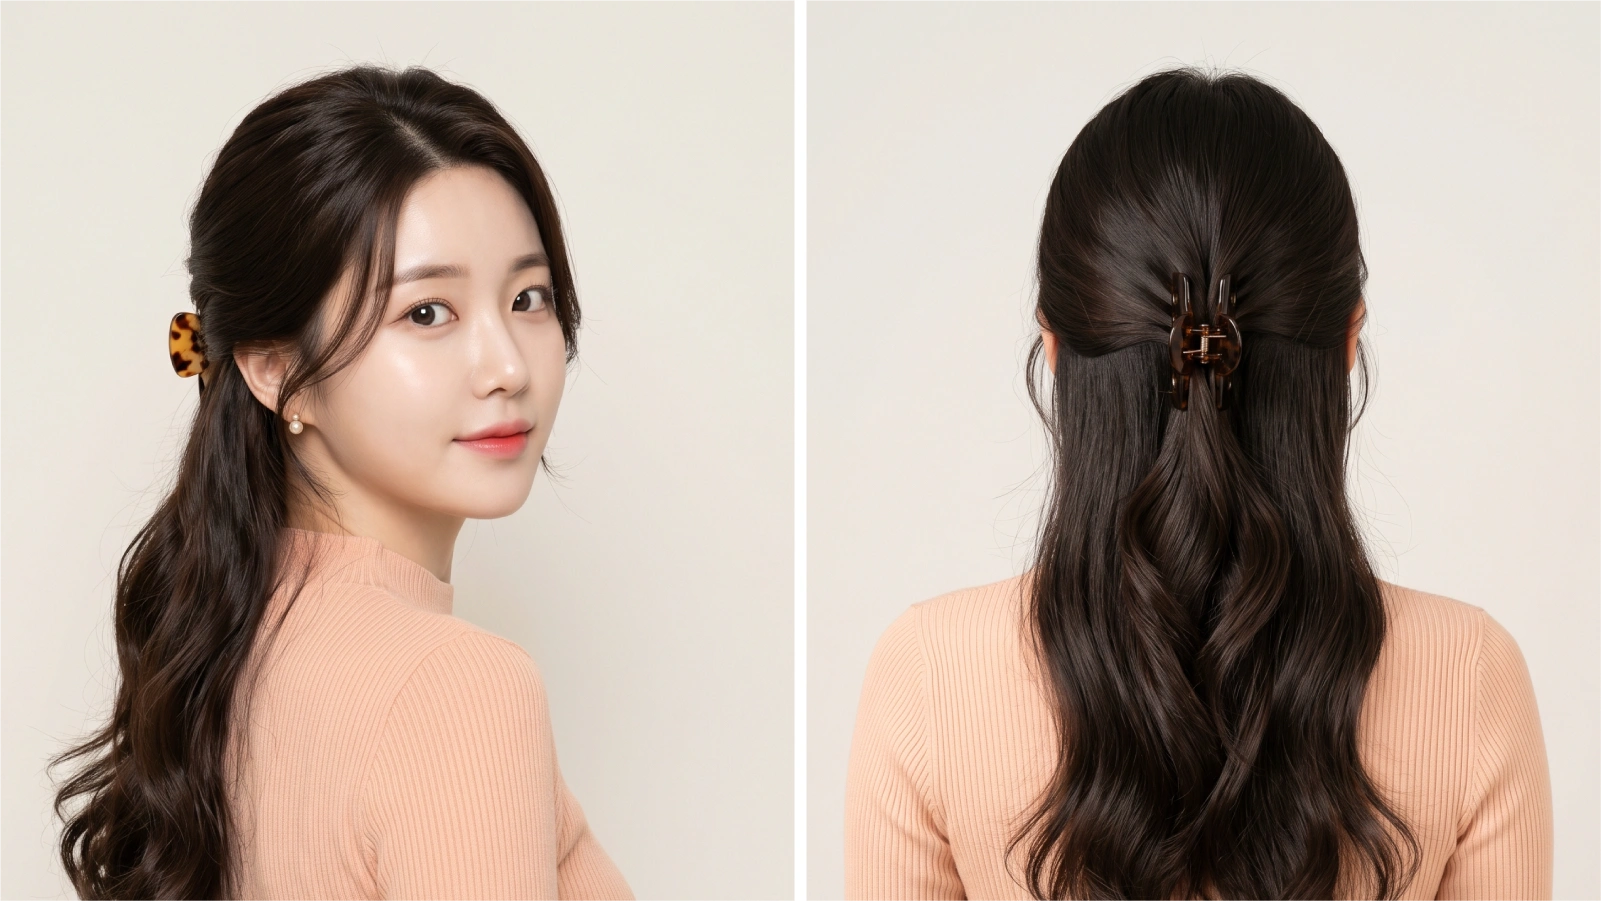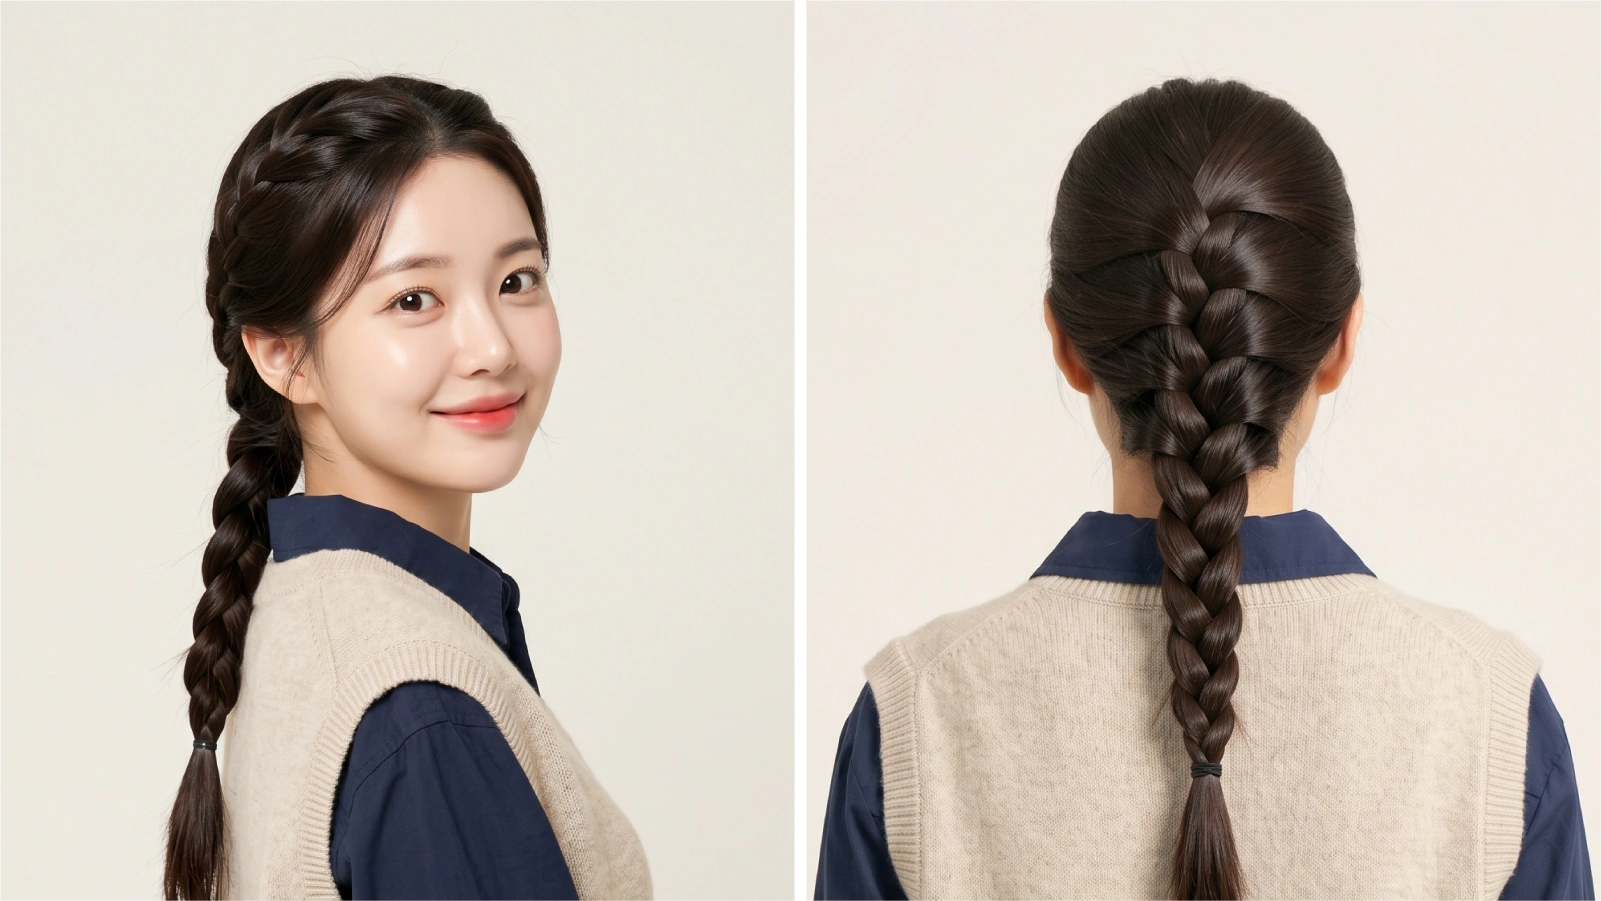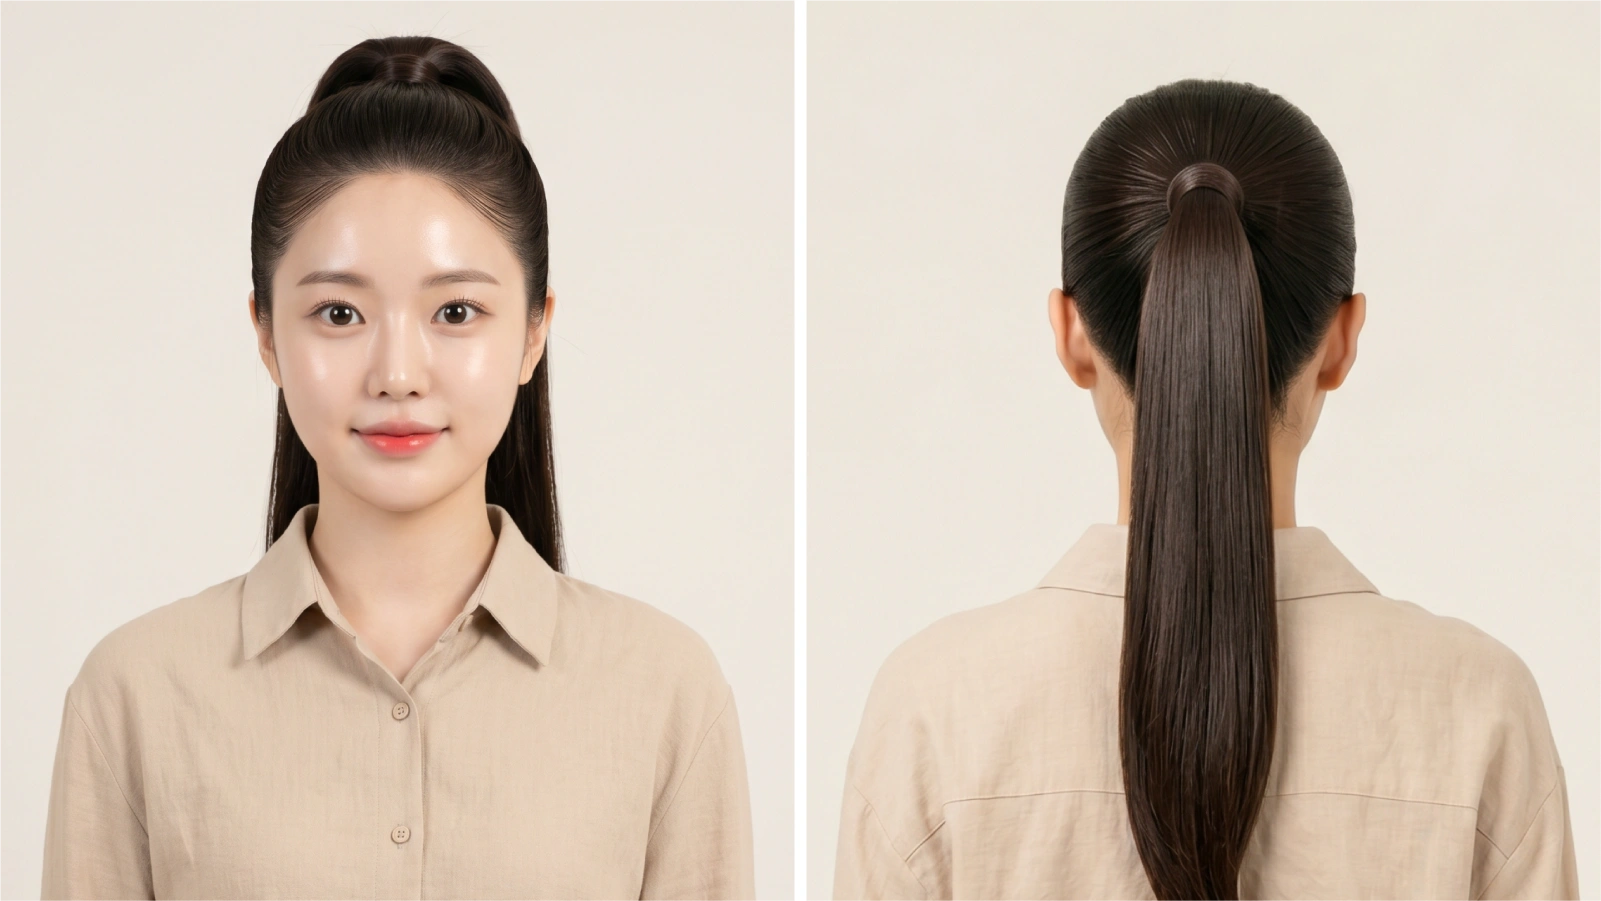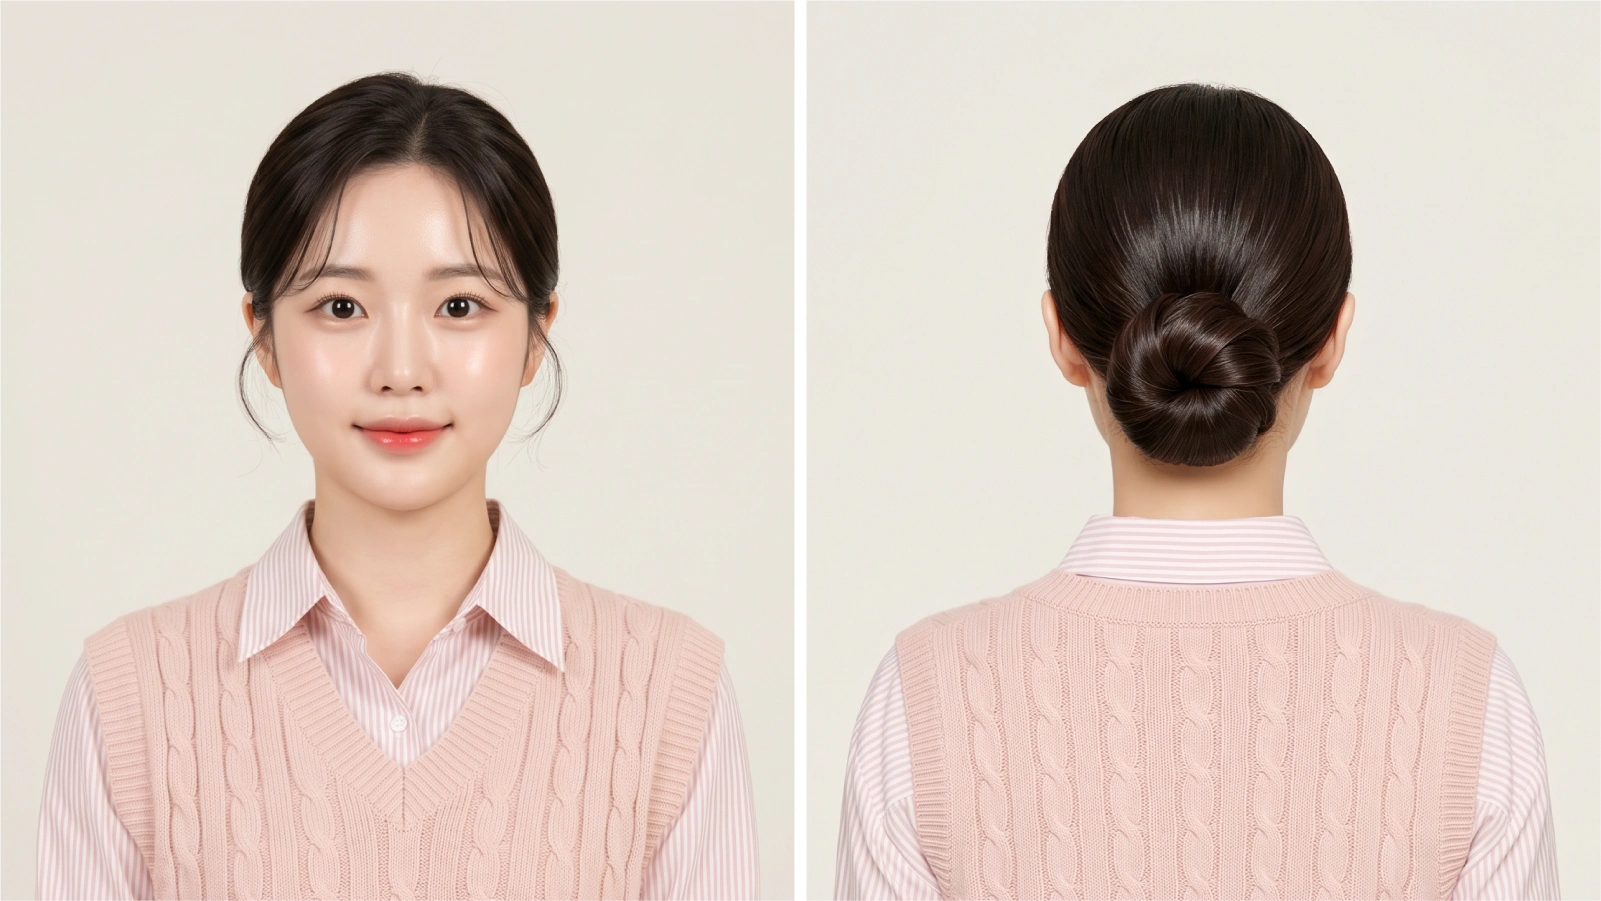
A low bun is an updo where hair is gathered and secured at the nape of the neck or just above it, creating a polished look that works for everything from Monday morning meetings to Saturday weddings.
It takes under five minutes, suits virtually every hair length and texture, and requires nothing more than a hair tie, a few bobby pins, and some light-hold spray.
If you’re already exploring your options across different easy hairstyles for women, the low bun deserves a permanent spot in your rotation.
It’s one of the few styles that genuinely crosses the line between effortless and elegant without asking you to choose.
Style Snapshot
- A basic low bun takes under 5 minutes and works on hair as short as 6–8 inches when secured properly with U-pins.
- Sleek low buns need grip — dry texture spray or light pomade prevents silky, freshly-washed hair from slipping all day.
- Dermatologists confirm that low buns place significantly less tension on the hairline than high buns, reducing traction alopecia risk (American Academy of Dermatology).
- Match your style to your face shape: oval faces suit any variation; round faces benefit from a slightly off-center placement with face-framing tendrils.
What Exactly Is a Low Bun — And How Is It Different from a Chignon?
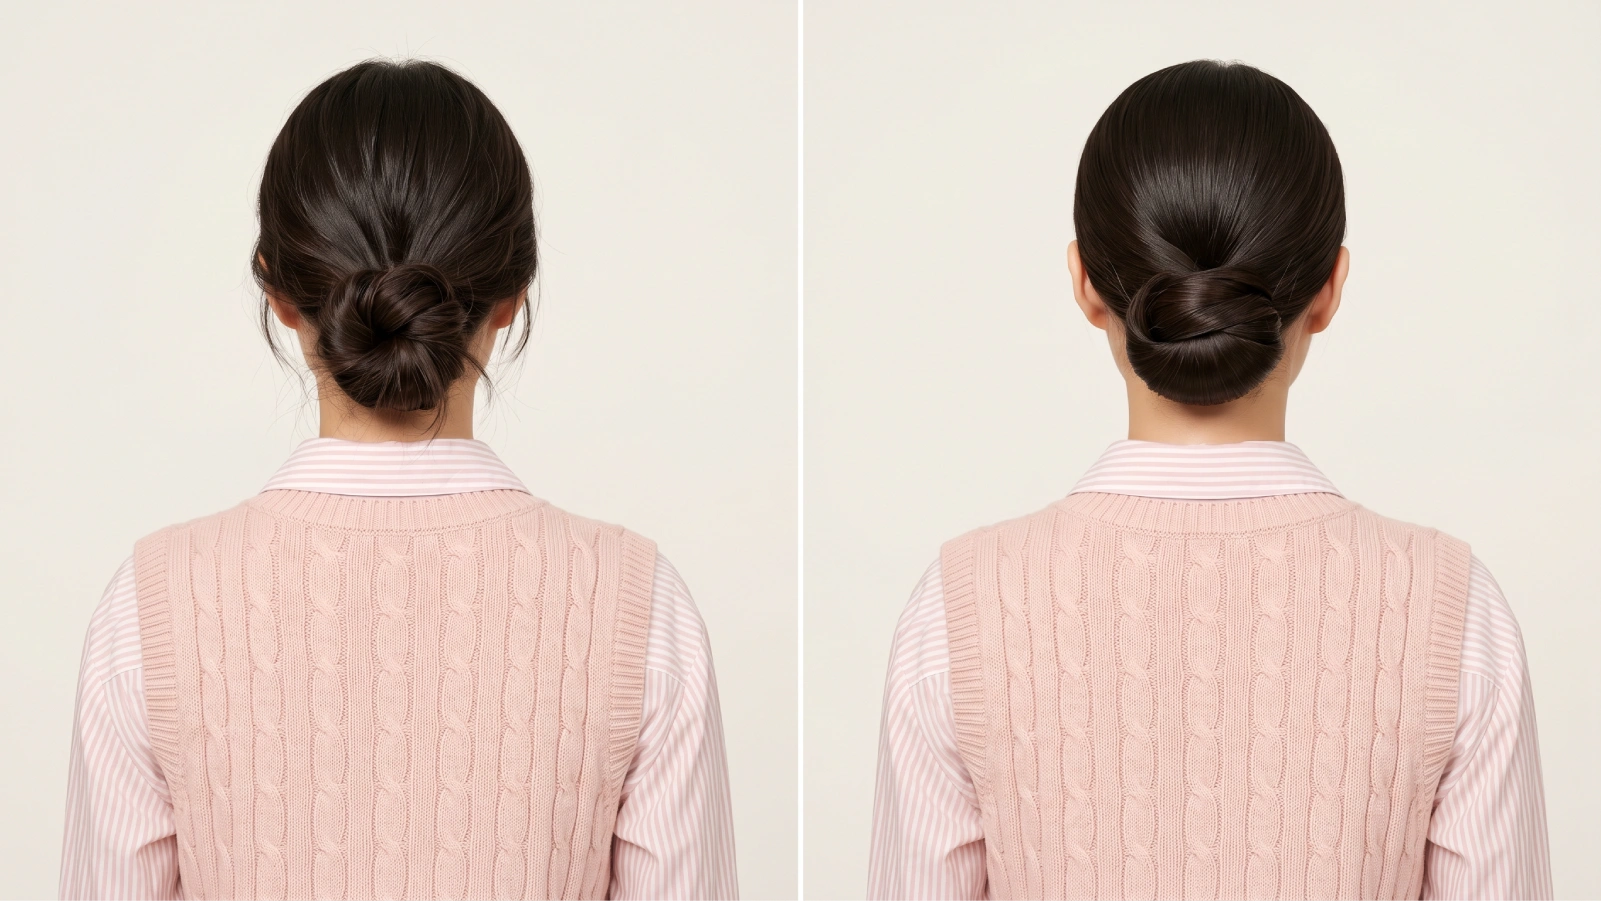
These two terms get used interchangeably all the time, and the confusion is understandable. Here’s the actual distinction:
- A low bun is any bun positioned at the nape or below the crown — the term describes placement, not construction.
- A chignon (from the French chignon de cou, meaning “nape of the neck”) is a specific style of twisted, knotted bun traditionally worn low and secured with pins. Every chignon is a low bun, but not every low bun is a chignon.
Think of it this way: a sleek twisted knot pinned at your nape is a chignon. A loose, looped ponytail tucked at the same position is a low bun. Both look polished. The chignon just carries more structure.
A low bun is defined by where it sits; a chignon is defined by how it’s constructed — the nape is where they meet.
How Do You Do a Low Bun That Stays All Day?
The biggest variable in how your low bun performs has nothing to do with technique — it’s your hair’s condition on wash day.
Freshly washed hair is too slick to grip. Day-two or day-three hair holds a bun far better because natural oils create texture.
Step-by-step: the foundational low bun
- Start with dry hair. If freshly washed, apply a pea-sized amount of light-hold pomade or a few spritzes of dry texture spray to the mid-lengths and ends before gathering.
- Use your fingers (not a brush) to gather hair at the nape. This keeps some natural texture and prevents the “too tight” look that causes hairline stress.
- Secure with a snag-free elastic — not a rubber band. U-pins hold better than bobby pins for most bun styles because they don’t require splitting apart.
- Twist the ponytail into a rope, then coil it around the elastic base.
- Pin with U-pins or bobby pins angled into the bun, not flat against the scalp.
- Mist lightly with a flexible-hold hairspray. Don’t oversaturate — it stiffens and dulls the finish.
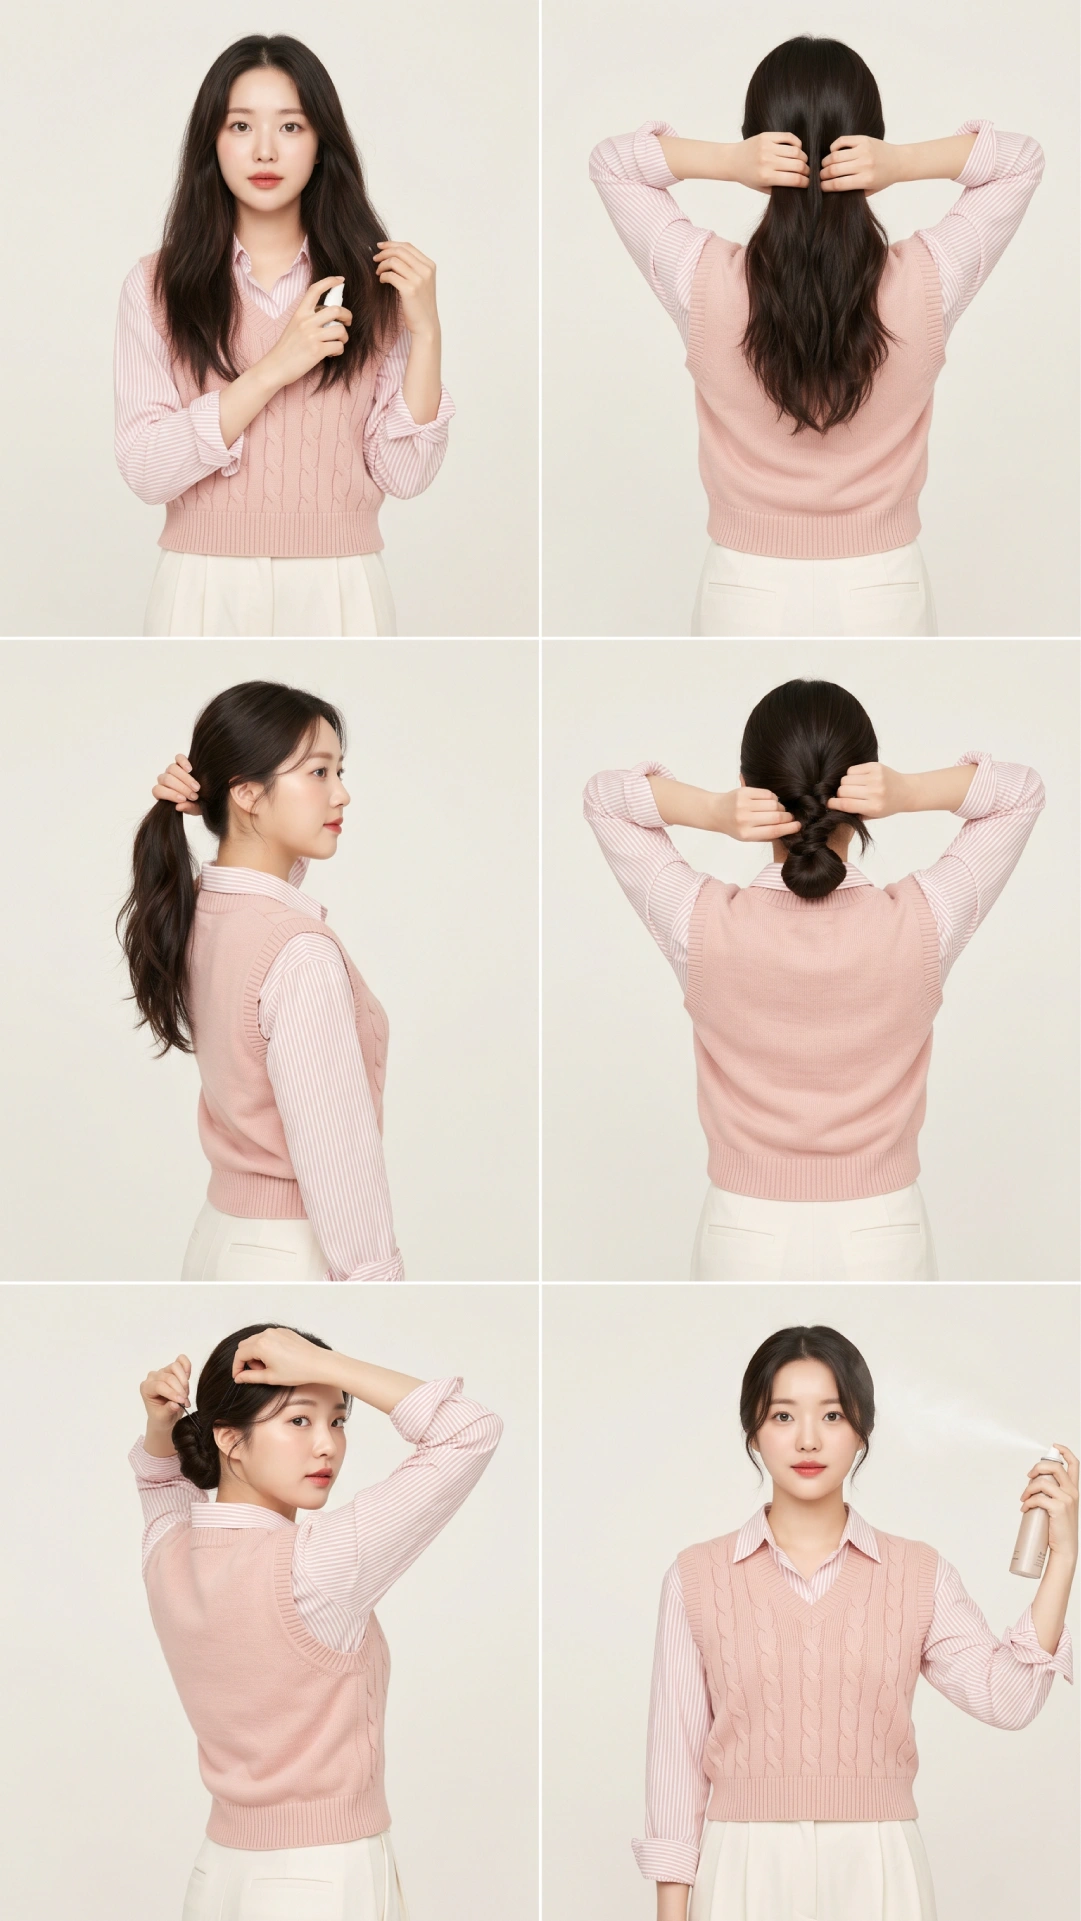
The #1 anti-slip trick: Once the bun is secured, gently stretch it outward (not upward) with your fingers. This redistributes tension away from the hairline and locks the shape without tightening the roots.
Styling on freshly washed hair without a texture base is the single most common reason a low bun slides by mid-afternoon — it’s a grip problem, not a pin problem.
What Low Bun Style Actually Suits Your Face Shape?
Face shape doesn’t limit you — it guides placement and texture decisions so the style flatters rather than flattens.
Fine or thin hair works best with a teased bouffant at the crown before pinning — this creates visual fullness and prevents the bun itself from looking too small. Thick or coarse hair benefits from a slightly looser wrap to avoid an overly bulky silhouette.
How Much Hair Do You Actually Need? A Length Guide by Style
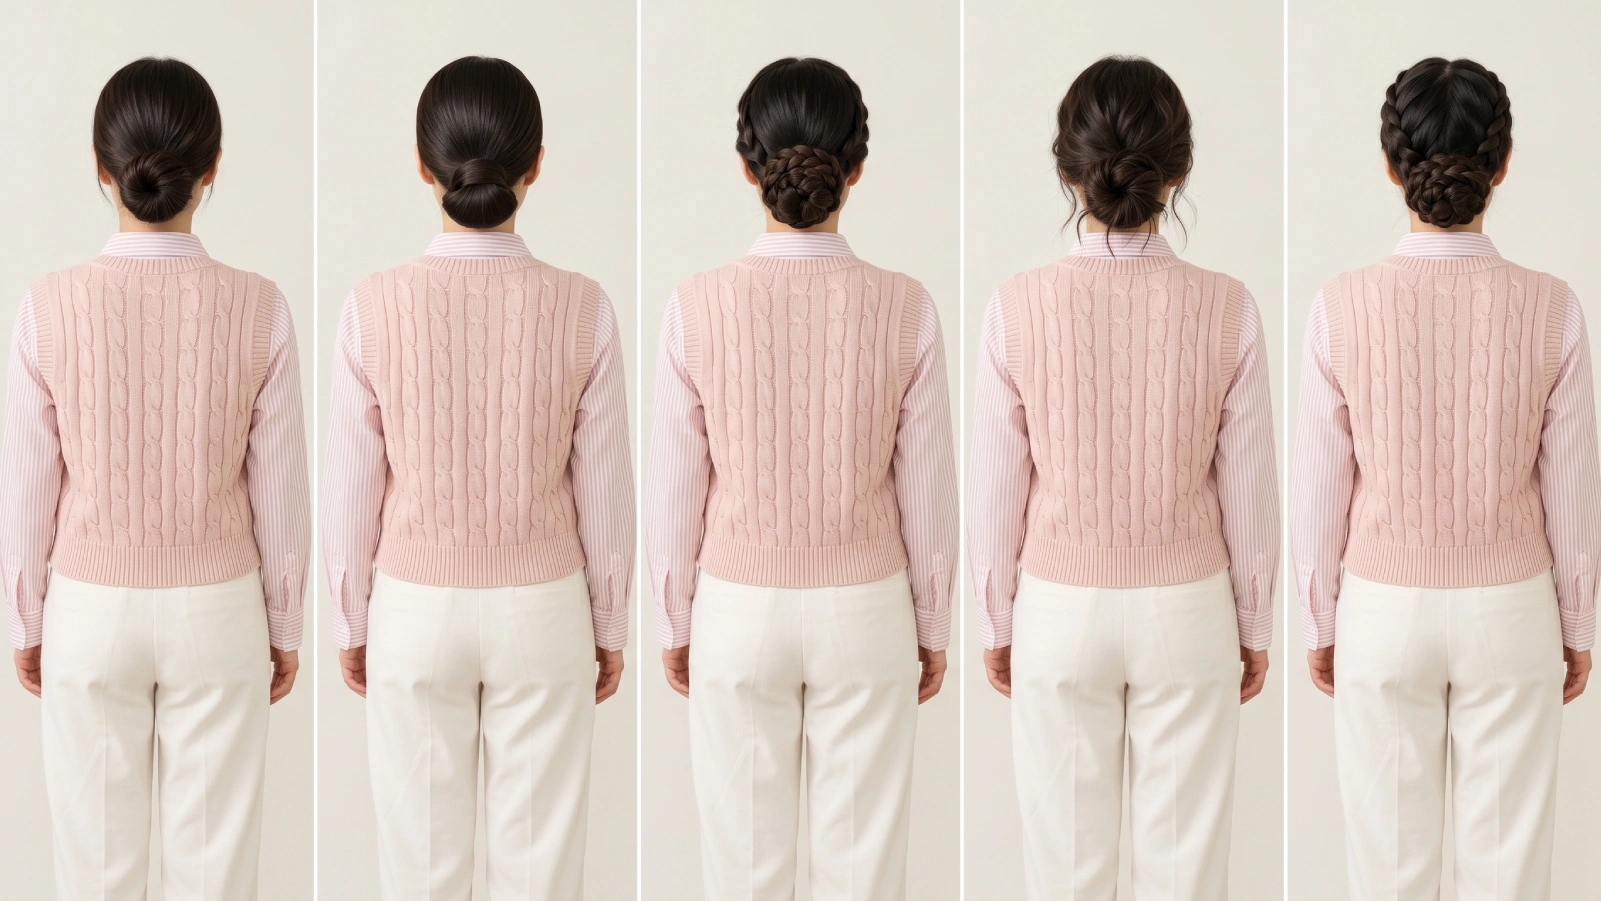
- Basic twisted low bun — 6 to 8 inches minimum; works with a small bun form or donut insert for extra volume
- Sleek wrapped low bun — 8 to 10 inches for a clean wrap that hides the elastic
- Braided low bun — 10 to 12 inches so the braid has enough length to coil into a bun
- Loose/boho low bun — 8 inches minimum; shorter sections can be pinned artfully as tendrils
- Milkmaid or crown braid into low bun — 12+ inches for full braids that wrap from crown to nape
Short or medium-length hair under 6 inches? A pre-shaped clip-in bun or a sock bun insert (a rolled sock or foam donut) gives enough structure to work.
Don’t skip the texturizing spray — it’s the difference between a bun that lasts and one that collapses by noon.
For a more relaxed variation with volume, a messy bun technique applied at nape height is a great entry point for shorter lengths.
Which Low Bun Style Suits Your Hair Type and Occasion?
Hair texture and occasion shape which variation works best — here’s the full breakdown:
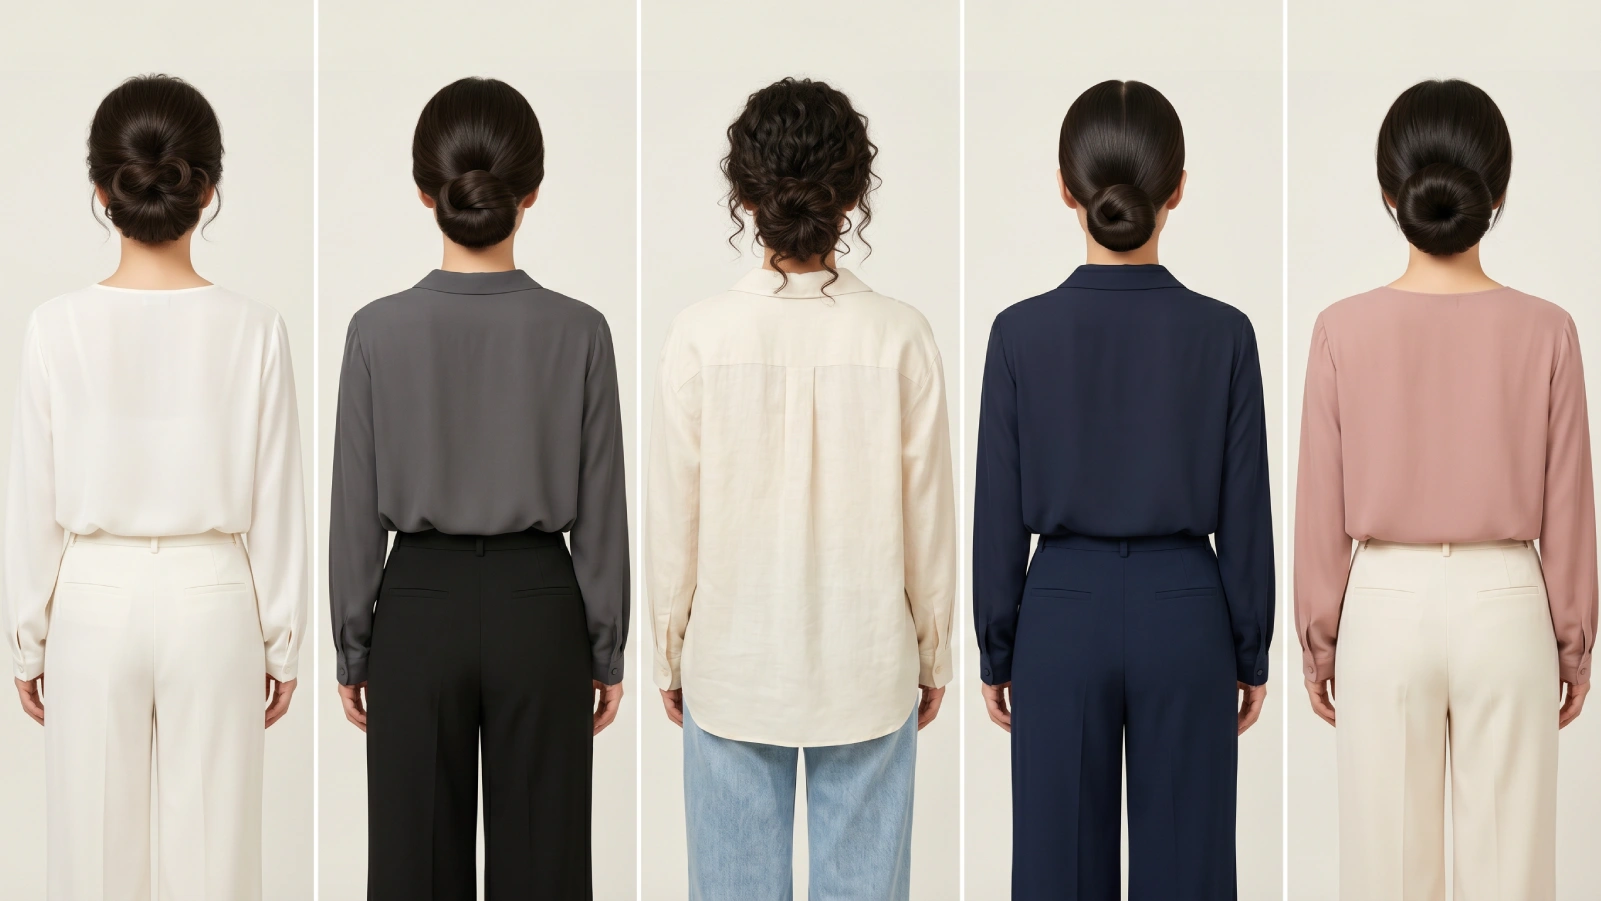
Fine hair doesn’t need more product — it needs texture before styling; dry shampoo at the roots creates enough grip to hold a bun all day.
Pro tip for thin hair: Don’t skip the teasing step. Backcomb the mid-lengths lightly before gathering into the ponytail. The internal volume makes your bun look fuller without extra bulk.
What Are the Most Popular Low Bun Variations Right Now?
The classic twist-and-pin is just the starting point. These are the styles dominating 2026 — ranked by ease:
- Sleek center-part bun — Glass-smooth, no flyaways, gel-set. The “clean girl” aesthetic taken seriously. Best for straight to slightly wavy hair.
- Messy low bun — Deliberately undone. Pull random pieces forward before pinning and leave some wisps at the temples for a relaxed, effortless finish.
- Braided wrap bun — A French or Dutch braid starts at the crown and feeds into the bun base. Adds texture and keeps fine hair in place longer.
- Loop bun — Pull a ponytail halfway through the elastic on the last pass. The loop fans out into a full bun shape without any wrapping. Takes 40 seconds.
- Side bun — Shift the ponytail to sit behind one ear instead of center-nape. Asymmetric and modern. Works for every face shape.
- Twisted rope bun — Divide the ponytail in two, twist each section, then wrap them around each other before pinning. Creates visible, braided-looking texture.
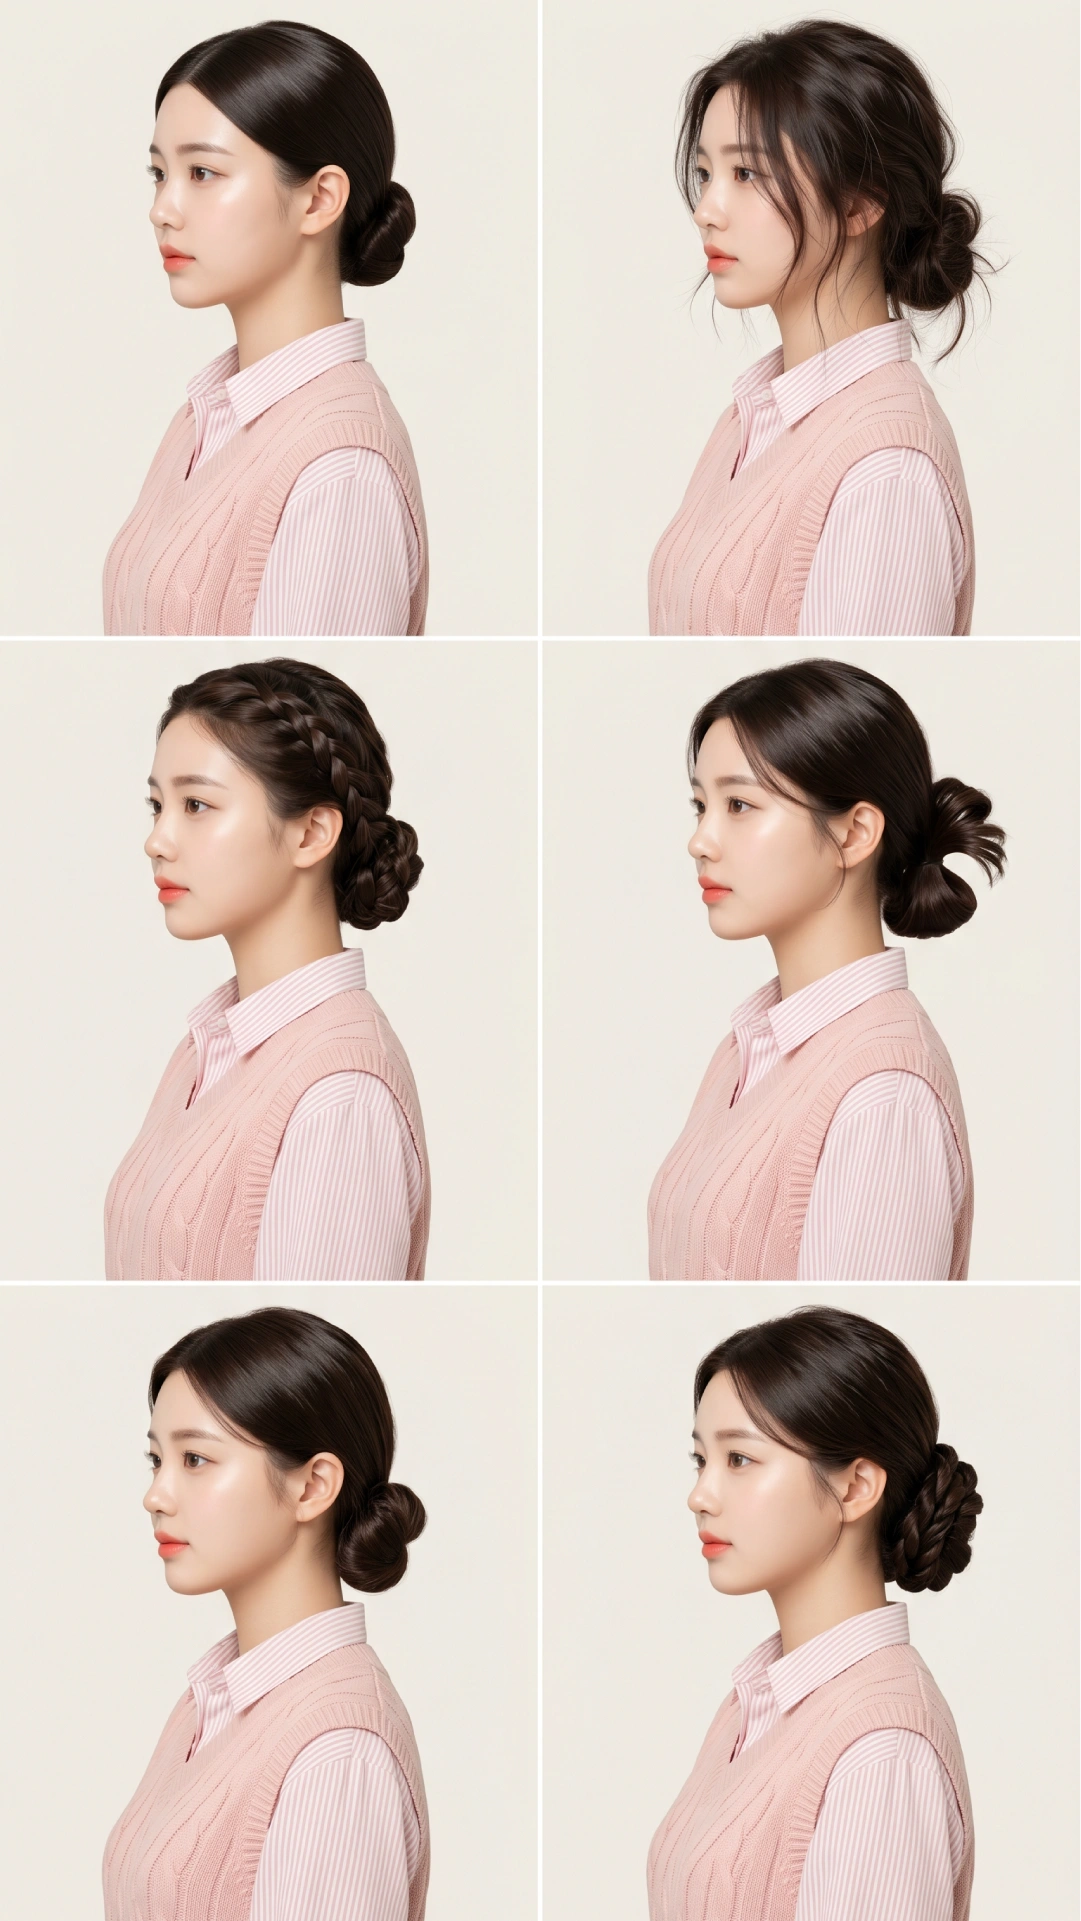
If you want something with more elevation, the twisted bun style follows the same logic but uses more sections and tighter coiling for a sculptural result.
What Accessories Make a Low Bun Look More Elevated?
The right accessory transforms the same base style into something completely different.
Placement rule: accessories work best when they’re visible. Tuck pins around the bun, not through it. Scrunchies should sit at the center of the bun so the fabric fans out. Claw clips catch everything at once and look deliberately casual — which is exactly the point.
Can a Low Bun Actually Damage Your Hair?
This question is worth addressing directly — because the answer is more reassuring than most people expect. The short answer: a loose low bun is one of the safest updos you can wear regularly. A tight one, worn daily, is not.
The American Academy of Dermatology confirms that tight hairstyles — especially those worn repeatedly — can lead to traction alopecia, a preventable form of hair loss caused by mechanical stress on the follicle.
The condition primarily affects the temples and front hairline. The key word is tight: loose low buns placed at the nape distribute tension far more evenly than high updos.
Professional stylists consistently note that low placement distributes tension far more evenly across the scalp than high updos, making it the safer daily choice.
Signs your bun is too tight:
- Scalp tenderness or headache after styling
- Small pimple-like bumps near the hairline
- Visible hair breakage at the temples
- A “pulled” feeling that persists for hours
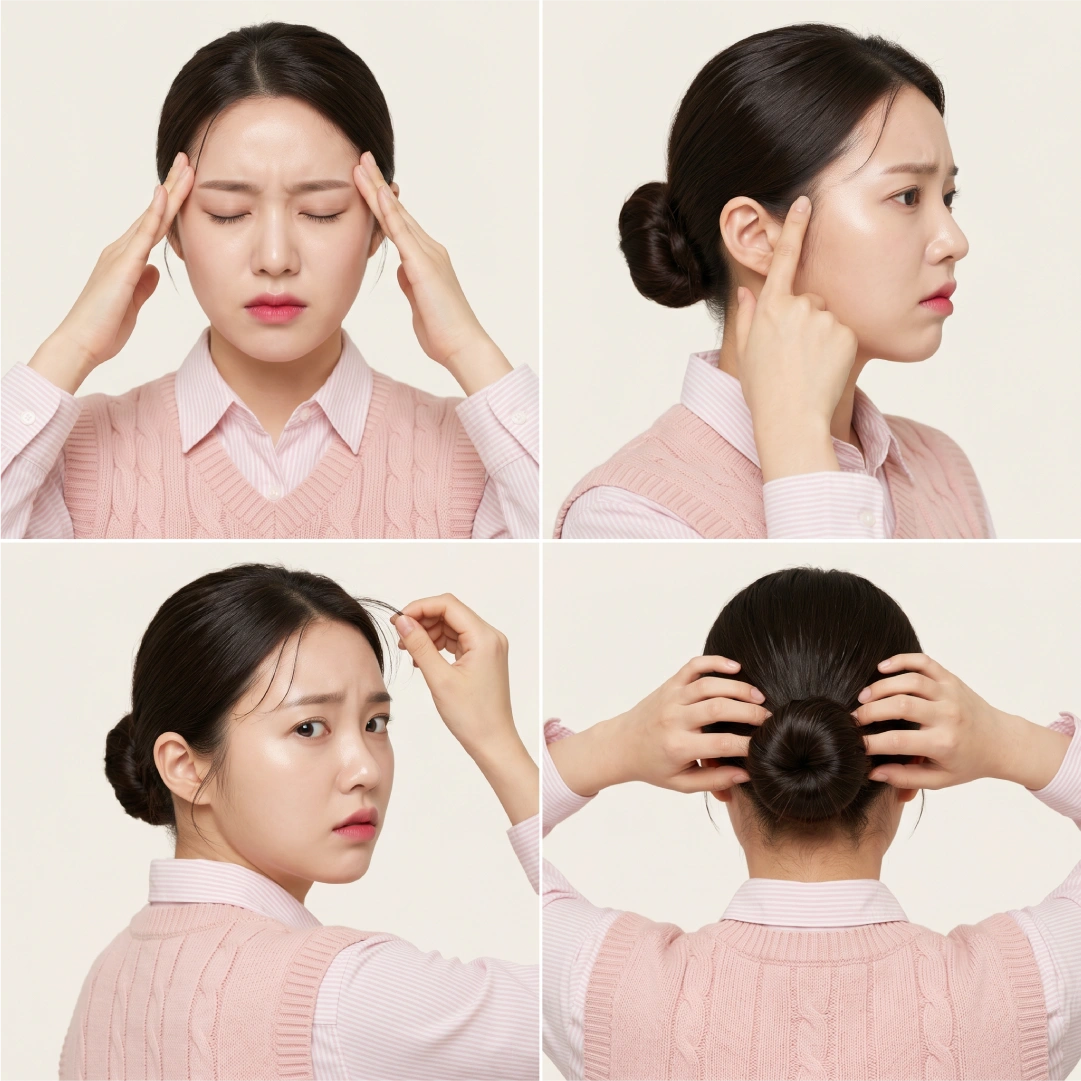
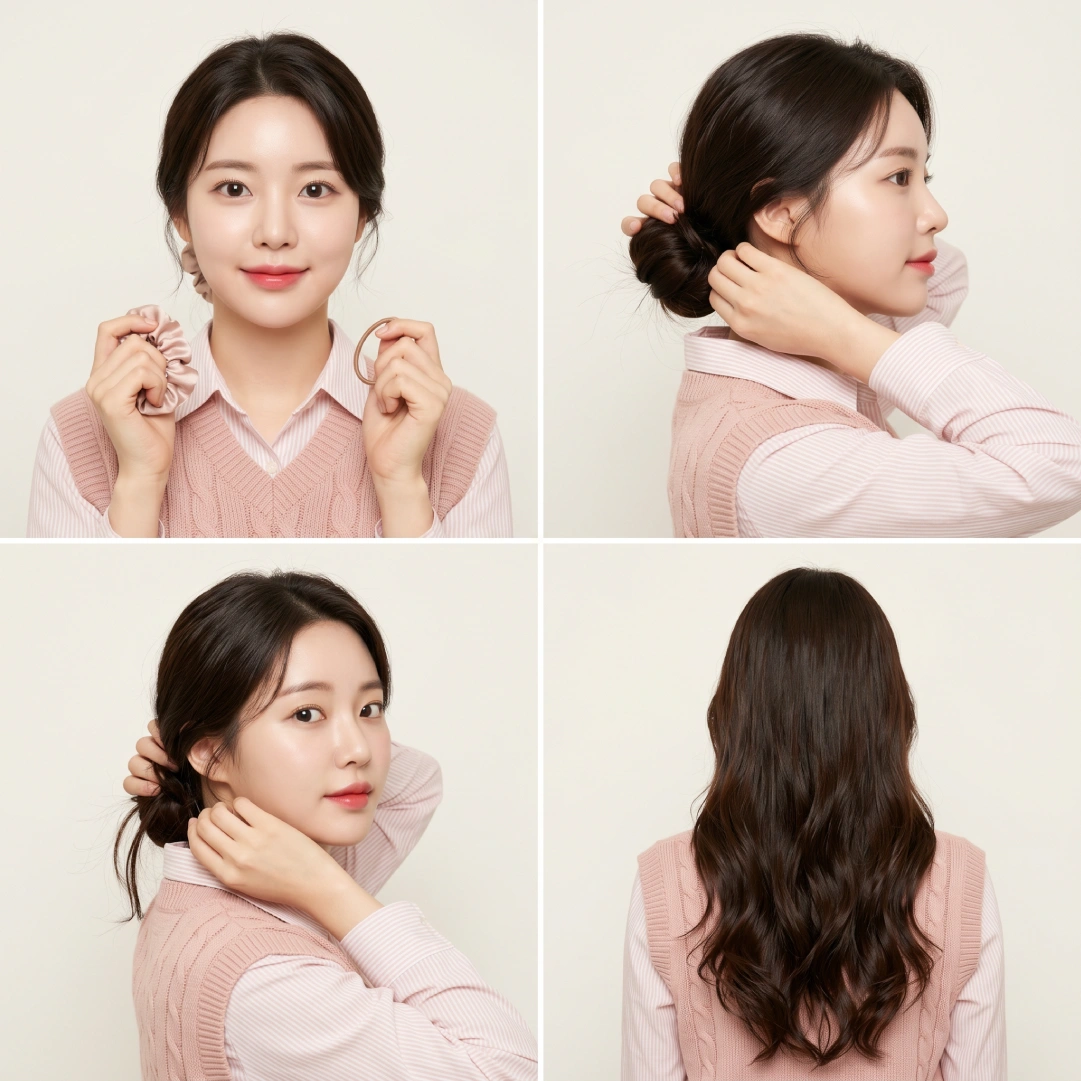
How to protect your hair while wearing a low bun daily:
- Use a silk or satin scrunchie instead of a tight elastic — standard rubber bands cause hair breakage at the shaft on every removal
- Vary the exact placement slightly each day — even half an inch makes a difference
- Take the bun down as soon as you’re off-duty; never sleep in a tight style
- Give your hair at least two days per week completely free of any updo
Frequently Asked Questions
A chignon is a specific type of low bun — smooth, polished, and worn at the nape of the neck with a formal finish. A low bun is the broader category that includes messy, braided, loose, and textured variations. All chignons are low buns; loose and boho styles are not chignons.
Yes, though layers need extra pins. Gather the bulk into the bun as usual, then use bobby pins to sweep shorter layers flat against the back of the head before spraying. Alternatively, embrace the layers as intentional face-framing tendrils — it looks deliberate rather than messy.
The fix is almost always a grip issue: apply dry texture spray or light pomade to mid-lengths before styling, use U-pins angled inward rather than flat bobby pins, and avoid over-brushing which strips natural texture. Day-two or day-three hair holds consistently better than freshly-washed strands.
A sleek, center-parted chignon or a clean wrapped low bun is entirely appropriate for professional settings and formal events. Add a satin scrunchie or decorative pin to elevate the look. Avoid very messy or heavily textured versions for strict formal contexts — they read as casual.
Yes — and it can look stunning. Apply a curl-defining cream or light gel to define texture before gathering the hair. A looser, boho-style low bun celebrates natural curl pattern rather than fighting it. Avoid brushing dry curls, which causes frizz; use your fingers or a wide-tooth comb instead.
Key Takeaways
- The low bun covers everything from a 90-second morning fix to a polished bridal chignon — the technique and product prep change, not the core concept.
- Grip is the secret: texture spray or pomade on freshly-washed hair prevents the most common failure point.
- Face shape informs placement, not restriction — oval faces suit any variation; other shapes benefit from small adjustments in off-center placement or tendrils.
- You need as little as 6–8 inches of hair for a basic version, with bun inserts making even shorter lengths workable.
- Worn loosely, a low bun is dermatologist-approved as one of the least damaging daily updos — significantly safer than high, tight alternatives.