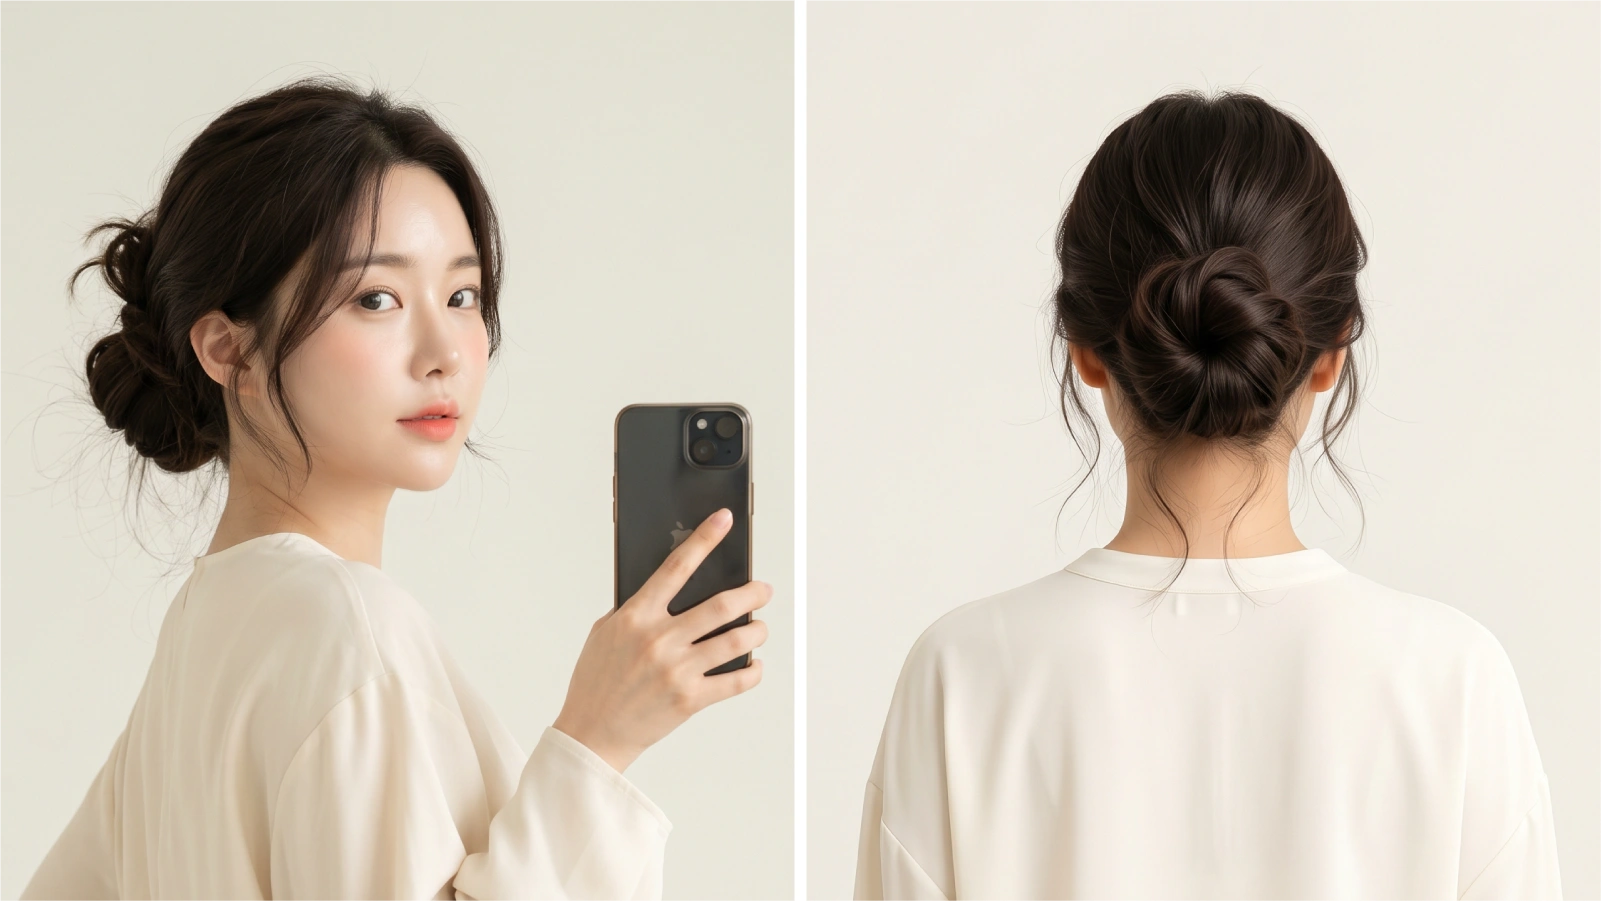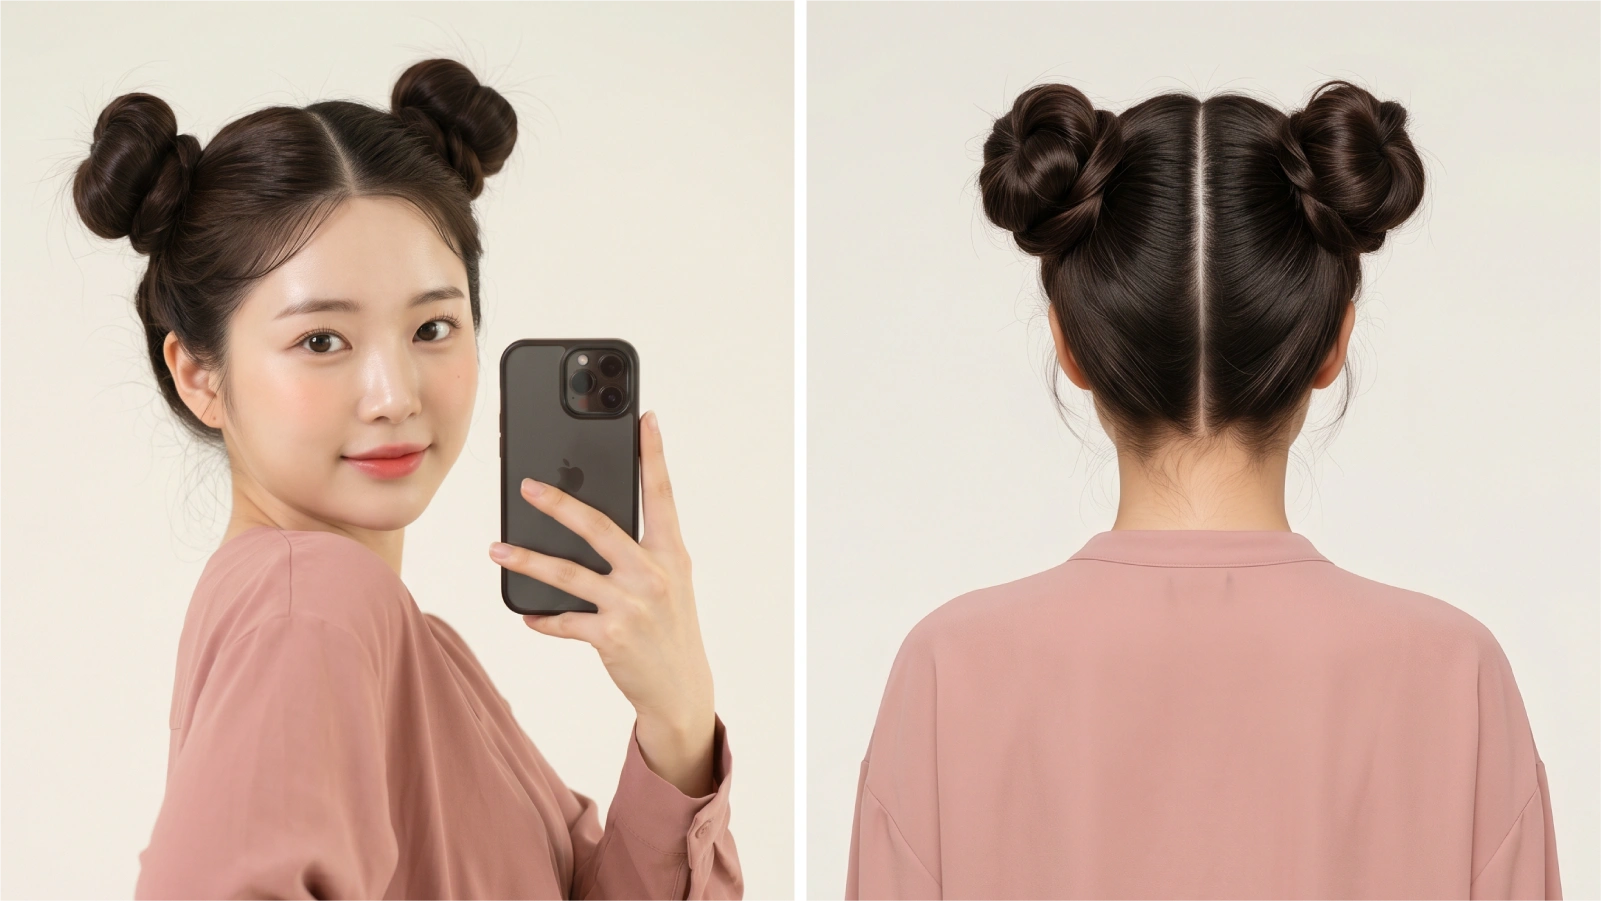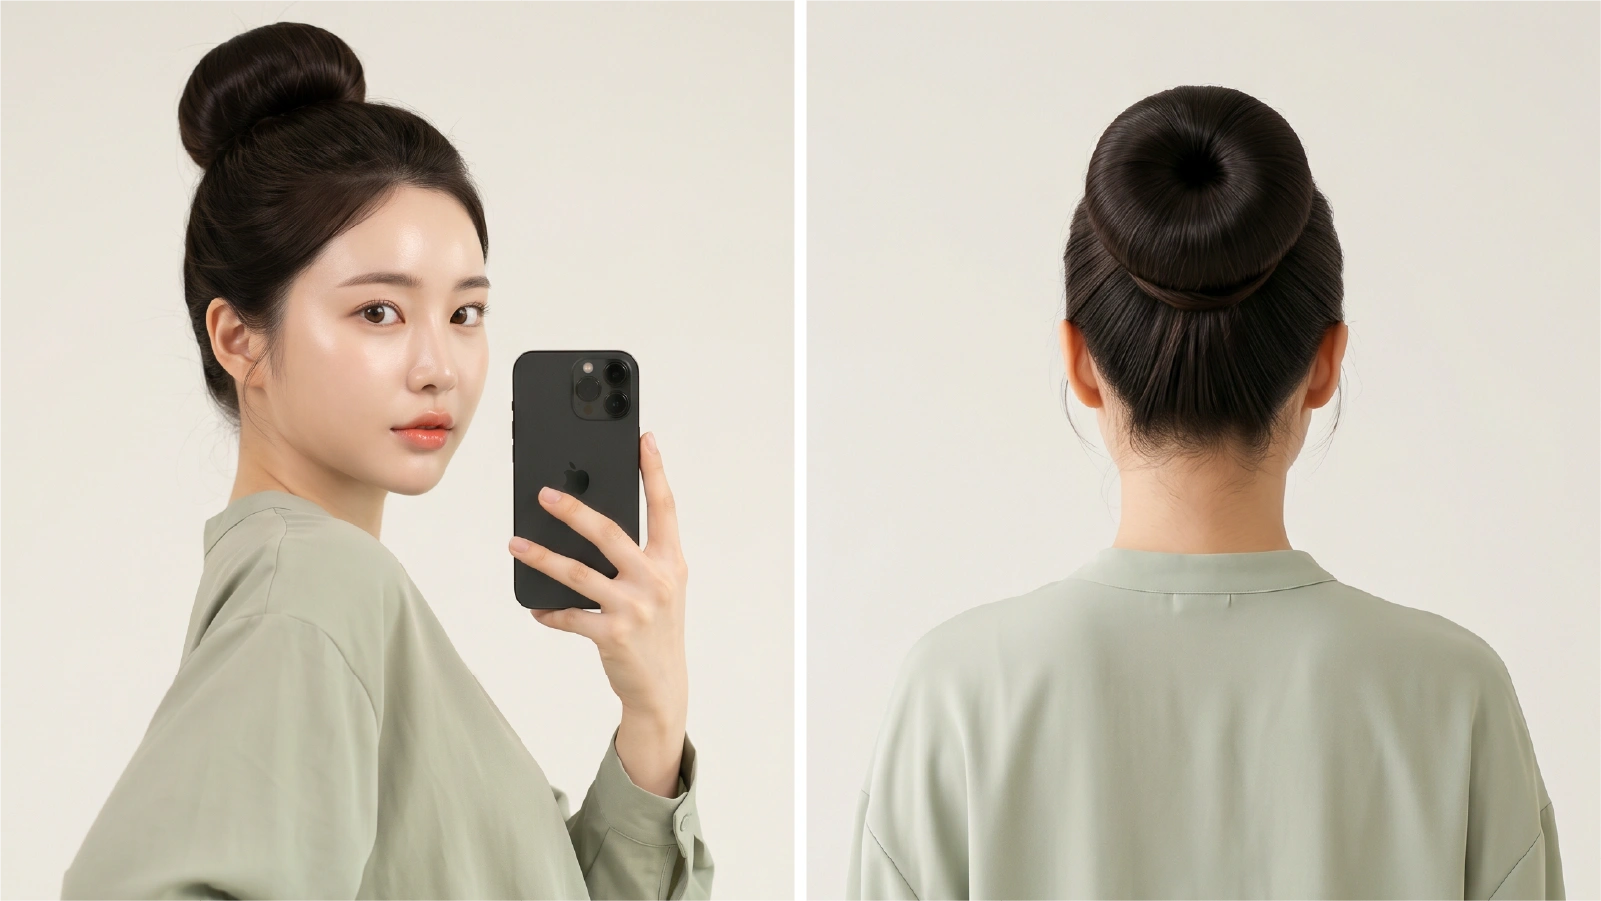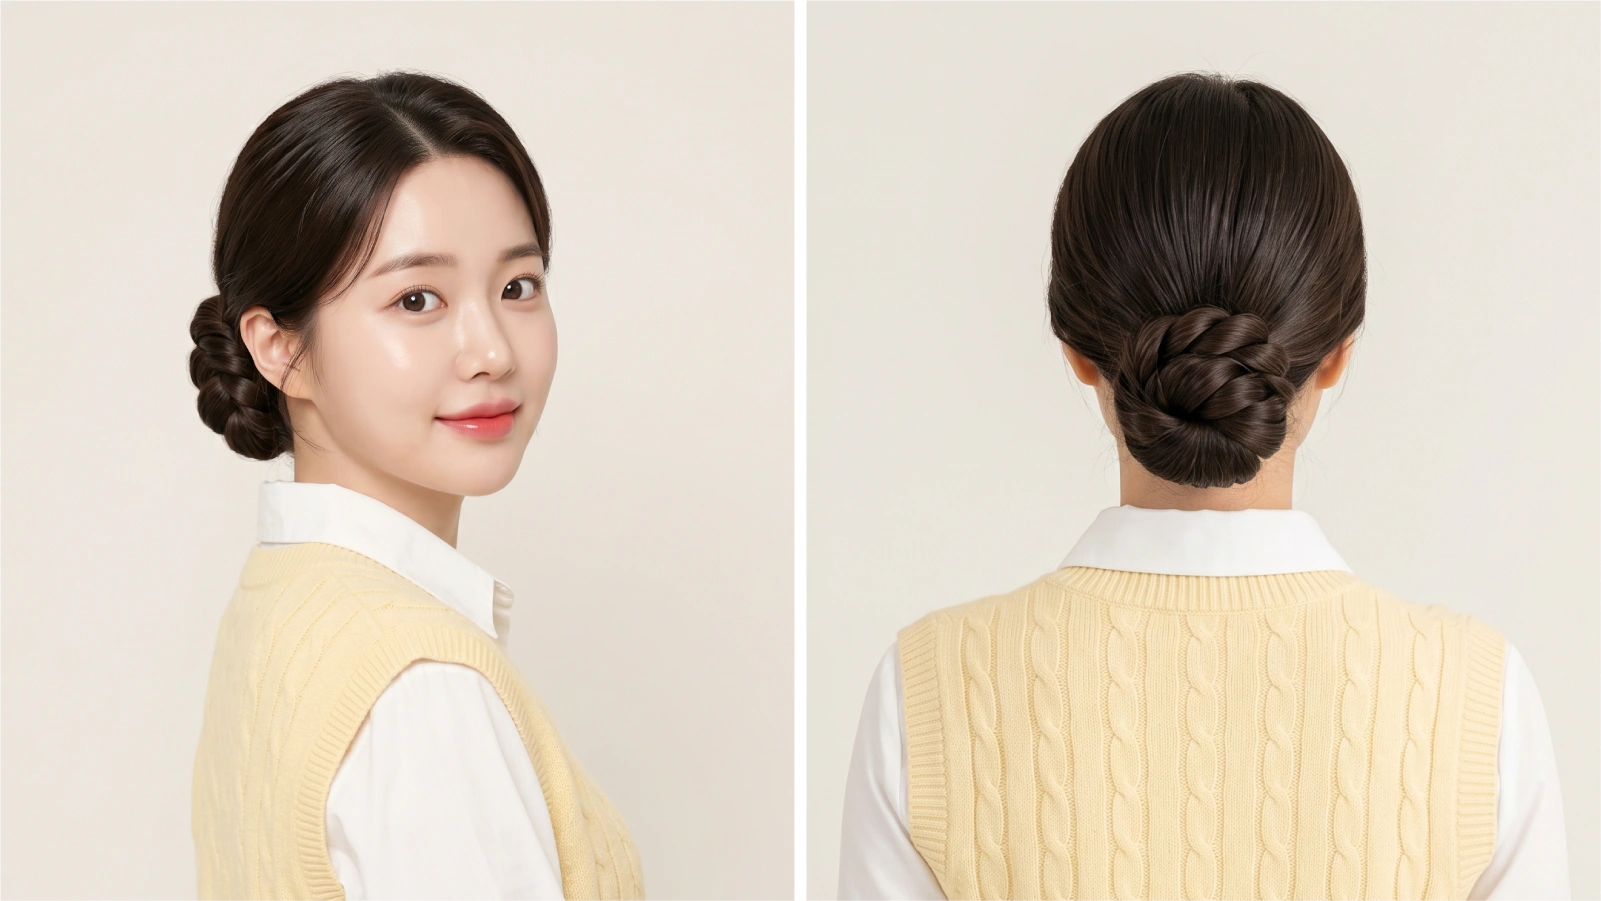
A twisted bun is a versatile updo created by twisting sections of hair and coiling them into a secured bun — giving you something far more polished than a plain bun, without the complexity of a full braid. It takes under 10 minutes, works on most hair types, and transitions effortlessly from the office to a wedding reception. The real appeal? You can dial it sleek and structured or loose and textured depending on the occasion, your hair type, and how many bobby pins you’re willing to commit to.
If you’re building a go-to rotation of quick and versatile everyday updos for women, the twisted bun belongs at the top of that list.
Style Snapshot
What Is a Twisted Bun, and How Is It Different from Other Buns?
Here’s the thing — “twisted bun” gets used loosely to describe several distinct styles, and that confusion is exactly why so many tutorials feel inconsistent. Before you start pinning, it pays to know which version you’re actually making.
The core technique involves rope-twisting (wrapping two strands around each other) or flat-twisting (a single strand twisted back on itself) before coiling the hair into a bun shape. That’s what separates it from a plain bun (no twist) or a French twist (hair folded vertically at the back, not coiled).
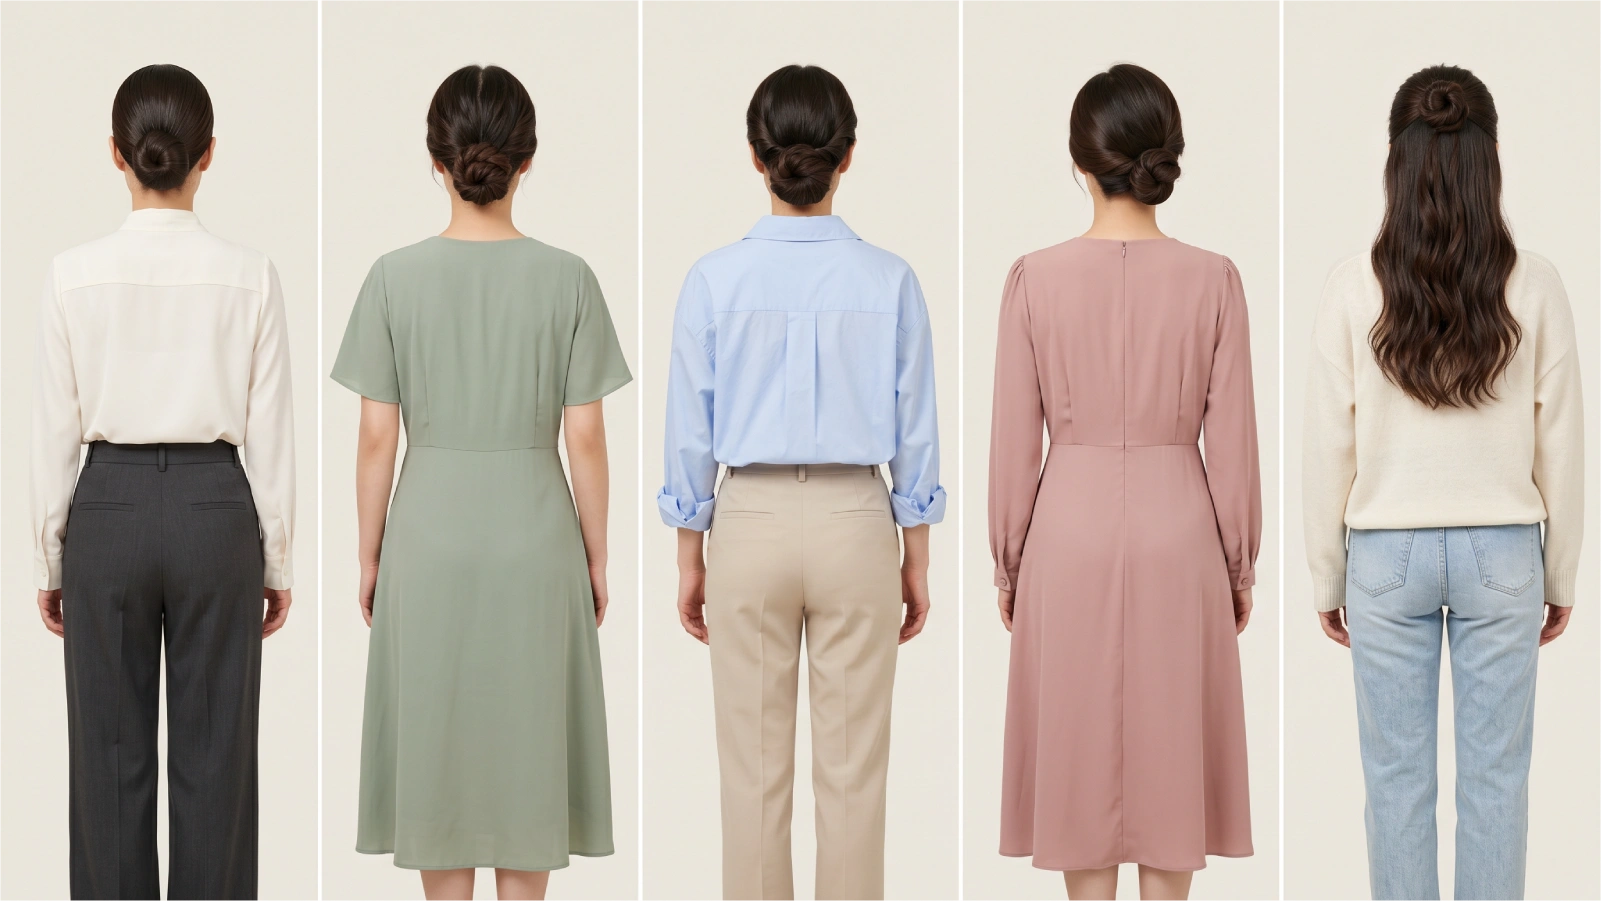
The twisted bun is the Swiss Army knife of updos — five distinct variations, one core skill, zero heat required.
How Do You Do a Twisted Bun? Step-by-Step (Rope Bun Method)
The rope bun is the best starting point for beginners — it’s forgiving, full of texture, and genuinely holds all day when prepped correctly. Prep is where most tutorials fall short, so start there.
What you need:
- 1 hair elastic
- 6–8 bobby pins (matched to your hair color)
- Dry texture spray or light-hold pomade
- Optional: spin pin for extra security
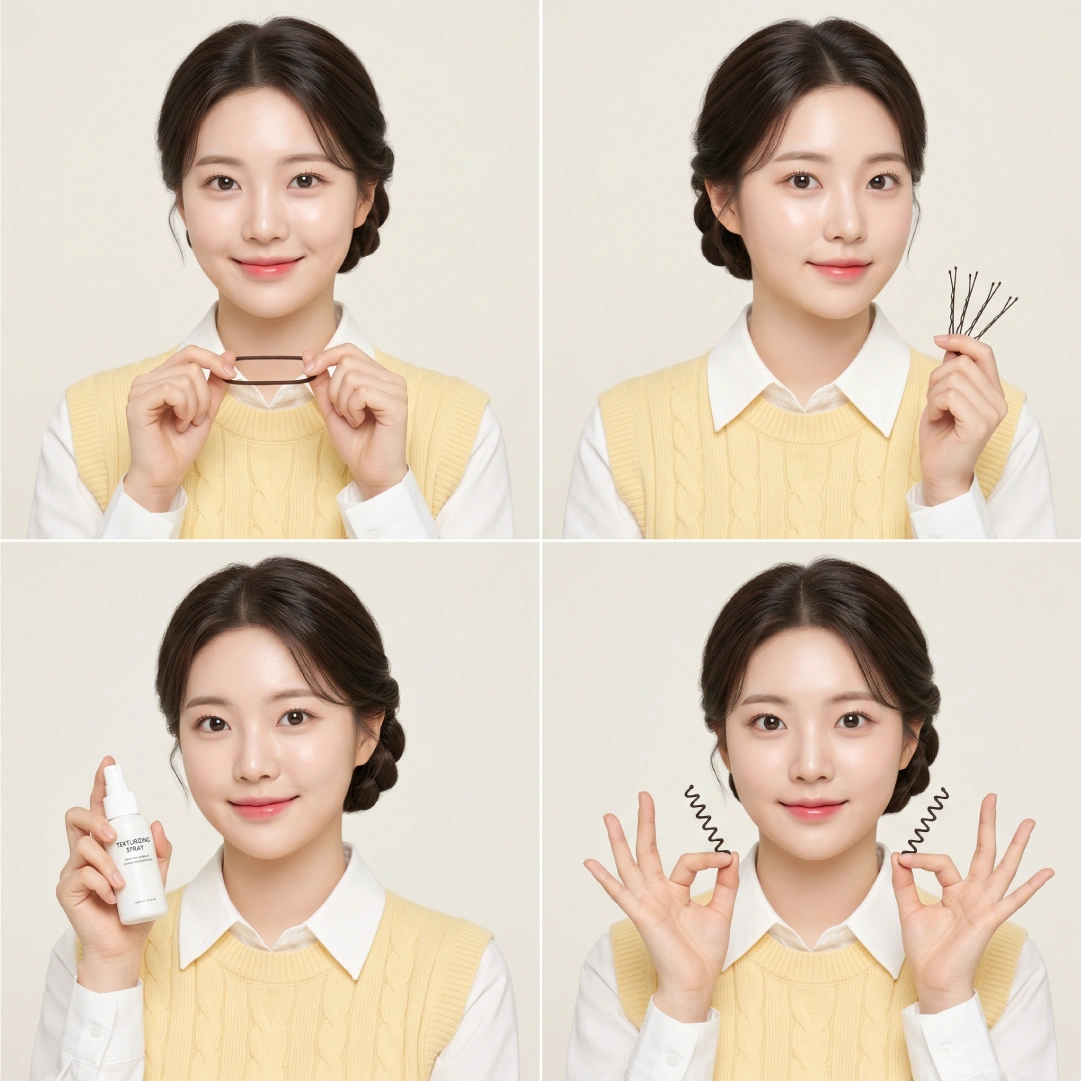
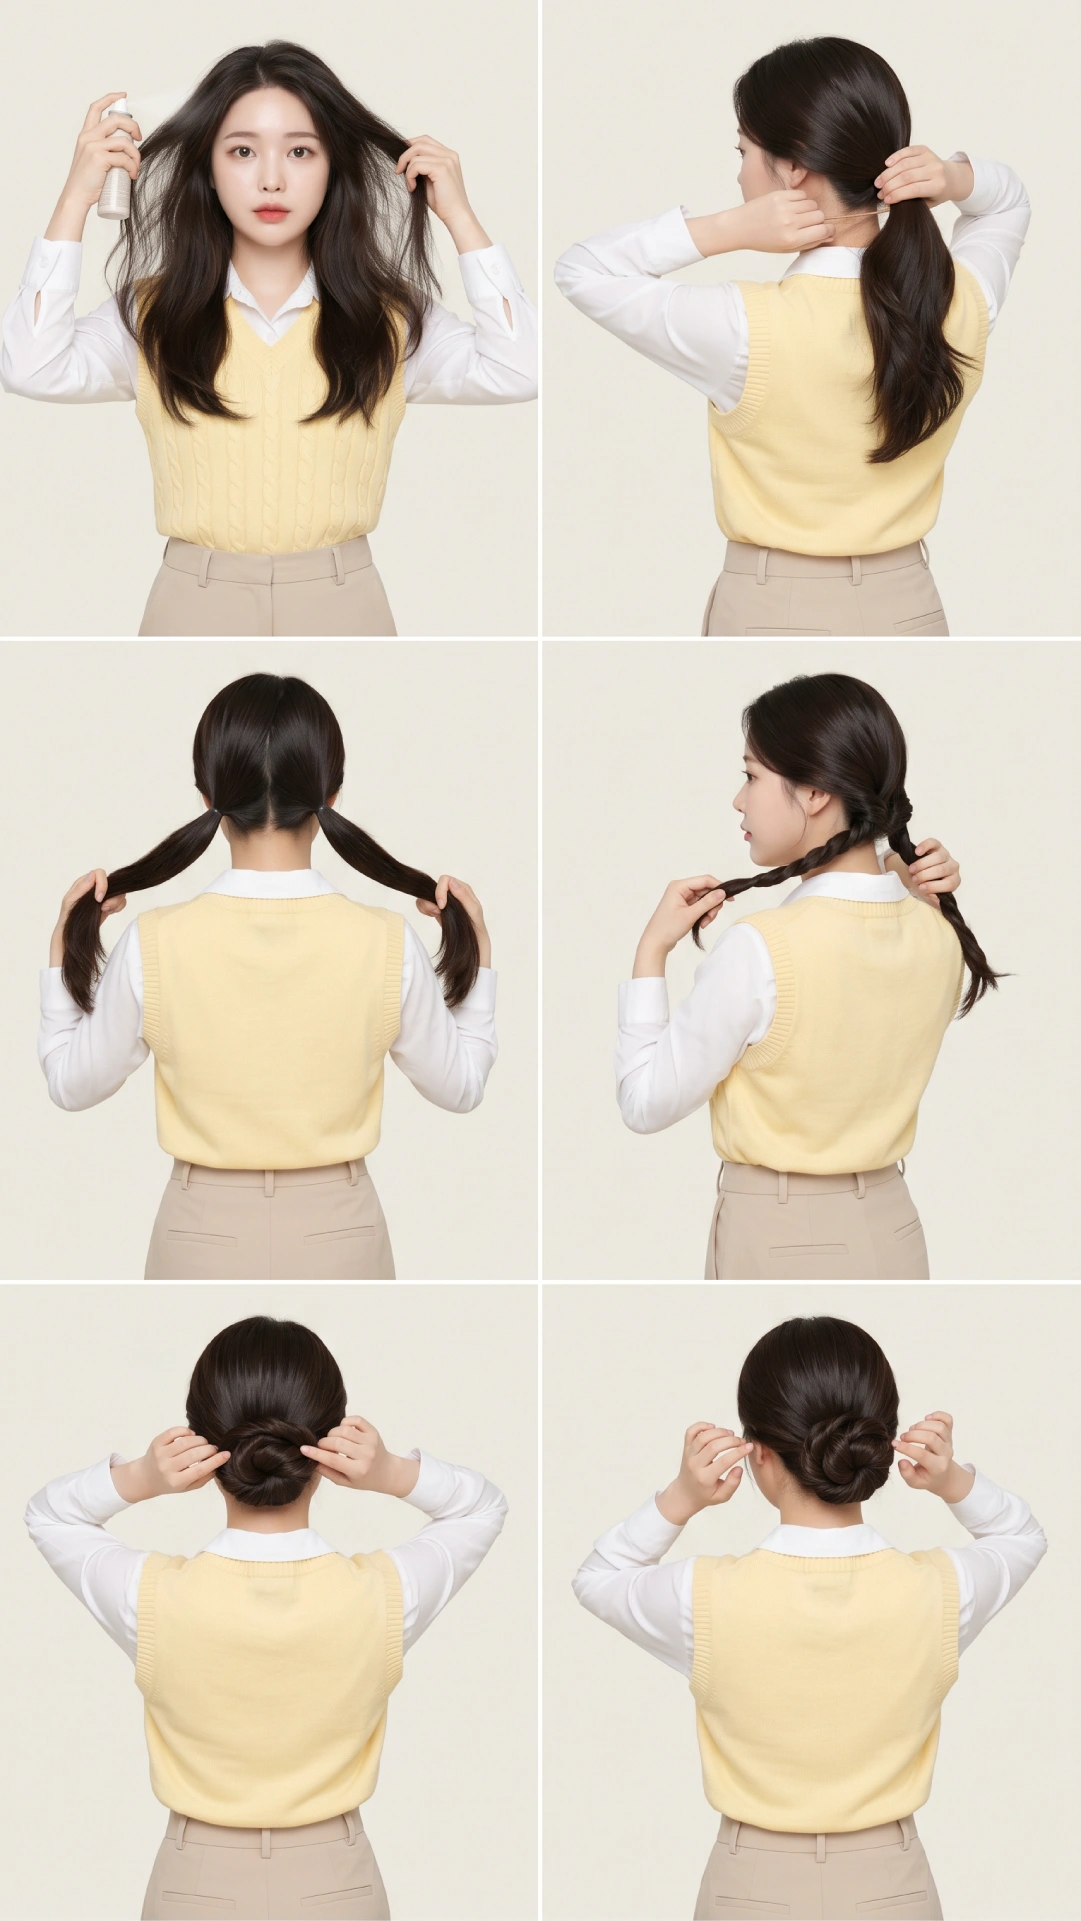
Steps:
- Prep your hair. Mist dry texture spray (such as Oribe Dry Texturizing Spray or a drugstore dupe like Batiste Dry Shampoo) at the roots and mid-lengths. This is non-negotiable for fine or silky hair — without grip, the twist unravels.
- Gather into a low ponytail at the nape of your neck, or high on the crown depending on the look you want. Secure with an elastic.
- Divide the ponytail into two equal sections.
- Twist both sections in the same direction (clockwise), then wrap them around each other in the opposite direction. You’ll feel the rope form naturally.
- Coil the rope into a bun, wrapping around the elastic base.
- Secure with bobby pins inserted at downward angles through the bun into the hair beneath — not just through the bun itself.
- Pull gently at the edges of the bun to loosen and create volume.
- Finish with a light mist of flexible-hold hairspray, not a stiff lacquer.
For the sleek wrap bun: skip dividing the ponytail. Instead, twist the full ponytail flat against itself and wrap it tightly around the base, tucking the ends under and pinning flat.
Which Twisted Bun Suits Your Face Shape?
Most hair tutorials skip this entirely. Face shape changes which bun height and placement will actually flatter you — and the twisted bun is flexible enough to adapt.
- Oval face: You’re in luck — virtually every variation works. High rope buns and side-swept styles both look proportionate.
- Round face: Go high. A high twisted bun placed on the crown creates vertical emphasis and elongates the face. Avoid center-back low buns, which can accentuate width.
- Square face: Softness is the goal. A loose rope bun or half-up twisted bun with face-framing tendrils softens a strong jawline. Pull a few pieces loose around the temples.
- Heart-shaped face: Keep it low. A low side-swept twisted bun at the nape adds width to the lower half of the face and balances a wider forehead.
- Long face: Width is your friend. A double-twist bun placed mid-height with added volume on the sides creates horizontal balance. Avoid very tall top-knot placements.
Placement matters as much as technique — a twisted bun worn an inch too high or too low can change the entire effect on your face.
Can You Do a Twisted Bun on Short, Layered, or Fine Hair?
Short answer: yes, with modifications. Truth is, competitors almost always assume long, single-length hair — which leaves a lot of women without practical guidance.
Fine hair:
- Apply texture spray before styling (this is your best tool)
- Backcomb the ponytail lightly before twisting
- Use a small hair donut or padding underneath for volume
- Opt for the half-up twisted bun — it works beautifully on finer textures and doesn’t fight the hair’s weight
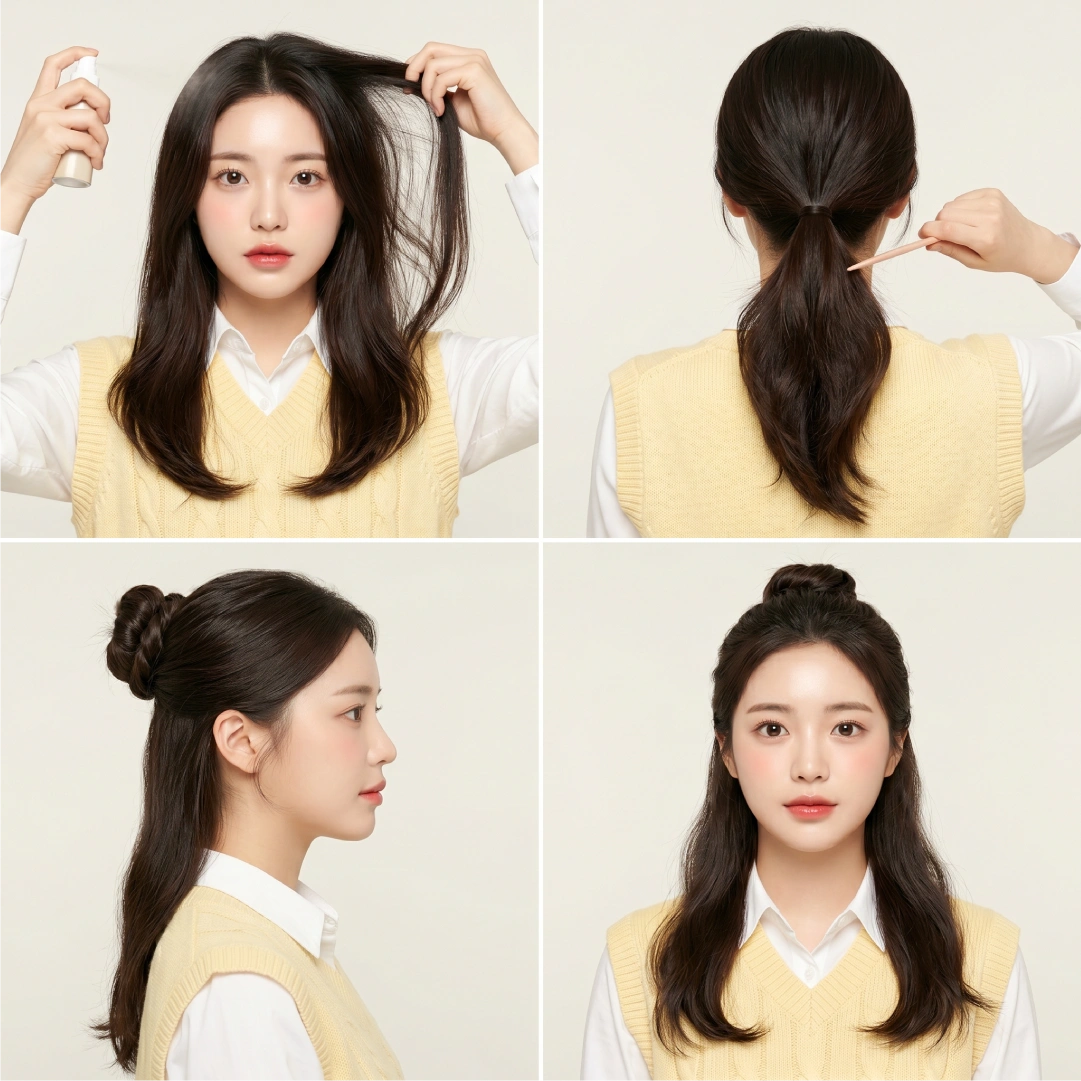
Thick or coarse hair:
- Section hair before twisting to manage bulk
- The rope bun and sleek wrap bun are ideal — they use the volume rather than fight it
- Use one or two spin pins instead of a cluster of bobby pins
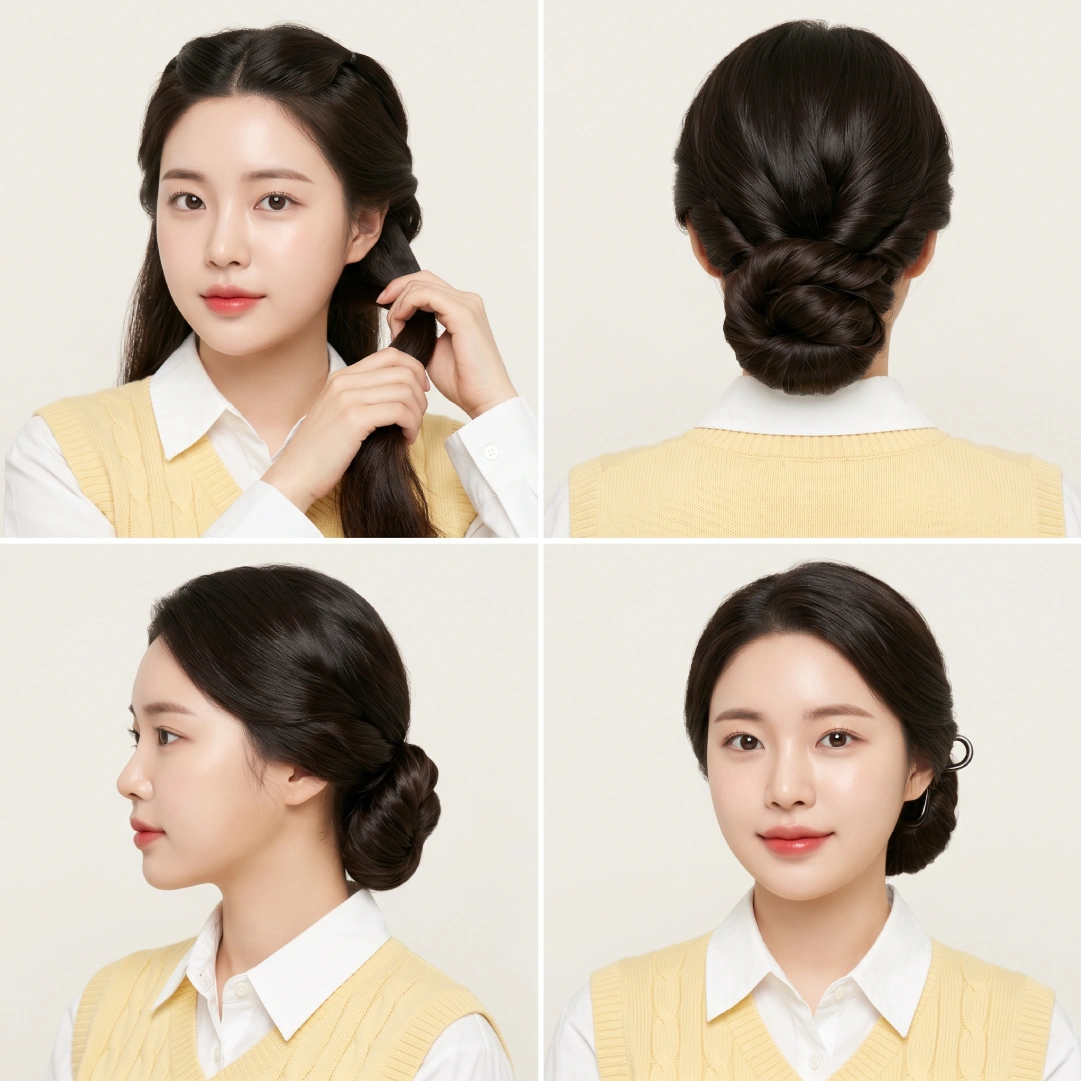
Layered hair:
- Shorter layers will escape any style — plan for it by using a light-hold gel on the front layers before you begin
- A side-swept twisted bun actually benefits from layers since face-framing pieces look intentional, not accidental
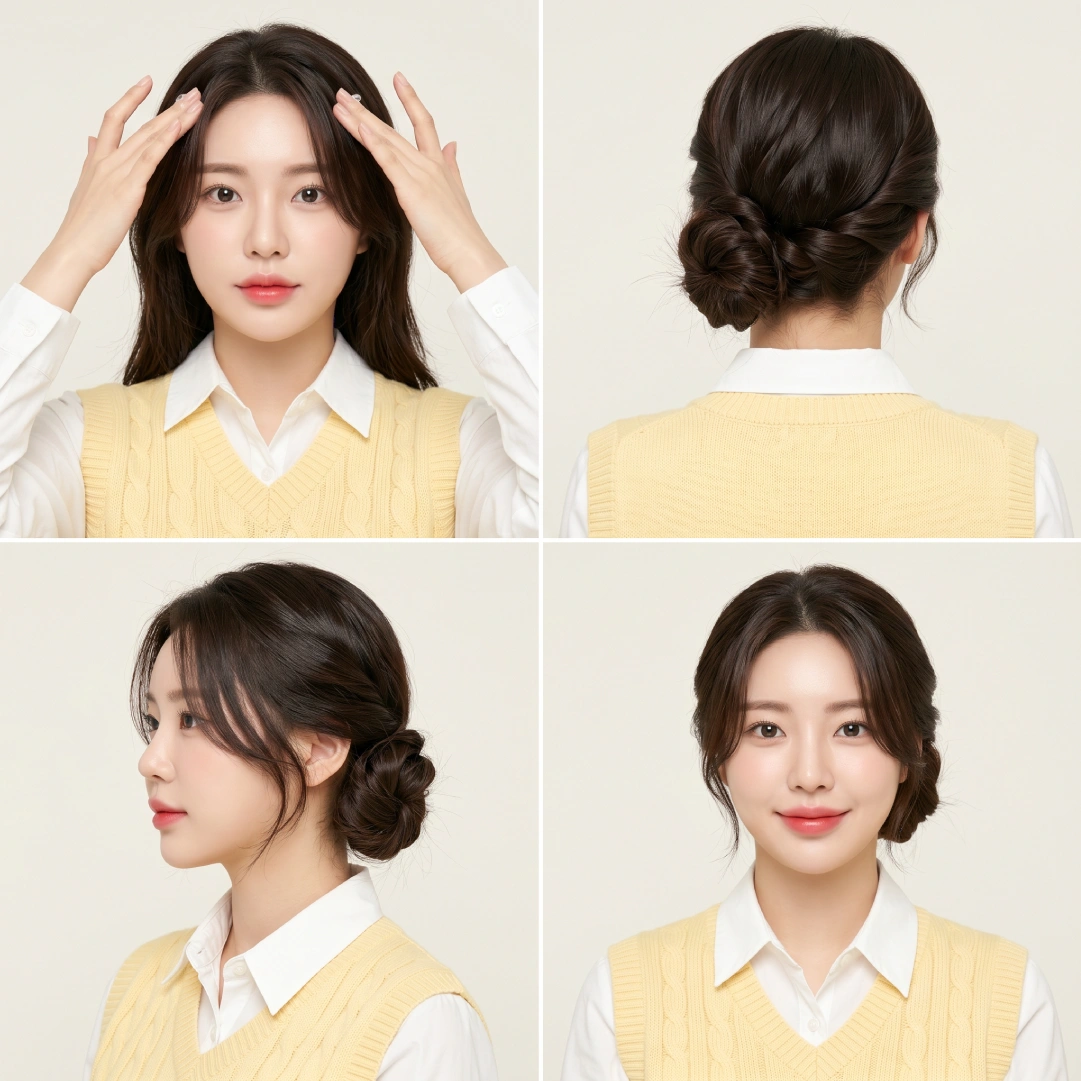
Curly or wavy hair (2B–3C):
- Twist on second-day hair when natural texture is at its best
- Scrunch a curl-defining cream through damp sections before twisting
- Embrace the texture — a tightly twisted rope bun on curly hair gives incredible dimension
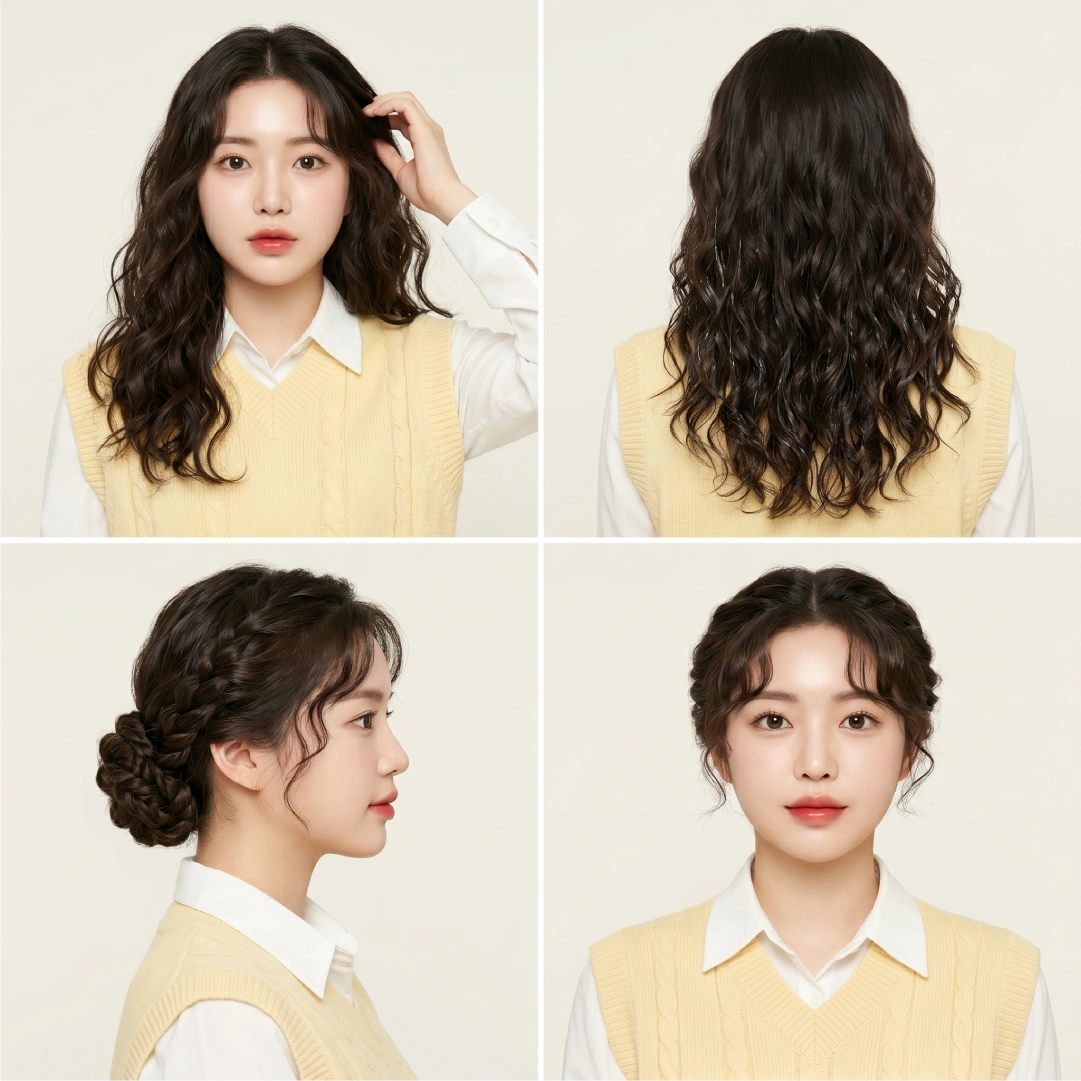
Twisted Bun Troubleshooting: Why It’s Falling Out (And How to Fix It)
This is the section nobody writes. If your twisted bun collapses by noon, one of these four things is happening:
- Hair is too clean and silky. Freshly washed hair has zero grip. Twisted buns actually perform better on second-day hair or with texture spray applied first.
- Bobby pins inserted incorrectly. Pins should go through the bun and into your natural hair beneath at a downward angle — not just stab through the bun horizontally.
- Elastic is too loose. The ponytail base is everything. If the foundation shifts, the bun shifts. Retie until the ponytail feels secure before twisting.
- Twist direction inconsistent. Rope twists must stay consistent — if you switch from clockwise to counterclockwise partway through, the coil loosens itself.
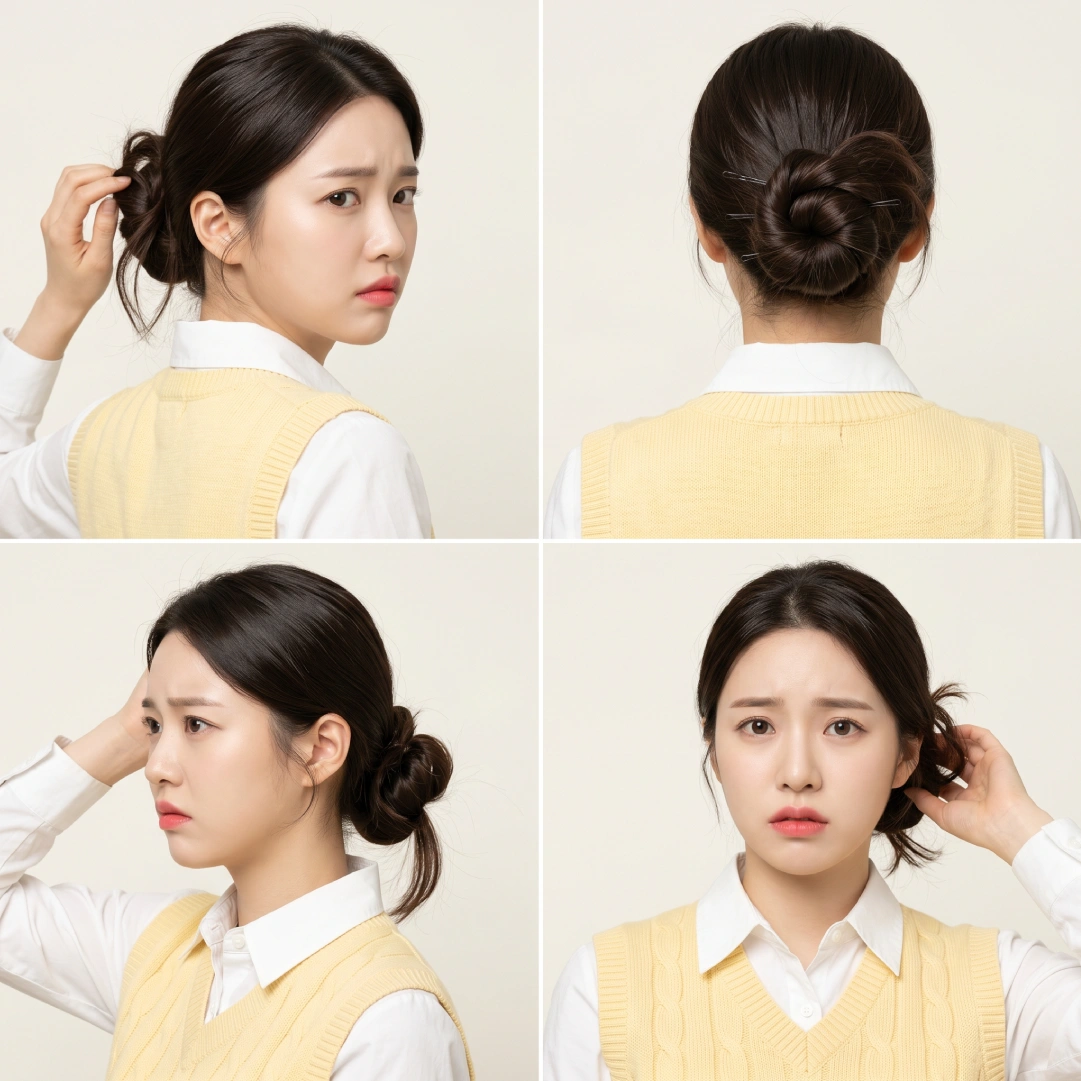
A twisted bun built on a firm ponytail base with correctly-placed pins should hold for 8–10 hours without retouching.
Frequently Asked Questions
A French twist involves folding the hair vertically up the back of the head and tucking it into a vertical column — it doesn’t form a coiled bun shape. A twisted bun uses rope or flat twisting technique and ends in a coiled or wrapped bun at the nape, crown, or side. Both are updos; the French twist is more structured and formal.
Start with textured hair (second-day or with dry texture spray applied), secure the ponytail base firmly with a strong elastic, insert bobby pins at a downward angle through the bun into the scalp hair beneath, and finish with a flexible-hold hairspray. Avoid stiff lacquers — they make the bun brittle, not stronger.
Yes, if your hair reaches at least a low ponytail (roughly 4–6 inches of length). The half-up twisted bun is the most accessible option for shorter lengths. Use bobby pins generously and embrace any escaped pieces as intentional face-framing.
For weddings, the sleek wrap bun or side-swept twisted bun photograph best — both hold their structure and pair well with veils, pins, and floral accessories. Pair with a few curled tendrils at the temples for a romantic finish. A loose rope bun works for a more relaxed, bohemian ceremony.
It actually works better on second-day hair. Natural oils and residual product give hair texture and grip that freshly washed hair lacks. Add a small mist of dry shampoo at the roots for refresh, and you’re set. Many stylists consider day-two hair the ideal canvas for any updo.
Key Takeaways
The twisted bun earns its place as a daily staple because it adapts — to hair types, face shapes, occasions, and time constraints — without requiring heat tools or advanced skill. A few key points to take with you:
- Match variation to occasion: rope bun for casual, sleek wrap for professional, side-swept for events
- Prep matters most: dry texture spray is the single biggest impact upgrade for all-day hold
- Face shape dictates placement: high for round faces, low for heart-shaped, mid-height for long faces
- Layered and shorter hair works — use the half-up version and plan for face-framing pieces
- Fix the base to fix the bun: if your ponytail moves, everything moves
For more everyday style ideas that take the same minimal-effort, maximum-impact approach, explore related looks like the effortless messy bun for casual days or the low bun for a cleaner, sleeker alternative. If you’re experimenting with half-up styles, the half up half down hairstyle pairs perfectly with the twisted bun technique.