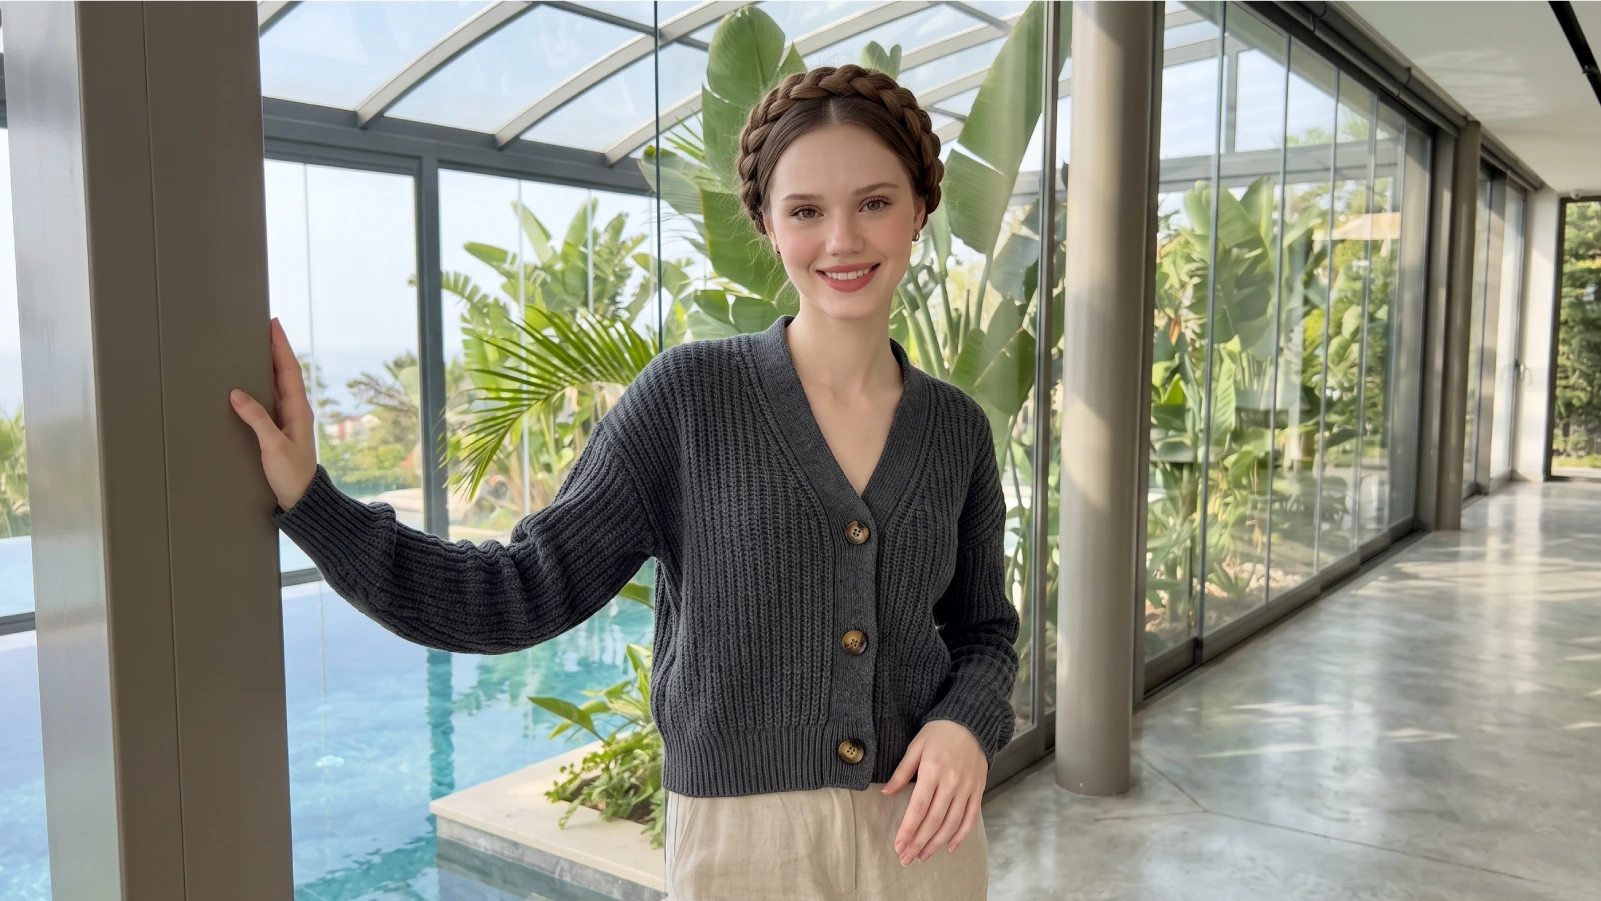
A crown braid is a braid that wraps around your head like a halo, made by braiding along the hairline and pinning the ends in a circle. Most people can finish one in about ten minutes on second-day hair, and it holds through a full workday without restyling.
The style has been worn for generations across European folk dress, where women piled long hair on top of the head to keep it out of the way. It’s still one of the few updos that reads as both practical and formal, which is why it shows up at weddings and on school mornings alike.
Below you’ll get two working methods (one for beginners, one for the seamless version), a length-and-texture guide so you pick the right one, and the fixes for slipping pins and sore spots. If you want more low-effort options, start with these effortless hairstyles and come back here.
Style Snapshot
- The two-braid method takes about five minutes and needs no Dutch braiding skill at all.
- Braid on day-old hair, not freshly washed hair, because clean strands slip out of the pin.
- Hair that hits your collarbone is long enough for a two-braid crown; you need mid-back length for a single continuous braid.
- If your scalp stings or feels tight anywhere along the braid, loosen it before you pin.
How do you do a crown braid step by step?
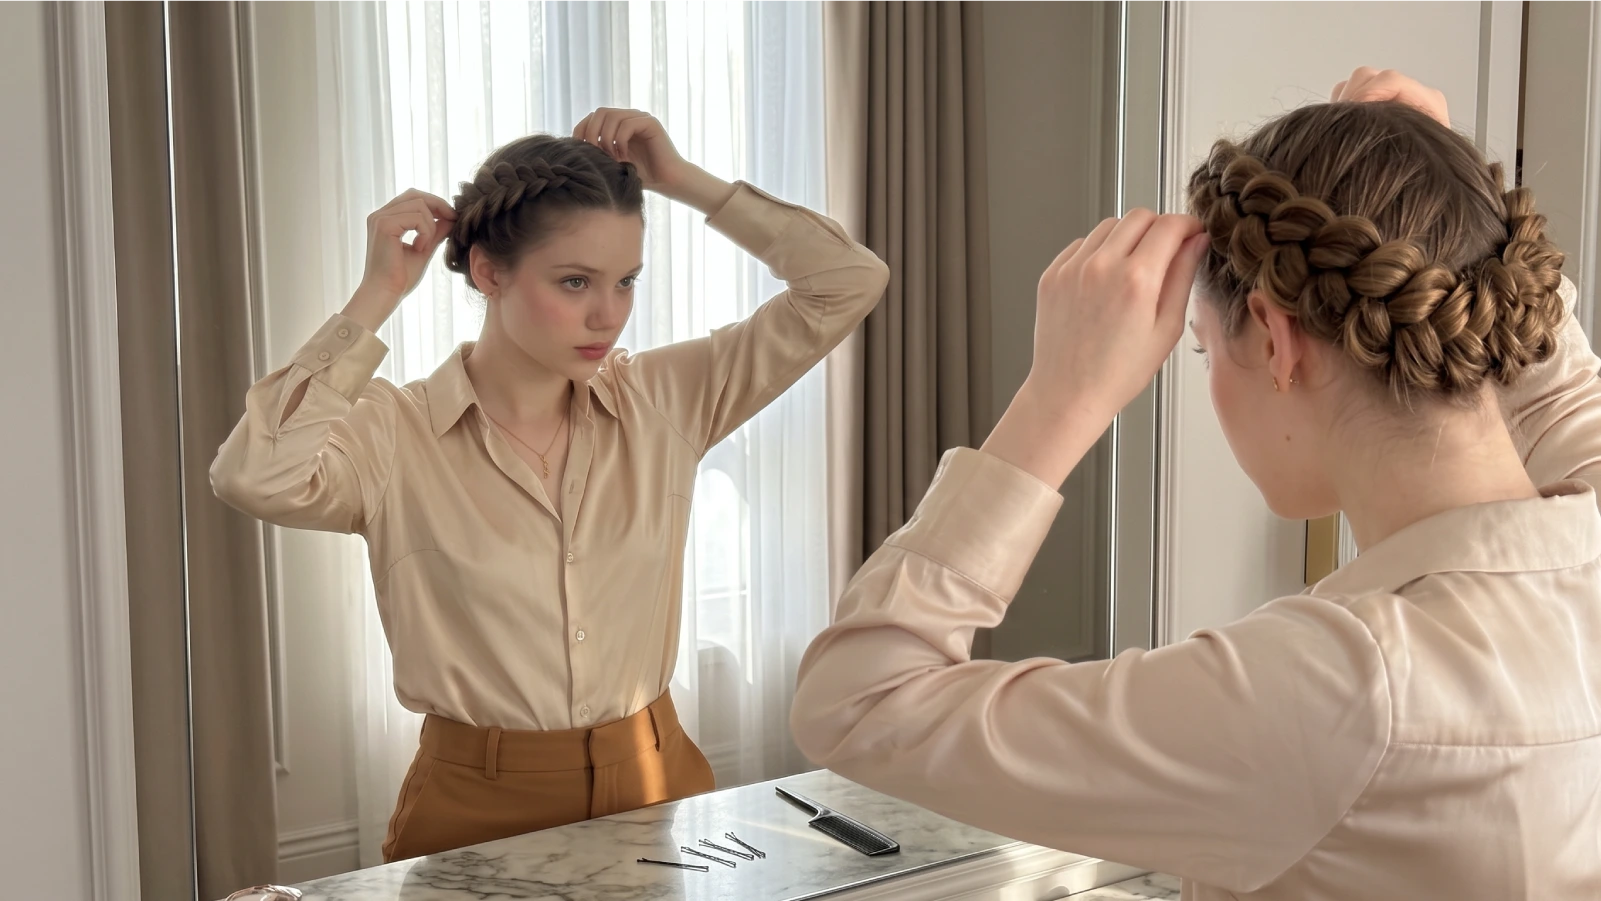
The fastest version uses two regular three-strand braids, one on each side, crossed over the top of your head. It needs no special technique and it’s the version to learn first.
- Part your hair down the middle, from your forehead to your nape, and clip one side out of the way.
- Braid each side into a standard three-strand braid, starting just behind your ear. Secure both with clear elastics.
- Gently tug the outer edges of each braid to widen it. This is what makes the crown look full instead of skinny.
- Lift the right braid across the top of your head, tuck the tail behind your left ear, and pin it flat with two or three bobby pins.
- Bring the left braid over the top and pin it just behind the right one, hiding the first braid’s elastic underneath.
- Tuck any loose tail down into the braid and pin. Mist with hairspray.
Work in front of a mirror with a second mirror behind you, or just go by feel. Most people pin too high on the first try, which leaves a visible gap at the nape. Aim to cross the braids just above the ear line.
For the seamless version, you’d braid along your hairline instead, picking up new hair as you go. That’s Dutch braiding done sideways, and it’s the technique most tutorials use because the braid sits on top of the hair instead of sinking into it.
The tug matters more than the braid. A tight, narrow crown looks severe on almost everyone. A pancaked one looks like it took an hour.
What’s the best crown braid for your hair length and texture?
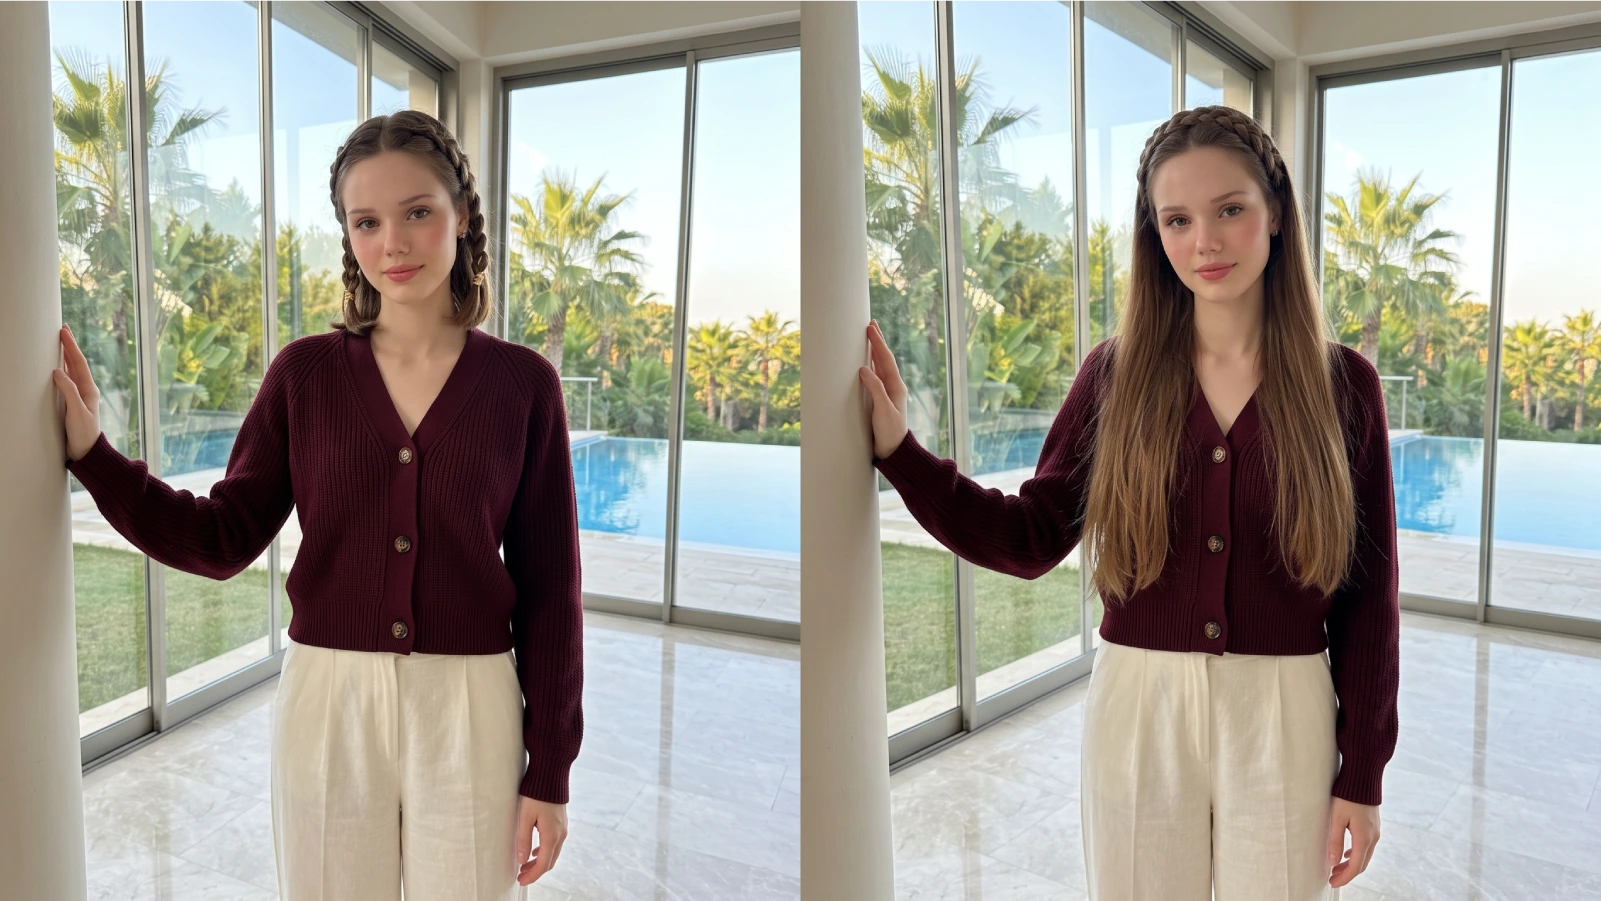
Pick your method by length first, texture second. Shorter hair needs the two-braid version because a single continuous braid runs out of hair before it makes the full loop.
The half crown is the underrated middle option. You braid only the top section around your head and leave the rest down, which suits medium lengths and takes about three minutes. For a version that sits further back on the head, the milkmaid braid style uses the same two-braid logic.
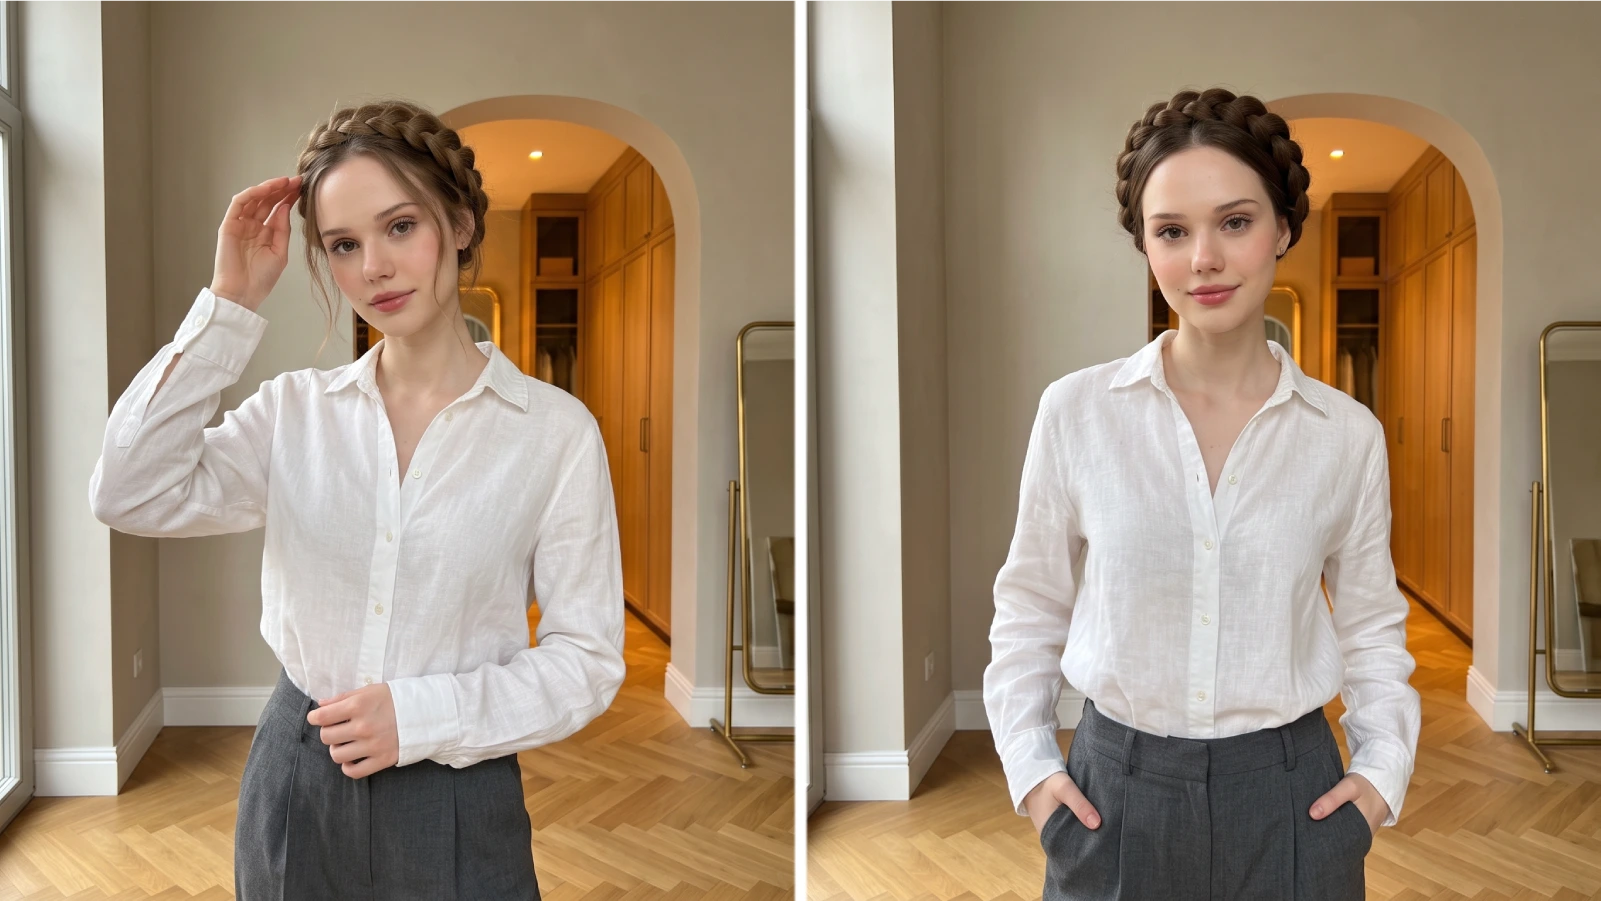
Fine hair benefits most from widening the braid before pinning, since the extra width fakes density. Thick or coily hair usually holds the shape on its own, so you can skip the tugging and use fewer, stronger pins.
Wavy and second-day hair grips best. If your hair is freshly washed and slippery, work a little dry texture spray through the mid-lengths first.
Layers are the one thing that genuinely complicates this style. Short face-framing pieces will slip out of a crown no matter how carefully you braid, so plan for them instead of fighting them. Pin them back separately or let them fall.
Extensions and clip-ins can bridge a length gap, but the added weight pulls harder on your pins and your scalp. If you go that route, use fewer, longer clip-in wefts placed low, and check the tension before you commit to a full day of wear.
How do you keep a crown braid from slipping or hurting?
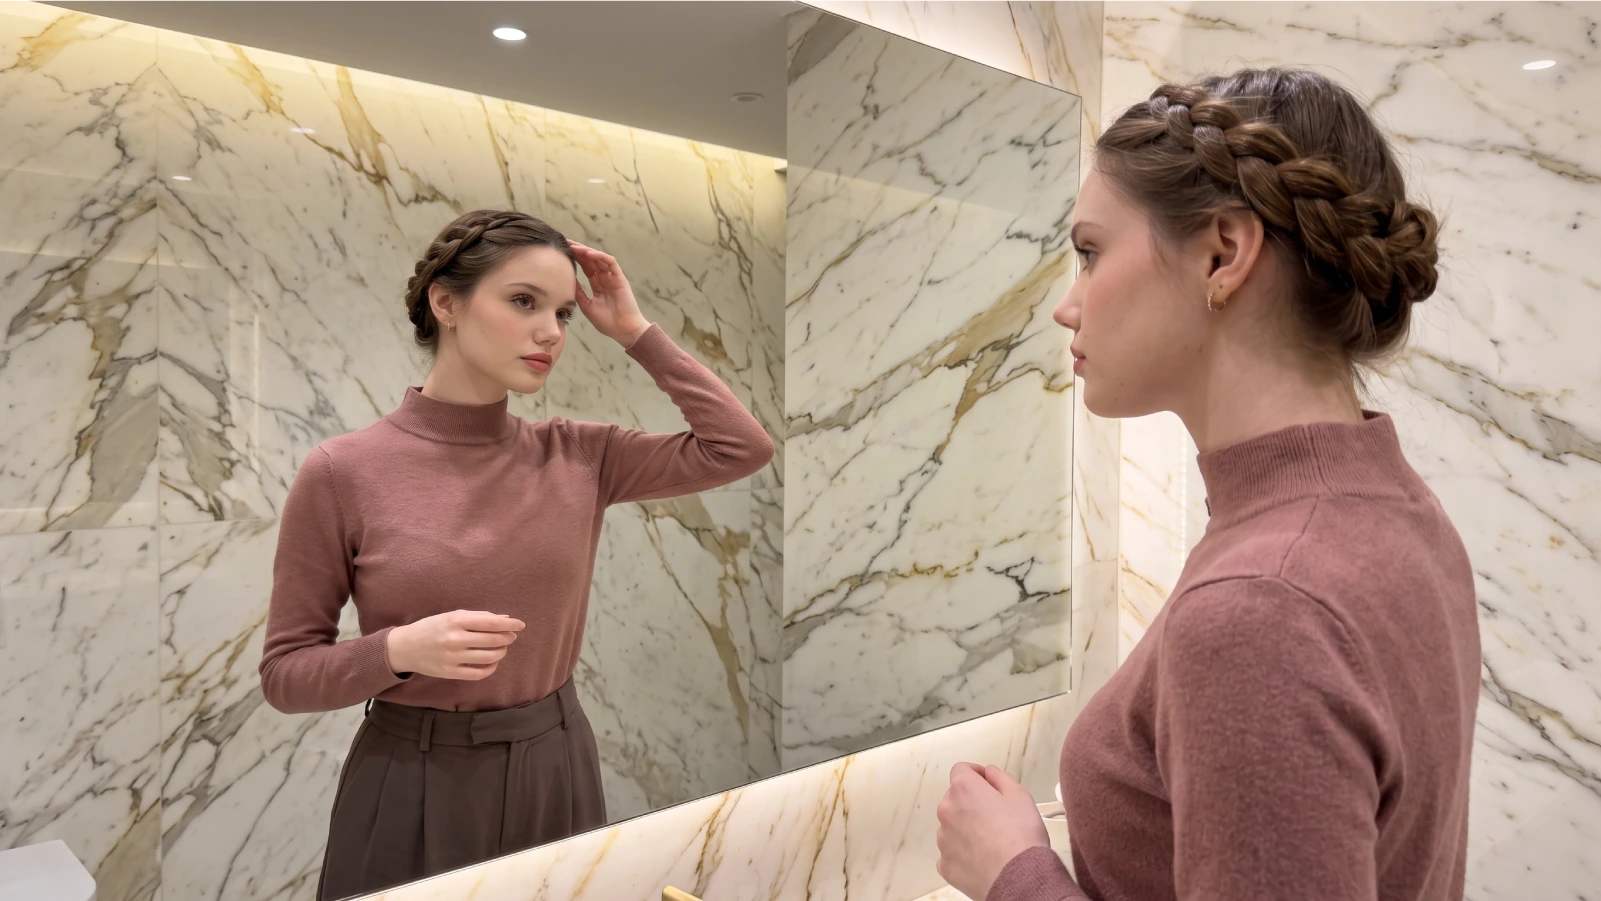
Pin against the direction of the pull, not with it. A bobby pin pushed in the same direction the braid wants to fall will slide out within an hour, which is the single most common reason crowns collapse by lunchtime.
Pain is the other issue, and it’s not something to style through. The American Academy of Dermatology advises loosening braids around the hairline specifically, and switching your hairstyle regularly so hair gets a chance to recover between tight styles.
Quick fixes for the usual problems:
- Pins sliding out: cross two pins in an X over the same spot instead of pushing three in parallel.
- Braid sagging by afternoon: you pinned into loose surface hair. Pin into the braid itself, catching hair underneath.
- Bumps along the hairline: smooth with a boar bristle brush before braiding, not after.
- Sore spot behind one ear: that section is pulling harder than the rest. Unpin it, release an inch of tension, and re-pin.
- Short pieces falling out: leave them. Face-framing strands make the style look intentional rather than undone.
Matte pins hold better than shiny ones, and matching the pin color to your hair matters less than people think. What shows is the angle: a pin lying flat against the scalp disappears, while one sitting proud of the braid catches light.
Give your scalp a break between wears. If you wear a crown braid several days a week, alternate with something looser like a French braid or leave your hair down entirely.
Watch the same spots each time you take it down. Broken hairs along the forehead, a hairline that’s creeping back, or thinning where the braid sat are all worth a conversation with a board-certified dermatologist rather than a heavier hairspray.
Frequently Asked Questions
In English they’re used interchangeably. Both describe a braid wrapped around the head above the ears. Some stylists reserve “halo” for the single continuous version and “crown” for two braids joined at the back.
Yes, down to about chin length. Use two side braids rather than one wrap, pin the ends at the back, and cover the join with a small clip or a pinned twist.
Overnight to two days with a satin pillowcase. Sleep with a loose silk scarf over it, re-pin any loose sections in the morning, and refresh the edges with a light mist.
It works well. Braid on stretched, slightly damp curls with a leave-in, and expect more volume in the finished loop. Coily textures hold pins better than straight hair does.
The Takeaway
- Two side braids crossed over the top is the beginner method and takes about five minutes.
- Widen the braid before pinning. That one step is the difference between severe and soft.
- Day-old hair grips better than clean hair, so plan the style for a non-wash day.
- Loosen anything that stings, and rotate the style rather than wearing it daily.
Once you can wrap a crown, the same pinning trick makes a fishtail braid sit just as neatly around your head.