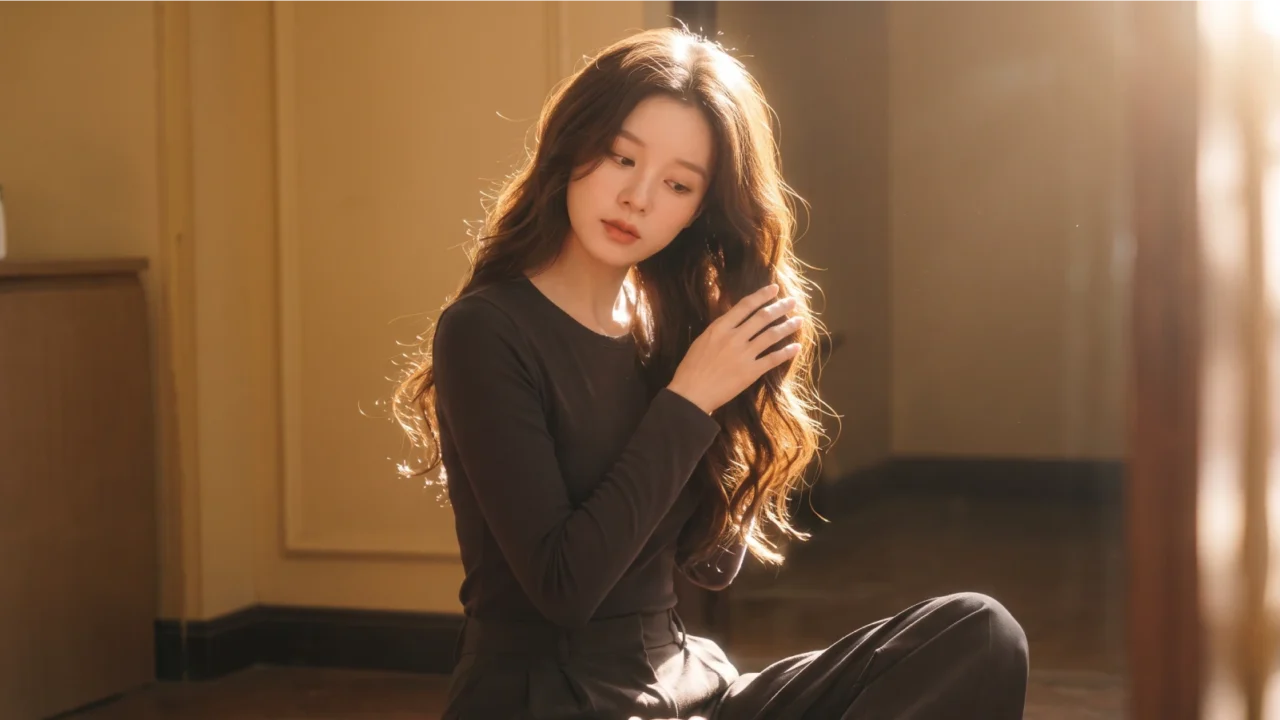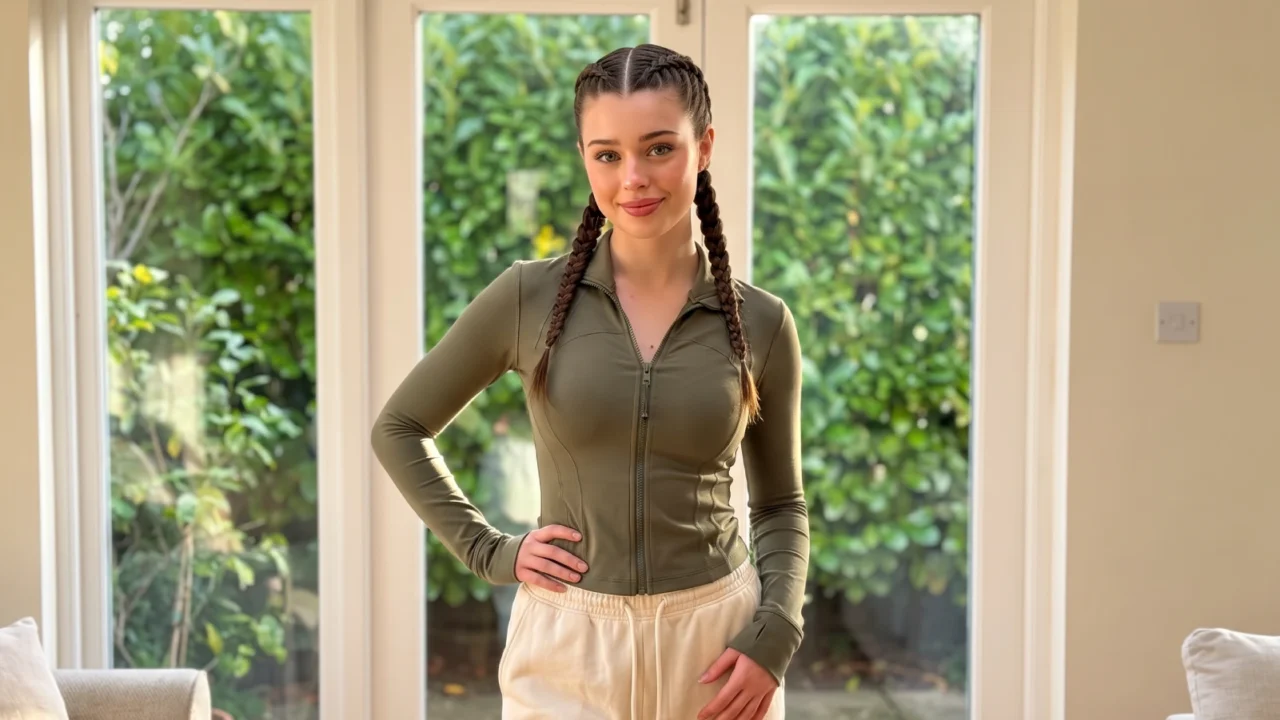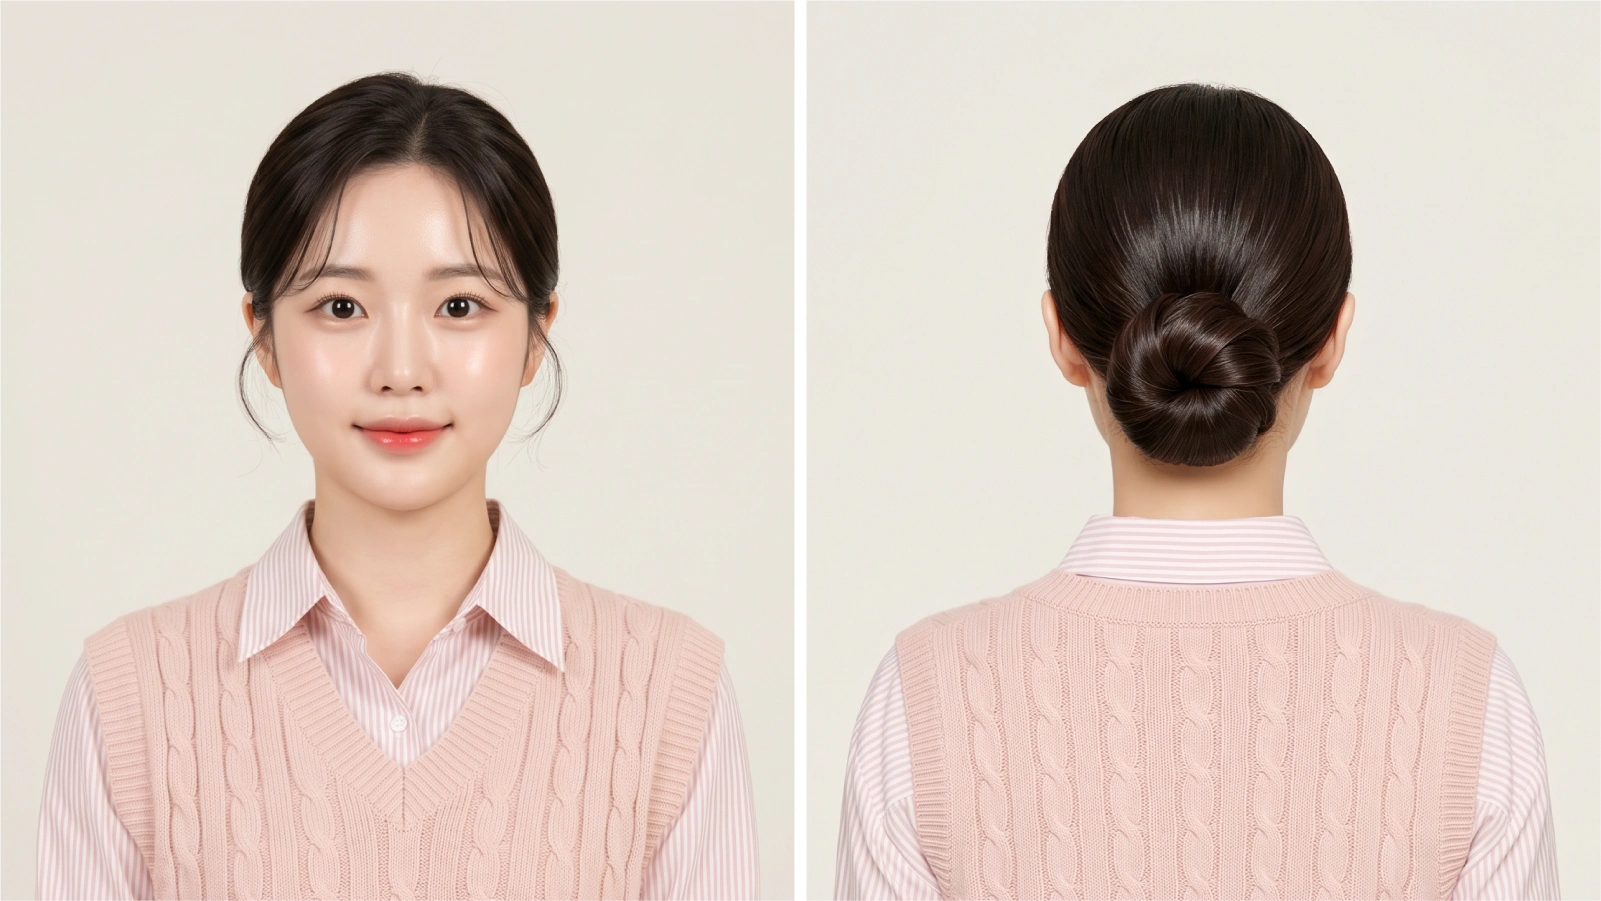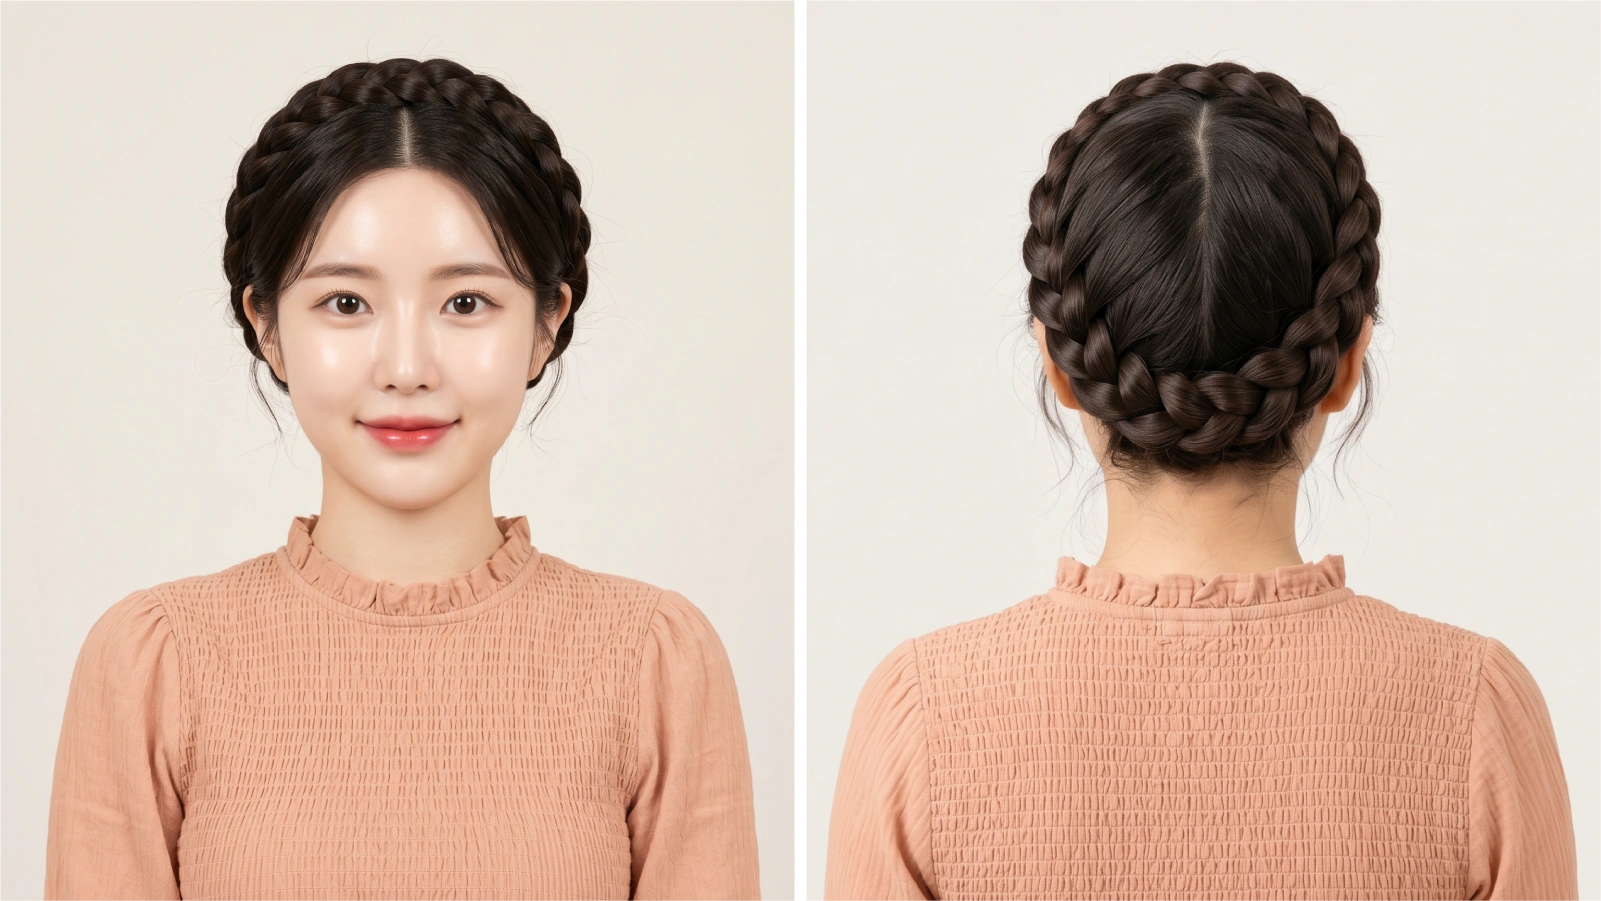
A milkmaid braid is a wrapped updo made by pinning two three-strand plaits across the crown of the head, creating a halo-like silhouette. It takes under 15 minutes to style, works on shoulder-length hair or longer, and requires zero heat tools—making it one of the most practical braided updos you can learn.
Whether you’re prepping for a summer wedding, a music festival, or just want your hair off your neck on a humid Tuesday, this style delivers polish without fuss.
The look traces back to medieval European women who braided their hair up and out of the way during daily work. Centuries later, celebrities at the Cannes Film Festival and Coachella have brought it firmly into modern fashion. If you’re exploring simple hairstyle for women, the milkmaid braid deserves a top spot on your list.
Style Snapshot
What Exactly Is a Milkmaid Braid?
A milkmaid braid wraps two plaits from behind each ear, up and over the head, then pins them together to form a continuous band. It’s sometimes called a “Heidi braid” or confused with a crown braid, but the two are distinct. A crown braid, sometimes called a halo braid, wraps around the head above the ears. A milkmaid braid sits further back, roughly where a headband would rest.
Here’s how milkmaid braids stack up against similar styles:
The milkmaid braid is the only crown-style updo a true beginner can nail on the first attempt—it’s just two pigtail braids pinned in place.
The style’s medieval origins are well documented. This hairdo has been around for centuries, often associated with Middle Ages women who used it to keep hair secure during daily chores. That practical DNA still defines it: the milkmaid braid keeps hair completely off the face and neck, doesn’t require heat, and actually looks better on unwashed hair.
How Do You Create a Milkmaid Braid Step by Step?
You don’t need salon skills. You need a brush, 6–10 bobby pins, two clear elastic bands, and medium-hold hairspray. That’s it.
- Part your hair down the center from forehead to nape, creating two equal sections.
- Braid each section into a standard three-strand plait, securing ends with clear elastics. Braid toward your face at a slight forward angle—this helps the plaits wrap more naturally later.
- Pancake both braids by gently pulling the outer edges apart. This adds width and volume, making even fine hair look fuller.
- Lift the first braid up and over the top of your head, positioning it like a headband. Pin it with bobby pins every two inches along the length.
- Wrap the second braid in the opposite direction, layering it beside or slightly overlapping the first. Tuck the tail end underneath and pin it securely behind the ear.
- Set with hairspray and pull a few face-framing tendrils loose for a softer finish.
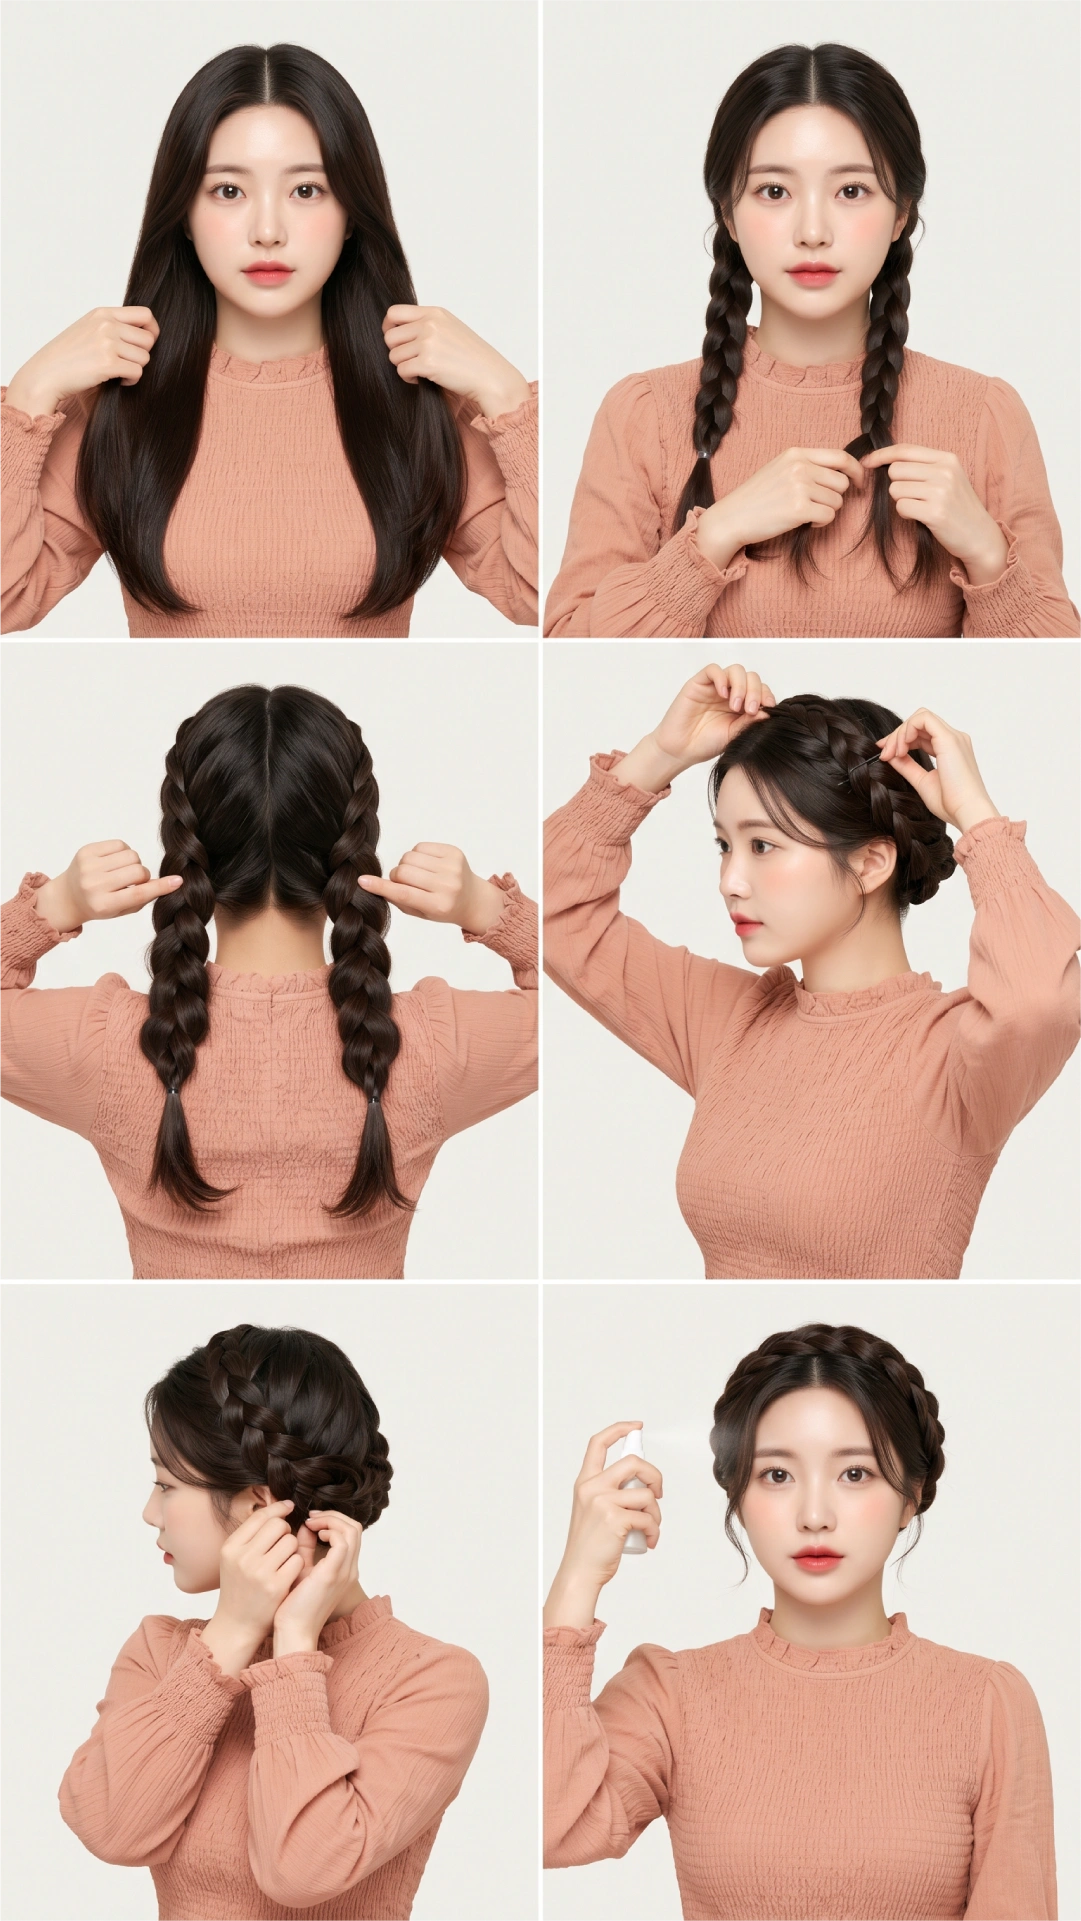
Pro tips to lock this style down:
- Second-day hair provides more grip than freshly washed strands—skip the shampoo
- Use a zig-zag part instead of a straight center part to eliminate a visible line at the back
- Cross the braids at the nape before wrapping upward to prevent gaps between them
- Criss-cross bobby pins for maximum hold on slippery hair textures
- Spray dry shampoo at the roots before braiding for extra volume and texture
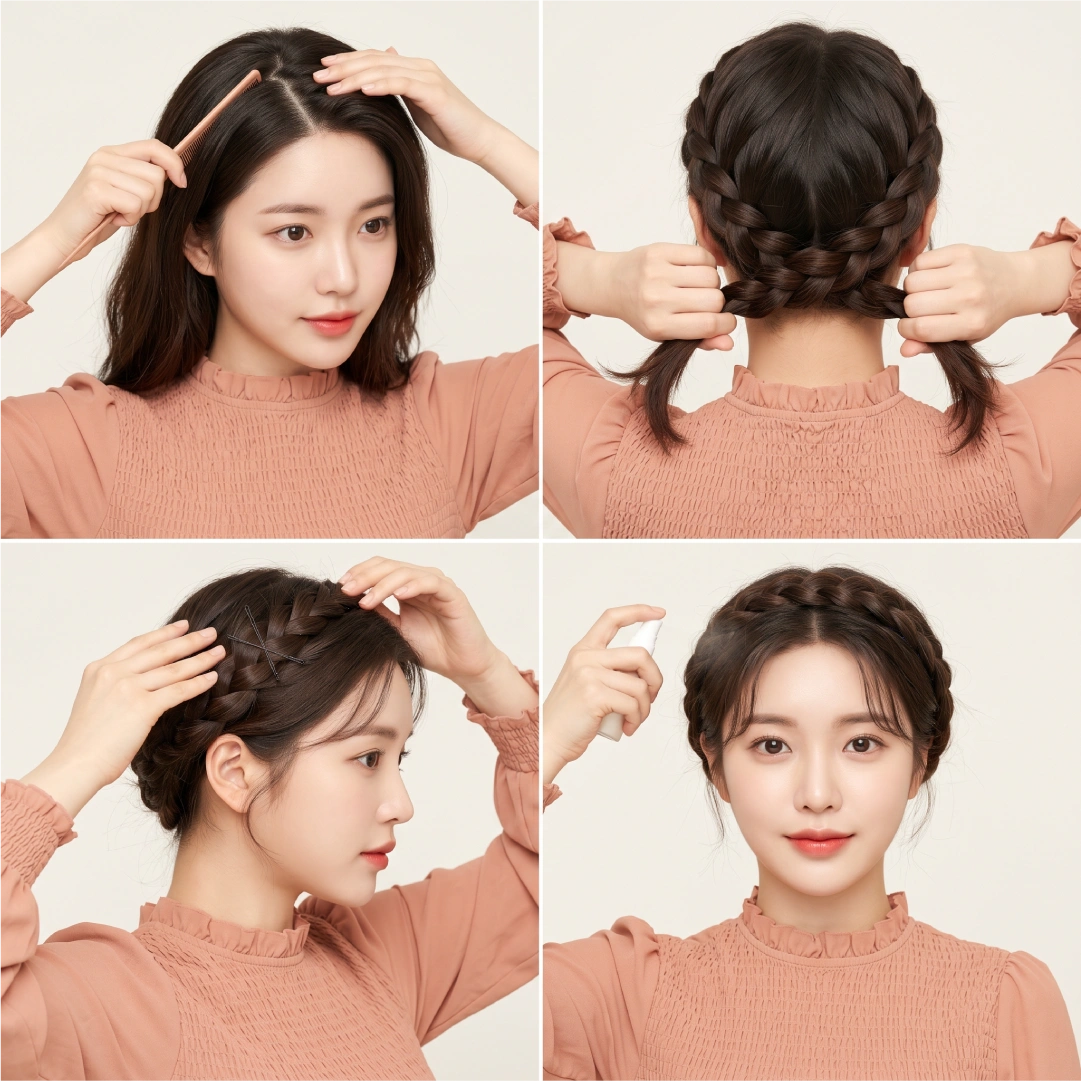
If you enjoy braided updos, a sleek half up half down hairstyle uses similar pinning techniques with a different silhouette.
Dutch vs. French vs. Standard: Which Milkmaid Braid Should You Do?
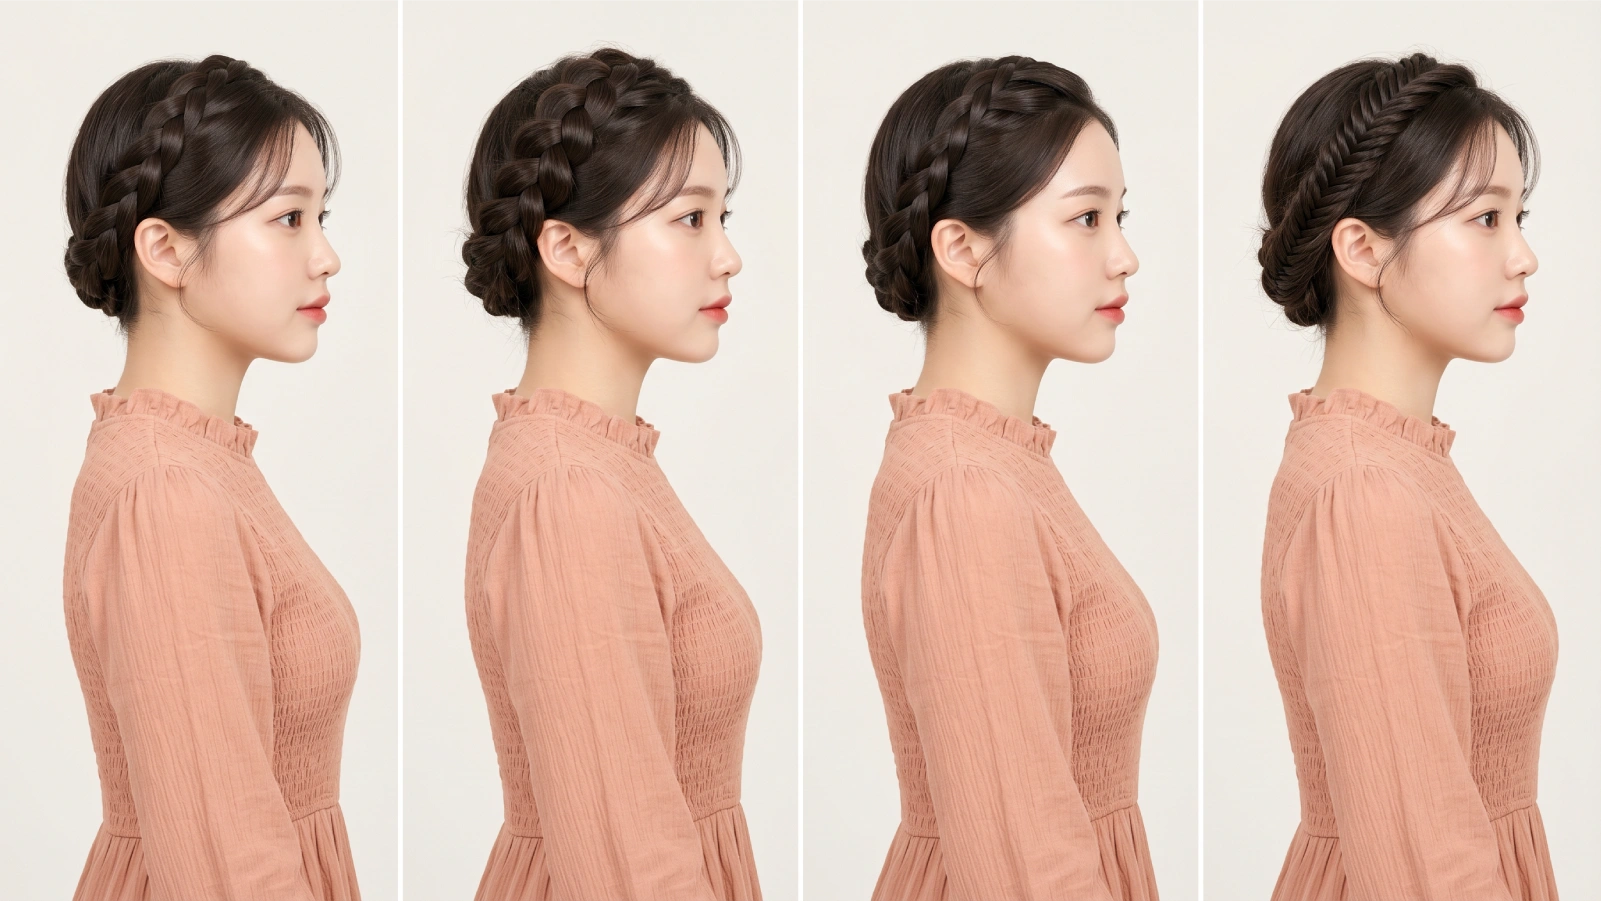
Here’s the clear, definitive comparison of the three main braid types:
TheDutch milkmaid braid is the most popular choice in 2025–2026 searches because it photographs dramatically — the braid sits above the scalp rather than flat against it, creating that braided-headband look that dominates Pinterest and Instagram.
“The Dutch milkmaid braid tends to photograph more dramatically than the standard three-strand version because the braid sits raised off the scalp rather than flat against it.”
For a sleeker everyday alternative, starting each plait as a French braid at the crown gives a similar softness with less commitment.
Can You Do a Milkmaid Braid on Short or Curly Hair?
Yes — with a few specific adaptations for each hair type.
For short or shoulder-length hair:
- Use a tighter plait — less looping means better braid stability when the length is borderline
- The braids may not fully overlap at the crown; this is fine. Use extra bobby pins where the gap forms
- A half-up milkmaid braid (French braiding from one ear continuously to the other, crown-only) works perfectly on a lob or long bob
- Hair extensions (clip-in Remy extensions, positioned horizontally along the parting) add enough length for a full wrap without any visible seam
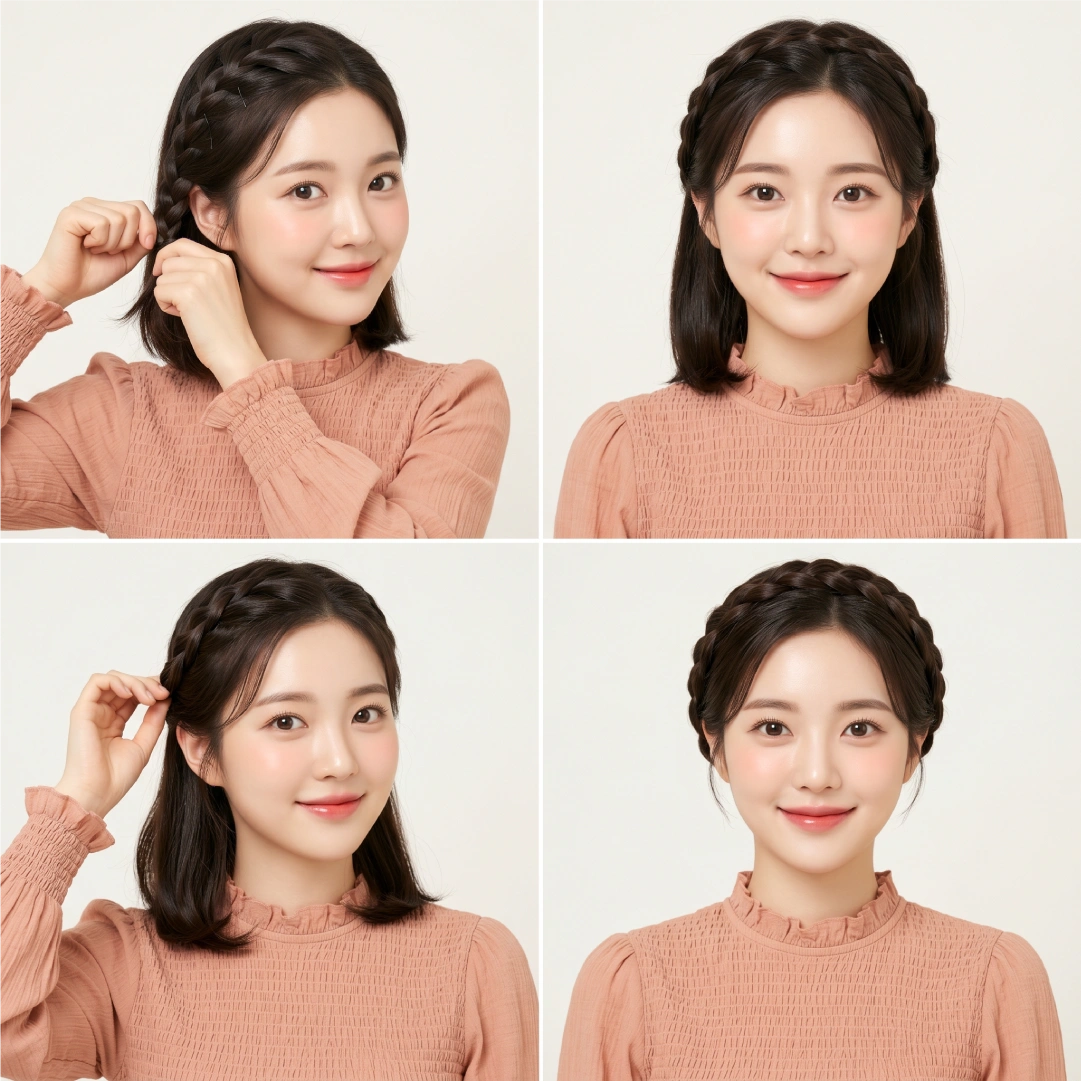
For wavy and curly hair:
- Work with second-day or third-day hair — natural oils and some definition make the braid easier to handle and fuller-looking
- Apply a smoothing cream (like SheaMoisture Curl & Shine Smoothie) on the lengths before braiding to reduce frizz without flattening texture
- After wrapping, don’t pancake aggressively — curly-textured hair expands naturally and the braid will loosen and soften on its own
- Leave a few coils out near the hairline for a bohemian finish that works with the texture instead of fighting it
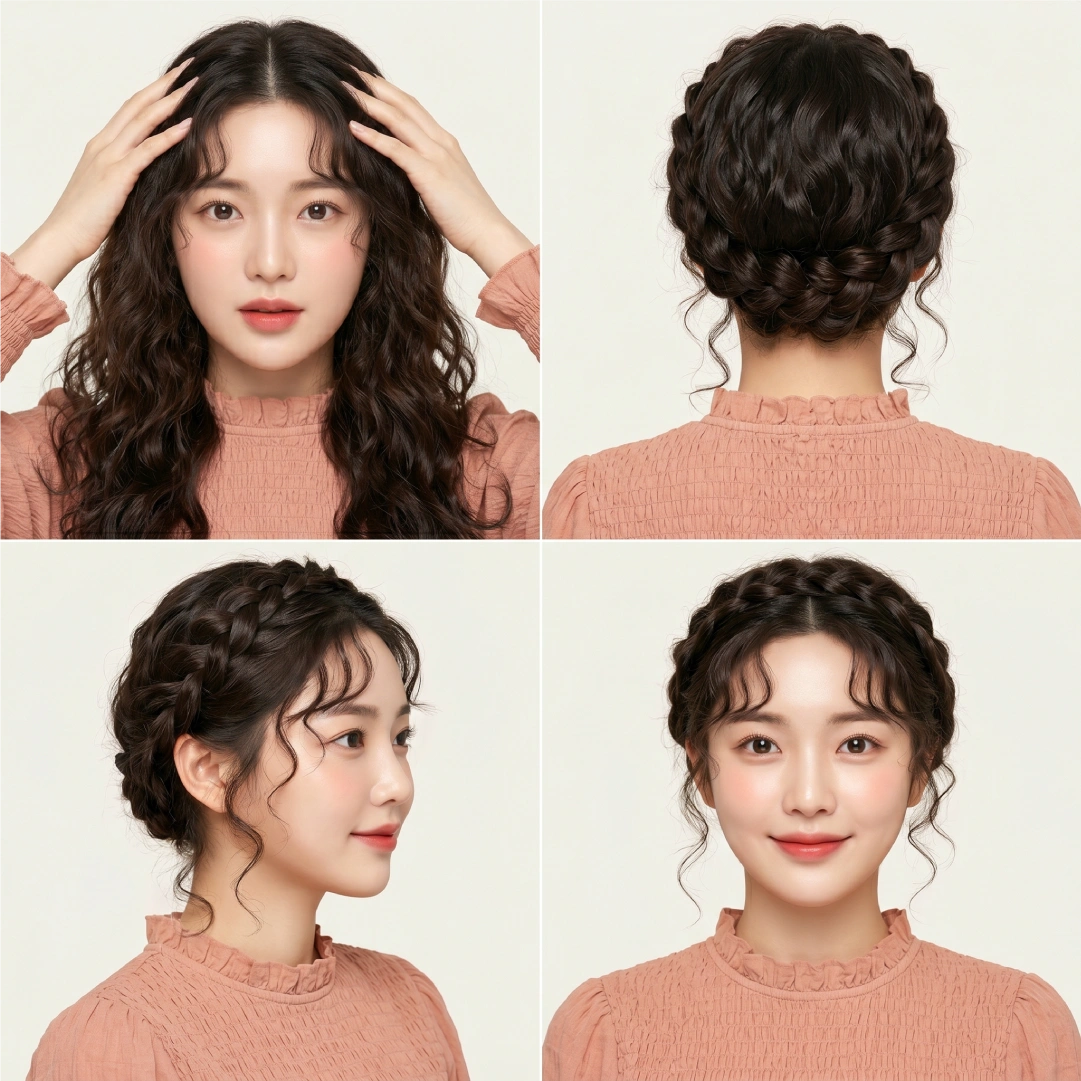
Want more low-manipulation styles that preserve length? A messy bun or pin curls complement a milkmaid braid in a protective styling rotation.
What Occasions Suit a Milkmaid Braid Best?
One of the reasons this style keeps cycling back into fashion is its range. It shifts from casual to formal depending entirely on how you finish it.
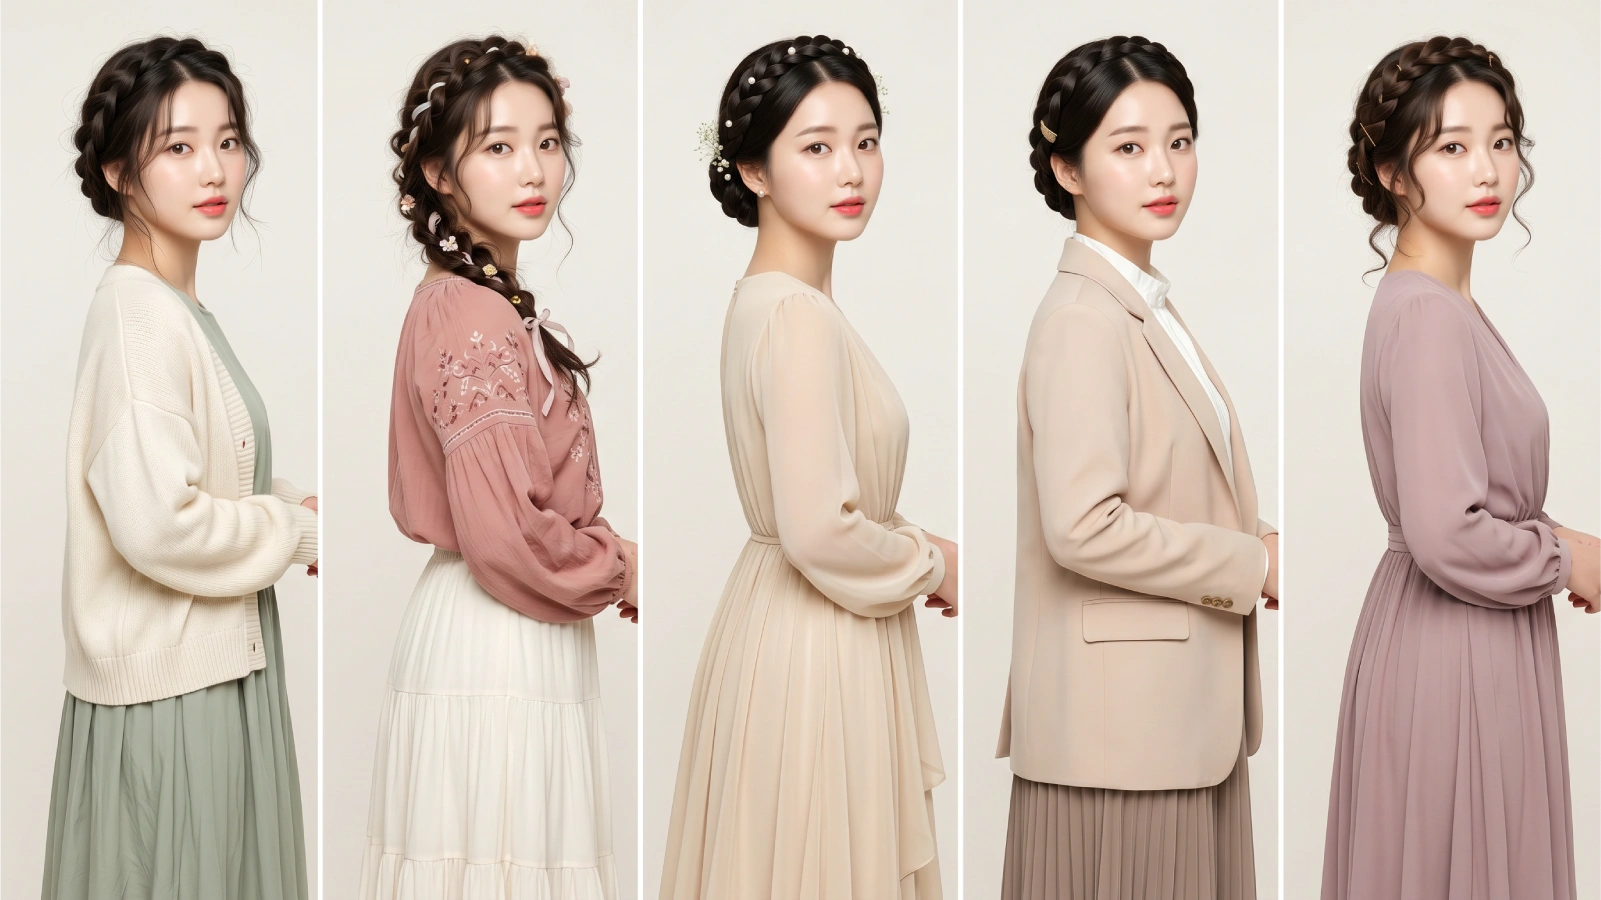
Flowers tucked into the braids have become a signature festival look. For weddings, the smooth crown doubles as a natural anchor point for veils and fascinators. The milkmaid braid has made repeated appearances on red carpets and at festivals like Coachella in recent years.
The style also pairs well with a high ponytail for a hybrid look—wrap one braid across the crown and let the other section flow into a lifted pony at the back.
Milkmaid Braid Variations Worth Trying
Don’t lock yourself into the classic version. These variations use the same wrapping principle with different braid types:
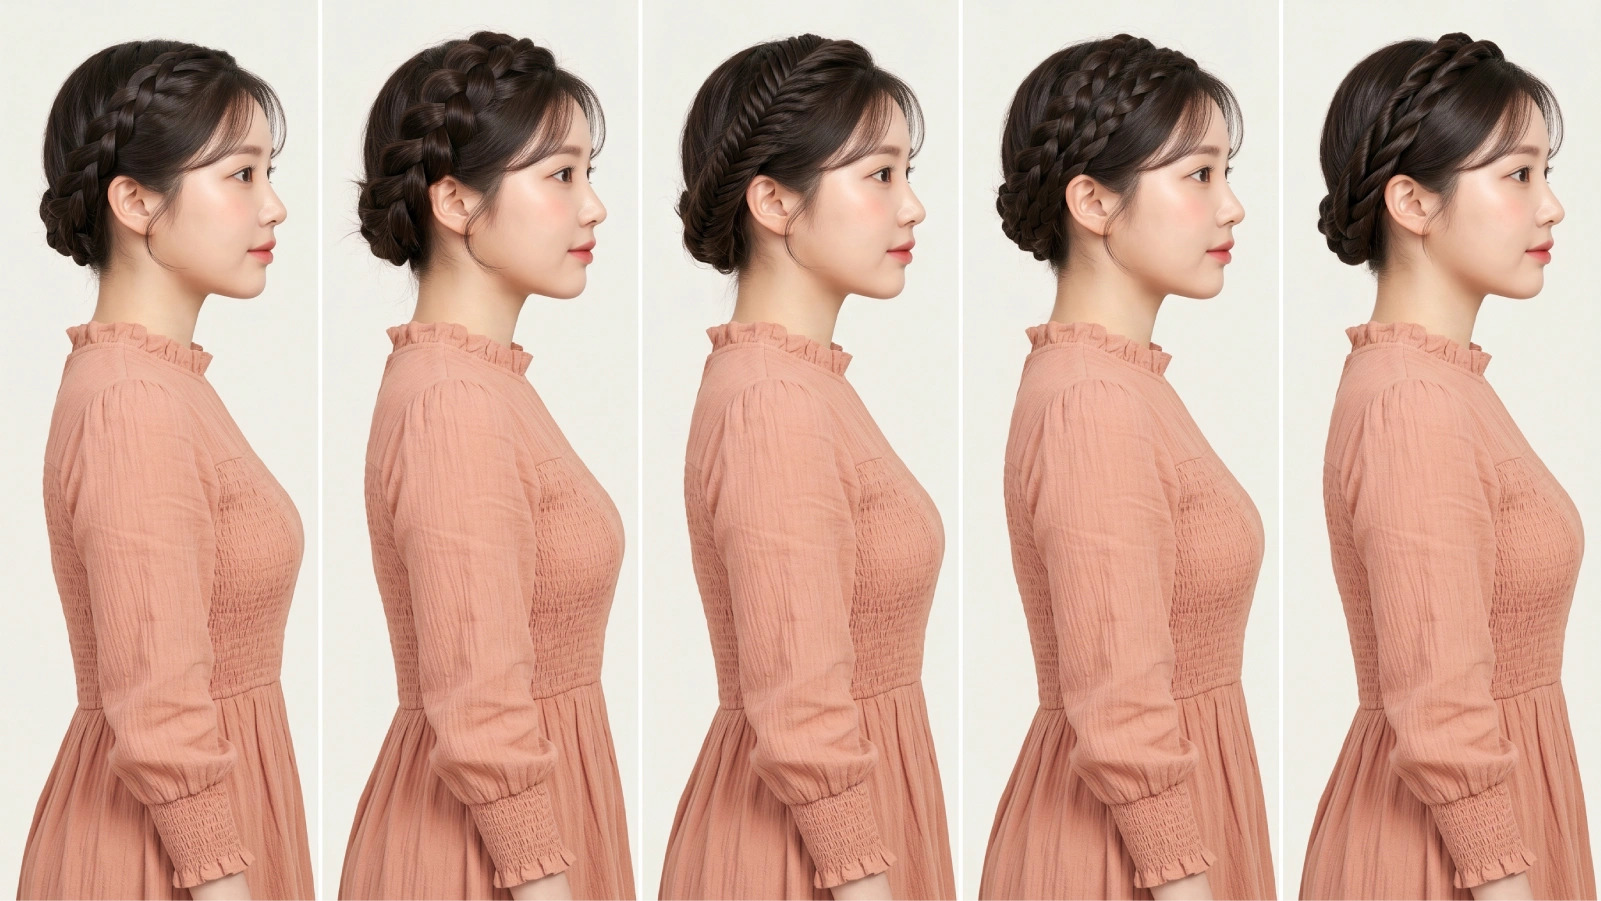
- French milkmaid braid — Start each plait as a French braid from the temples instead of a standard braid. This creates a scalp-hugging look with more structure.
- Dutch milkmaid braid — Uses an inverted (under-cross) technique that makes the braid pop outward from the head. Looks thicker and more textured.
- Fishtail milkmaid braid — Replace three-strand plaits with fishtail braids for an intricate, woven appearance. Takes longer but the detail is striking.
- Double milkmaid braid — Divide hair into four sections instead of two, creating two parallel braid bands wrapping the crown. This editorial-level look suits thicker hair.
- Twisted milkmaid — Skip traditional braiding entirely. Twist each section into a rope twist, then wrap and pin. Fastest version; works in under 10 minutes.
Swapping your braid type—French, Dutch, fishtail—completely transforms the milkmaid silhouette without changing the technique.
Frequently Asked Questions
With proper bobby pin placement and a finishing coat of medium-hold hairspray, a milkmaid braid holds for 8–12 hours. Using dry shampoo before braiding extends hold further by adding grip at the roots. Sleeping in the style overnight is also possible if you wrap a silk scarf around the crown before bed.
It works beautifully. Curly and coily textures add natural volume to the braids, creating a fuller crown effect with less pancaking required. Apply a lightweight smoothing cream before braiding to reduce frizz along the hairline, and use U-pins instead of bobby pins for thicker sections.
A milkmaid braid uses two separate braids pinned across the crown. A halo braid is typically one continuous braid that wraps the full perimeter of the head along the hairline. The milkmaid version is faster and more beginner-friendly; the halo braid delivers a seamless, unbroken ring of plait.
Yes. Clip-in extensions placed horizontally along the mid-lengths before braiding add thickness and length. Position them so the clips sit flat under where the braids will wrap. Seamless weft extensions work particularly well because they lay flush against the scalp and won’t create visible bumps.
It can function as a low-manipulation protective hairstyle since the hair stays tucked away, reducing friction and environmental exposure. It’s not a traditional protective style in the way box braids or twists are, but it keeps ends sheltered and minimizes heat damage entirely.
Wrapping Up
The milkmaid braid earns its staying power through a rare combination: it’s simple enough for beginners, elegant enough for formal events, and practical enough for a hot afternoon hike.
- Two braids, a handful of bobby pins, and 15 minutes are all you need
- Shoulder-length hair is the minimum; second-day texture is the sweet spot
- Swap braid types (French, Dutch, fishtail) to completely change the look
- The style adapts from festival boho to wedding-day polish with accessories alone
- Pancaking and face-framing tendrils are the finishing details that elevate every version